
Do you want to know how to make a bubble elevator in Minecraft? This article will show you how to do it, step by step. You’ll need some materials and a bit of patience, but the result is worth it. So let’s get started.
Have you ever wanted to travel up and down your Minecraft builds quickly, without taking the time to build a staircase? Well, now there’s a way – by building a bubble elevator. There are many steps involved in making a bubble elevator on Minecraft. In this article, we will show you how to make a bubble elevator in Minecraft step by step, and you’ll have a working elevator in no time.
Items Required To Make a Bubble Elevator in Minecraft
To make a bubble elevator in Minecraft, you will need the following items:
- Blocks
- Signs or doors
- Bucket of water.
- Kelp
- Soul sand block and magma block
Blocks
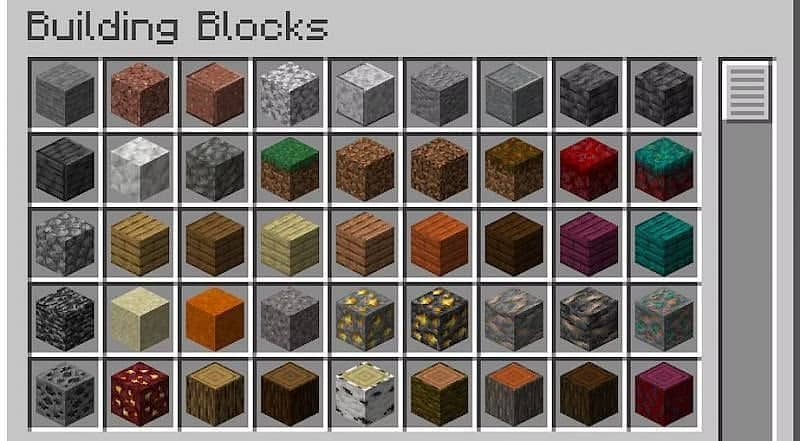
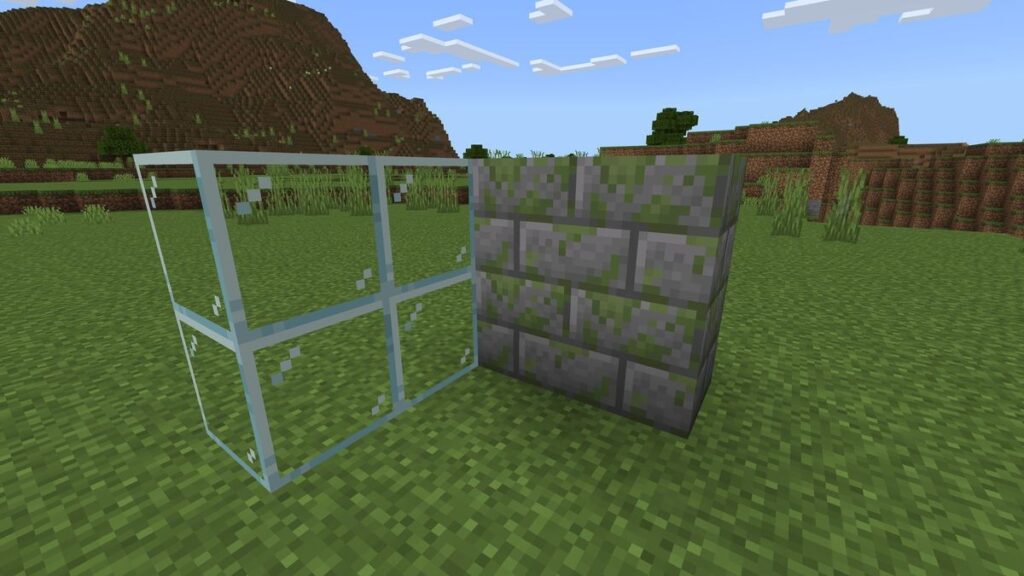
You can use many blocks for a bubble elevator in Minecraft. Some popular options include obsidian, slime, glass, and iron. You can use any block you want, but these are some of the most commonly used options. The player must create a vertical shaft at least 21 blocks high, then place blocks of obsidian or iron at the top and bottom of the shaft.
Water
Water is one of the essential items for a bubble elevator in Minecraft. You’ll need water to create the bubbles that will propel you upward. Without water, your elevator won’t work. You can find water in lakes, rivers, and oceans. You can also collect rainwater in buckets.
Door/Signs
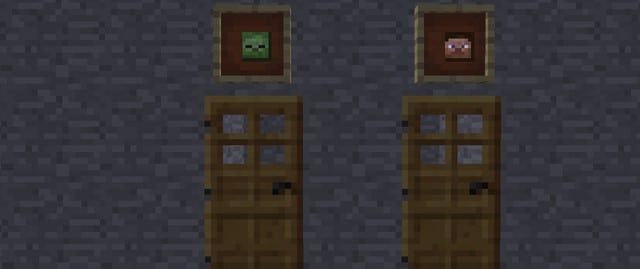
When making a bubble elevator on Minecraft, you will need either a door or some signs to mark the entrance. You’ll need two doors and one sign for each elevator level. You can find the doors and signs in the same places as any other blocks – you can mine them yourself or find them in chests around the world.
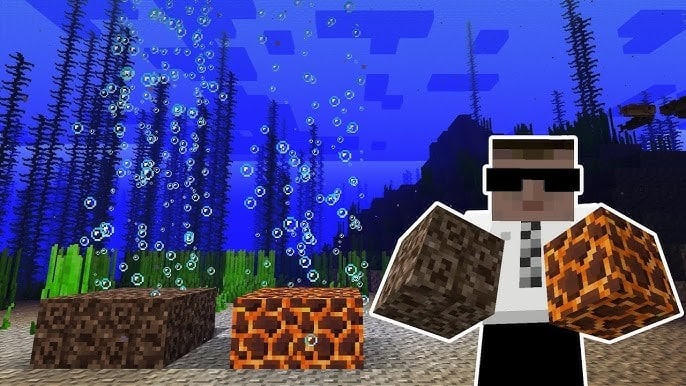
Soul Sand Block or Magma Block
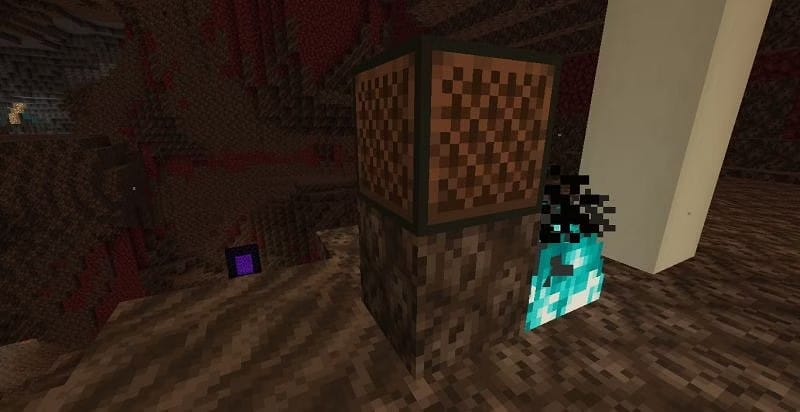
In Minecraft, you can create a bubble elevator using soul sand and magma blocks. It can be a great way to travel up and down in your world, especially if you don’t want to use ladders or pistons. You can find soul sand in the Nether, and you can discover magma blocks in the lava oceans on the Nether Fortress. Once you have gathered these items, you can follow the steps below to create your elevator. Here’s what you’ll need to make one:
Soul sand: You’ll need at least four blocks of soul sand to create the elevator platform.
Magma block: You’ll need one magma block for every four blocks of soul sand. Place the magma blocks beneath the soul sand to create the “bubbling” effect.
Kelp
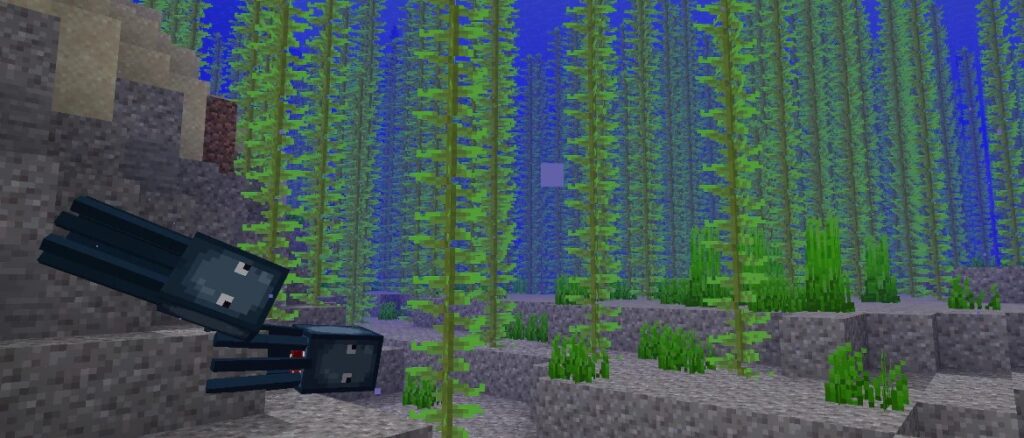
Kelp is often used in bubble elevators in Minecraft, as it can grow to a great height and is sturdy. If you’re looking for kelp to make a bubble elevator in Minecraft, you can find it in the ocean. You’ll need around 30-40 kelp to make a basic elevator, but more if you want a bigger or fancier one. You can also find kelp in some desert and swamp biomes. Players can place kelp on the ground to create a column or use slime or honey blocks to create a more secure structure.
You can create a functional and visually appealing bubble elevator in Minecraft with these materials. Make sure to have the correct number of each item before you start building.
Steps to Make a Bubble Elevator in Minecraft
Making a bubble elevator in Minecraft is a great way to travel up and down your home or base quickly and easily. Plus, it looks fabulous! Just follow these simple steps if you want to learn how to make a bubble elevator in Minecraft.
1. Choose the Appropriate Space
Choosing a suitable space is the first critical step when making a bubble elevator in Minecraft. It would help if you made sure that the area you select is large enough to accommodate the size of your elevator. Additionally, you’ll want to ensure that the space is free of any obstacles that could block your elevator’s path.
It should be high enough off the ground that players won’t be able to reach it without the elevator, but not so high that it’s challenging to build. Once you’ve found a good spot, mark where your elevator will go with blocks. Make sure the space is large enough to fit the elevator and any players using it comfortably.
2. Create the Elevator Depending On the Desired Height
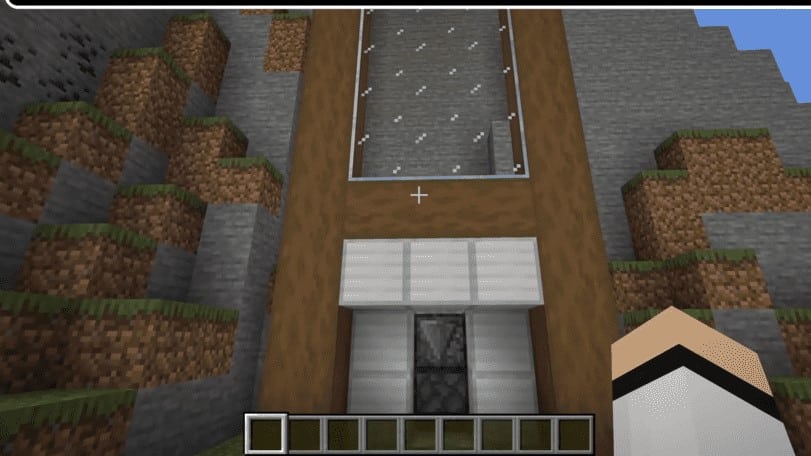
You can do it with any block, but glass or stained glass are popular choices since they offer a good view of the surrounding area. Start by building a frame for your shaft using blocks of your choice. Then, fill the space inside the frame with more of the same block type. You can make your shaft as tall or short as you like, but remember that taller elevators will take longer to travel between floors.
Build a vertical column of obsidian or glass blocks. Make sure that the column is at least two blocks wide to fit both your water source and your bucket inside.
3. Place Water Source inside the Hollow Tube
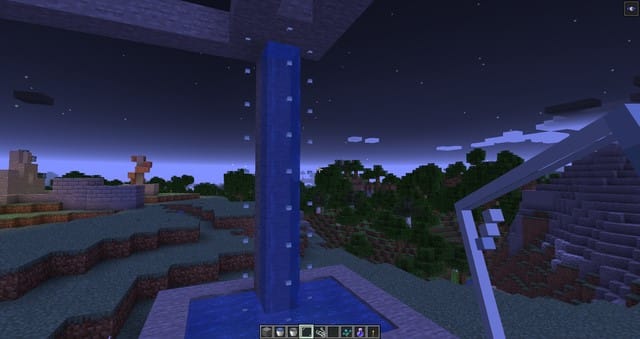
Now that we have our tube, it’s time to add the water source block. Place the water source block in the center at the very top of the tube. You will need at least two water sources to create the “bubbles” that will make the elevator move.
Now that the water source is in place, you need to add some blocks around it to ensure the water doesn’t flow out. Fill in the spaces around the water source with any block.
4. Remove Blocks on the First Layers to Create an Entrance
To make an entrance in Minecraft, you will need to remove blocks on the first few layers to create an entrance. Then, build a frame using blocks of your choice. Once the frame is complete, fill it in with water.
5. Place a Door at the Entrance
Once you have removed the blocks, you will need to place a sign on the block at the bottom of the column to mark the entrance.
6. Place Kelp on the Floor of the Water Column
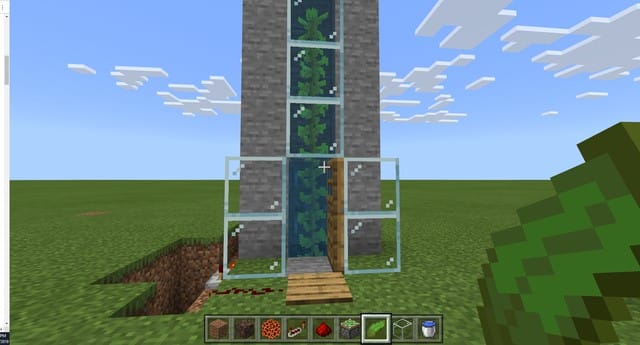
Kelp can be used to make a bubble elevator in Minecraft. You can do it by placing kelp on the floor of the water column. Doing this will cause the water to rise around the kelp, creating a bubble of air. The player can use this bubble to rise through the water column.
7. Keep Placing Kelp Up to the Top
Next, you’ll need to place kelp on each block of the column, starting from the bottom. Place kelp on each block until you reach the top of the column. Once you’ve placed kelp on every block, it will create a “bubble” around the elevator shaft that will help keep you safe from any hostile mobs lurking around.
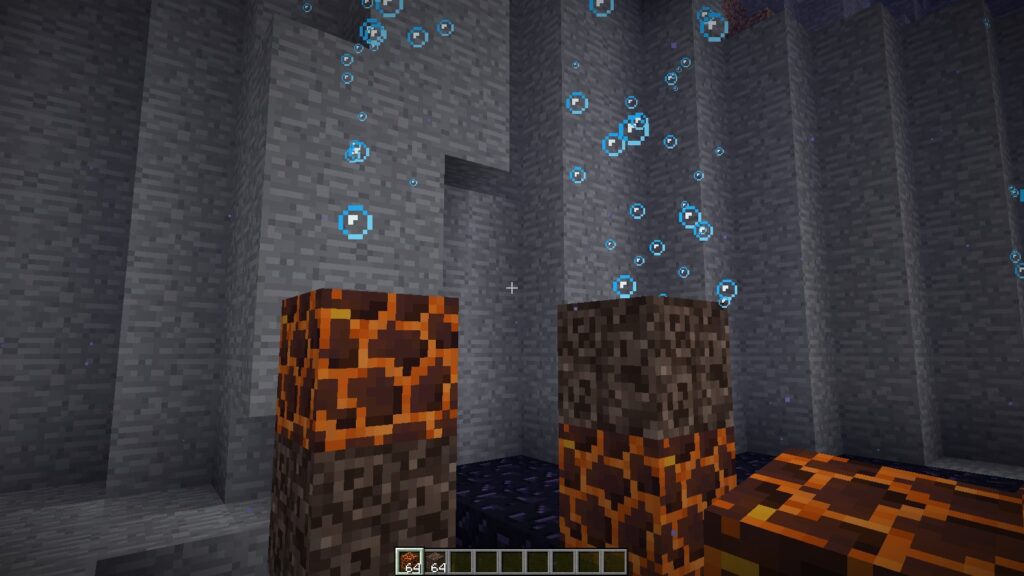
8. Place a Block of Soul Sand at the Bottom
Once you see the water blocks transform into source blocks, place the soul sand at the bottom. Place soul sand blocks down on each level of your current elevator. The soul sand/magma will cause the water to rise in a column and create bubbles.
9. Bubble Should Be Visible
Once the soul sand is in place, you should see bubbles begin to form around it. These bubbles will lift you as you travel through them. To travel up and down in a bubble elevator, press the spacebar to rise or the shift key to descend.
With these steps, you’ll have your very own bubble elevator in no time.
FAQs
How many kinds of elevators are there in Minecraft?
When it comes to elevators in the Minecraft world, there are two distinct types for players to choose from: a Bubble or Water elevator and a Redstone elevator. The Bubble or Water elevator is the simplest of the two and involves placing a bubble column underneath an area in order to propel players upwards. This type of elevator requires few resources and is relatively easy to assemble. The Redstone elevator, on the other hand, is more complex and relies on redstone circuitry to power it.
How high can the elevator go?
The bubble elevator has the power to do whatever it desires, all thanks to the soul sand and magma block at its base. It can reach up to 128 blocks high in a single go and can take players even further with additional installations. The Redstone elevator, however, is limited to a maximum of 11 blocks. While this might not seem like much, it can be an invaluable resource when trying to get around quickly in Minecraft’s vast world.
Conclusion
Now that you know how to make a bubble elevator in Minecraft, try using it in your next game. The bubble type of elevator is advantageous in multiplayer games since you can use it to transport players up and down without any issues. With a bit of practice, you’ll be able to use this elevator to get around your world.