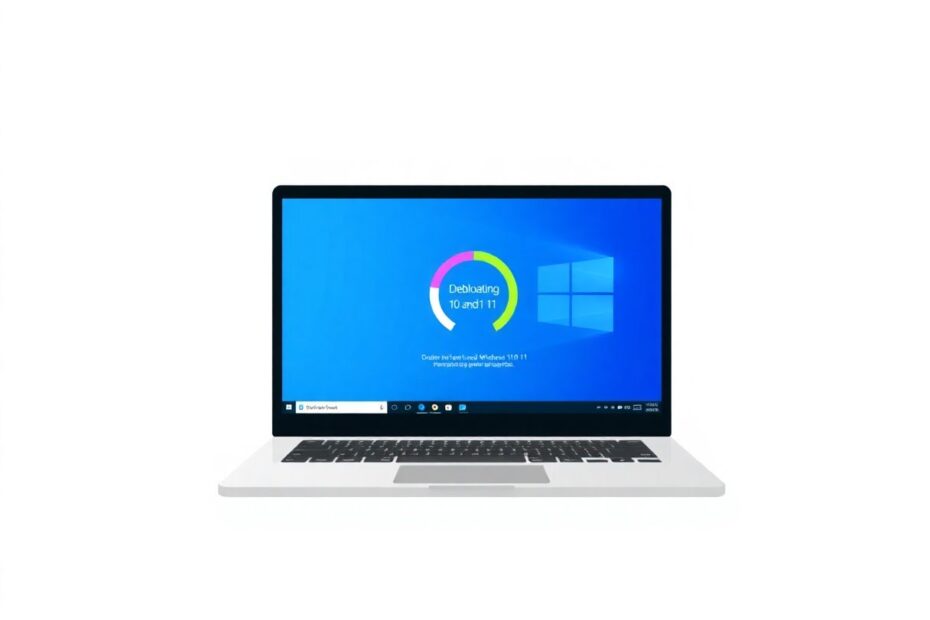
In the ever-evolving landscape of personal computing, Windows remains a dominant force. However, as Microsoft's flagship operating system has grown more feature-rich, it has also become increasingly bloated with pre-installed applications and services that many users find unnecessary. This guide will walk you through the process of debloating Windows 10 and 11, helping you optimize your system's performance and tailor your computing experience to your specific needs.
Understanding Bloatware and Its Impact
Before we dive into the debloating process, it's crucial to understand what bloatware is and why it matters. Bloatware refers to pre-installed software that comes with your operating system or device, often taking up valuable storage space and system resources without providing significant value to the user. In the context of Windows, this can include everything from games like Candy Crush Saga to Microsoft's own apps like Skype or Xbox.
The impact of bloatware extends beyond mere annoyance. These unnecessary applications can significantly slow down your system, especially on devices with limited hardware resources. They consume storage space, memory, and processing power, leading to longer boot times, reduced battery life on laptops, and overall sluggish performance. Moreover, some bloatware may run in the background, consuming network bandwidth and potentially compromising your privacy through data collection.
The Benefits of Debloating Windows
Debloating Windows offers a myriad of benefits that can breathe new life into your PC:
Enhanced System Performance: By removing unnecessary applications and services, your system can allocate resources more efficiently, resulting in faster boot times and improved overall responsiveness.
Increased Storage Space: Bloatware can occupy gigabytes of storage. Removing it frees up valuable disk space, especially crucial for devices with limited storage capacity.
Improved Privacy: Many pre-installed apps collect user data. Removing them can help protect your privacy and reduce the amount of information shared with Microsoft and third-party developers.
Cleaner User Interface: Debloating removes clutter from your Start menu and system tray, creating a more streamlined and personalized interface.
Reduced Update Overhead: Fewer installed applications mean fewer updates to download and install, saving time and bandwidth.
Preparing for the Debloating Process
Before embarking on your debloating journey, it's essential to take some precautionary steps to ensure you can recover if anything goes wrong.
Creating a System Restore Point
A system restore point acts as a safety net, allowing you to revert your system to a previous state if you encounter issues after debloating. To create one:
- Open the Start menu and search for "Create a restore point."
- Click on the "System Protection" tab in the System Properties window.
- Select your system drive (usually C:) and click "Configure."
- Ensure "Turn on system protection" is selected and allocate some disk space for restore points.
- Click "Apply" and then "OK."
- Back in the System Properties window, click "Create" to make a new restore point.
- Name your restore point (e.g., "Before Debloating") and click "Create."
Backing Up Important Data
While debloating shouldn't affect your personal files, it's always wise to back up important data before making significant system changes. You can use Windows' built-in backup features or third-party backup solutions to ensure your files are safe.
Methods for Debloating Windows
Now that we've laid the groundwork, let's explore various methods to debloat Windows 10 and 11.
Method 1: Manual Removal of Microsoft Apps
The simplest way to start debloating is by manually removing unwanted Microsoft apps:
- Open the Start menu and right-click on apps you don't need.
- Select "Uninstall" from the context menu.
- Follow the on-screen prompts to complete the uninstallation.
This method is straightforward but can be time-consuming if you have many apps to remove. It's also limited to apps that allow direct uninstallation through the user interface.
Method 2: Using PowerShell Commands
For more advanced users, PowerShell offers a powerful way to remove multiple apps at once:
- Open PowerShell as an administrator.
- Use the command
Get-AppxPackage | Select Name, PackageFullNameto list all installed apps. - To remove an app, use the command
Get-AppxPackage *appname* | Remove-AppxPackage.
Replace appname with the actual name of the app you want to remove. For example, to remove the Xbox app, you would use:
Get-AppxPackage *xbox* | Remove-AppxPackage
Be cautious when using PowerShell commands, as removing certain system apps can cause instability.
Method 3: Using Windows 10 Debloater
Windows 10 Debloater is a popular open-source tool that simplifies the debloating process:
- Download the Windows 10 Debloater script from GitHub.
- Right-click the script and select "Run with PowerShell."
- In the GUI, go to "DEBLOAT OPTIONS" > "CUSTOMISE BLOCKLIST."
- Select the apps you want to remove and save your custom list.
- Return to "DEBLOAT OPTIONS" and click "REMOVE BLOATWARE AND CUSTOM BLOCKLIST."
This tool also offers options to disable telemetry and Cortana, further enhancing your privacy.
Method 4: Using Windows 10 Decrapifier
Another useful tool is the Windows 10 Decrapifier script, which automates the removal of bloatware and unwanted features:
- Download the script from GitHub.
- Open PowerShell as an administrator.
- Navigate to the directory containing the script.
- Run the script using the command
.\Windows10Debloater.ps1 -Debloat -Privacy.
This script removes many pre-installed apps, disables telemetry, and applies various privacy-enhancing tweaks.
Advanced Debloating Techniques
For users seeking more control over their Windows installation, there are advanced techniques available:
Using Windows Toolbox
Windows Toolbox is a comprehensive utility that goes beyond simple debloating. It offers features like:
- Removing specific Windows components
- Disabling Windows Update
- Tweaking privacy settings
- Optimizing system performance
While powerful, this tool should be used with caution as it can make significant changes to your system.
Custom Windows ISO Creation
For the ultimate clean installation, advanced users can create a custom Windows ISO with bloatware pre-removed:
- Download the official Windows ISO from Microsoft.
- Use tools like NTLite to modify the ISO, removing unwanted apps and features.
- Create a bootable USB drive with the custom ISO.
- Perform a clean installation using your customized Windows image.
This method provides the cleanest possible Windows installation but requires significant technical expertise.
Best Practices and Considerations
While debloating can significantly improve your Windows experience, it's important to approach the process thoughtfully:
Research before removing: Understand the function of an app or service before removing it to avoid unintended consequences.
Start conservatively: Begin by removing obviously unnecessary apps and gradually work your way up to more system-integrated components.
Test thoroughly: After debloating, test all essential functions of your system to ensure everything works as expected.
Keep a list: Document the changes you've made in case you need to troubleshoot or want to replicate the process on another system.
Consider future updates: Be aware that major Windows updates may reinstall some removed components, requiring periodic re-debloating.
The Future of Windows Bloatware
As users become increasingly aware of the impact of bloatware, Microsoft has shown signs of listening. Windows 11 introduced a slightly cleaner default installation compared to Windows 10. However, the trend of including pre-installed apps and services is likely to continue as Microsoft seeks to promote its ecosystem and generate revenue through partnerships.
The tech community continues to develop tools and scripts to combat bloatware, and it's likely that we'll see even more sophisticated debloating solutions in the future. As artificial intelligence advances, we may even see smart debloating tools that can analyze your usage patterns and automatically optimize your Windows installation.
Conclusion
Debloating Windows 10 and 11 is a powerful way to reclaim control over your operating system, enhance performance, and protect your privacy. By following the methods outlined in this guide, you can create a leaner, more efficient Windows installation tailored to your specific needs.
Remember that debloating is not a one-size-fits-all solution. What constitutes bloatware for one user might be essential for another. Always approach the process with caution, create backups, and be prepared to troubleshoot if necessary.
As we move forward in the digital age, the ability to customize and optimize our computing environments becomes increasingly important. By mastering the art of debloating, you're not just improving your system's performance – you're taking a step towards a more personalized and efficient digital experience.