Introduction
In today's digital age, the ability to capture and share what's happening on your computer screen has become increasingly important. Whether you're creating tutorials, documenting software bugs, or preserving memorable moments in games, screen recording is an invaluable tool. For Mac users, this functionality is not only possible but also quite sophisticated when you know how to harness it properly. This comprehensive guide will walk you through various methods to record your Mac's screen with audio, catering to both novices and power users alike.
Understanding the Basics of Mac Screen Recording
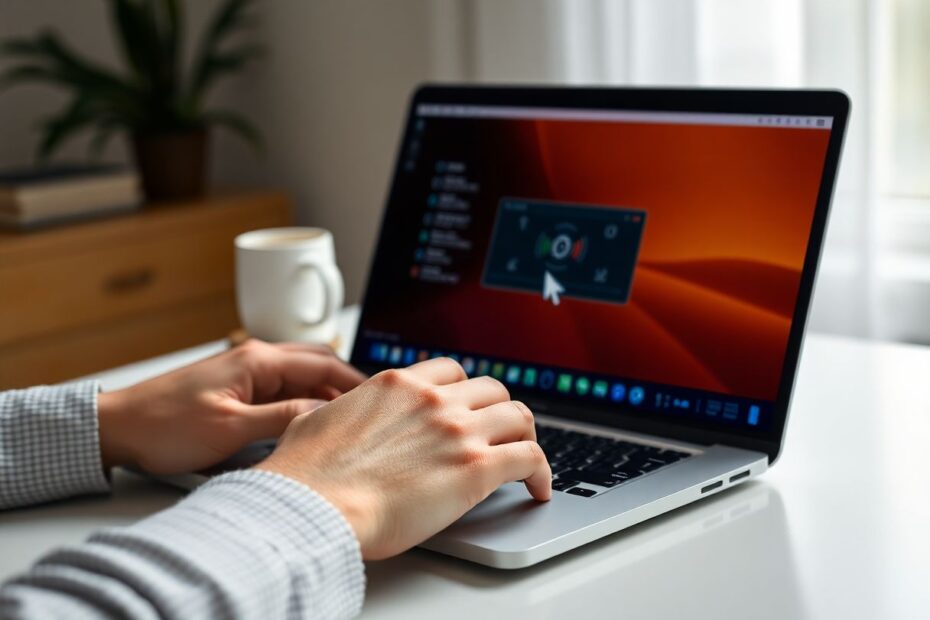
Before diving into the specifics, it's crucial to understand that macOS offers built-in screen recording capabilities. This native functionality has evolved significantly since its introduction, with Apple continually refining the user experience and expanding the feature set. The built-in tools are often sufficient for basic needs, but as we'll explore, third-party applications can offer enhanced capabilities for more demanding scenarios.
Using QuickTime Player: The Native Solution
QuickTime Player, Apple's default media player, is more than just a tool for watching videos. It's also a powerful screen recording utility that comes pre-installed on every Mac. Here's how to use it:
- Launch QuickTime Player from your Applications folder or using Spotlight search.
- In the menu bar, click on "File" and select "New Screen Recording."
- A small recording window will appear. Click on the arrow next to the record button to choose your audio input source.
- Select your preferred microphone for voiceovers or choose "Internal Microphone" to capture system sounds.
- Click the red record button and either click anywhere to record the full screen or drag to select a specific area.
- When you're done, click the stop button in the menu bar or press Command + Control + Esc.
It's worth noting that while QuickTime is excellent for basic screen captures, it doesn't natively support recording internal audio. For users who need to capture system sounds, additional software or workarounds are necessary, which we'll discuss later in this guide.
Leveraging the Built-in Screenshot Tool
With the release of macOS Mojave in 2018, Apple introduced a more robust screenshot tool that includes screen recording capabilities. This tool offers a streamlined interface and quick access to recording functions. Here's how to use it:
- Press Command + Shift + 5 to bring up the screenshot toolbar.
- Choose either "Record Entire Screen" or "Record Selected Portion."
- For audio, click "Options" and select your desired microphone input.
- Click "Record" to start capturing.
- To end the recording, click the stop button in the menu bar or use the keyboard shortcut Command + Control + Esc.
This built-in tool is perfect for quick captures and offers the advantage of being always accessible without the need to open any applications.
Exploring Third-Party Applications for Advanced Recording
While the native macOS tools are capable, many users require more advanced features. This is where third-party applications come into play, offering enhanced functionality and greater control over the recording process.
OBS (Open Broadcaster Software)
OBS stands out as a powerful, free, and open-source option that's particularly popular among streamers and content creators. Its key features include:
- The ability to capture multiple audio sources simultaneously
- Live streaming capabilities
- Extensive customization options for scenes and sources
To use OBS for screen recording:
- Download and install OBS from the official website.
- Set up a new scene and add your display as a source.
- Configure audio inputs in the Audio Mixer section.
- Click "Start Recording" to begin and "Stop Recording" when finished.
OBS's flexibility makes it ideal for users who need to create complex recordings with multiple inputs or those who plan to live stream their content.
Screenflick
Screenflick is a paid application that strikes a balance between user-friendliness and advanced features. It's particularly noteworthy for its ability to:
- Record system audio and microphone input simultaneously
- Capture mouse clicks and keystrokes
- Export in various formats and qualities
Using Screenflick is straightforward:
- Install the app from the Mac App Store or their website.
- Open Screenflick and select your recording area and audio sources.
- Click the record button to start and stop when finished.
- Utilize the built-in editor for basic trimming and exporting.
Screenflick's intuitive interface makes it a favorite among educators and professionals who need to create polished tutorials quickly.
CleanShot X
CleanShot X is a versatile screen capture tool that includes robust recording features. Its standout capabilities include:
- Recording screen and webcam simultaneously
- Capturing internal audio without additional setup
- Cloud uploading and sharing
To record with CleanShot X:
- Install the app from their website.
- Open CleanShot X and select the video recording option.
- Choose your recording area and audio sources.
- Click record to start and stop when done.
- Use the built-in editor for quick adjustments before saving or sharing.
CleanShot X's all-in-one approach makes it an excellent choice for users who frequently need to capture, edit, and share screen recordings quickly.
The Challenge of Internal Audio Capture
One of the most common hurdles Mac users face when recording their screen is capturing internal audio. Due to macOS limitations, recording system sounds isn't as straightforward as one might expect. However, there are workarounds available:
Using BlackHole
BlackHole is a virtual audio driver that allows you to route internal audio to your recording software. Here's how to set it up:
- Download and install BlackHole from GitHub.
- Open Audio MIDI Setup (found in Applications > Utilities).
- Create a Multi-Output Device that includes your speakers and BlackHole.
- Set this new device as your default output in System Preferences > Sound.
- In your recording software, select BlackHole as the audio input.
This method allows you to capture system audio without affecting your ability to hear it during recording.
Soundflower with LadioCast
Another approach involves using Soundflower, another virtual audio driver, in conjunction with LadioCast for audio routing:
- Install both Soundflower and LadioCast.
- In LadioCast, set Input 1 to your system audio and Output 1 to Soundflower (2ch).
- In System Preferences > Sound, set the output to Soundflower (2ch).
- In your recording software, select Soundflower (2ch) as the audio input.
This setup provides flexible audio routing options, allowing you to capture system sounds while still controlling what you hear through your speakers or headphones.
Optimizing Your Screen Recording Experience
To ensure the highest quality recordings, consider the following tips:
- Optimize your Mac's performance by closing unnecessary applications and freeing up system resources.
- Plan your content in advance to reduce errors and minimize the need for extensive editing.
- Invest in a quality external microphone for clear voiceovers, especially for professional content.
- If including webcam footage, ensure proper lighting and maintain a clean, professional background.
- Practice with your chosen tools to become familiar with their features and limitations.
Troubleshooting Common Issues
Even with the right tools and setup, you may encounter issues. Here are solutions to common problems:
- If there's no audio in your recording, double-check your audio input settings in both the recording software and system preferences.
- For laggy or choppy video, try lowering the recording resolution or frame rate, and ensure your Mac has sufficient free resources.
- To manage large file sizes, adjust video quality settings or use compression tools when exporting your recordings.
The Future of Screen Recording on Mac
As technology advances, we can expect screen recording capabilities on Mac to become even more sophisticated. Apple continues to refine its native tools, while third-party developers push the boundaries of what's possible. Future developments may include more seamless integration with cloud services, improved AI-driven editing features, and enhanced compatibility with virtual and augmented reality applications.
Conclusion
Mastering the art of screen recording on your Mac opens up a world of possibilities for communication, education, and content creation. Whether you're using the built-in tools like QuickTime Player and the screenshot utility, or exploring the advanced features of third-party applications, there's a solution for every need and skill level. By understanding the various methods available and how to overcome common challenges like internal audio capture, you can produce high-quality screen recordings that effectively convey your message.
Remember to always respect copyright laws and privacy concerns, especially when recording content that includes other people or proprietary information. With practice and the right tools, you'll be creating professional-grade screen recordings on your Mac in no time, enhancing your ability to share knowledge, troubleshoot issues, and create engaging content in our increasingly digital world.