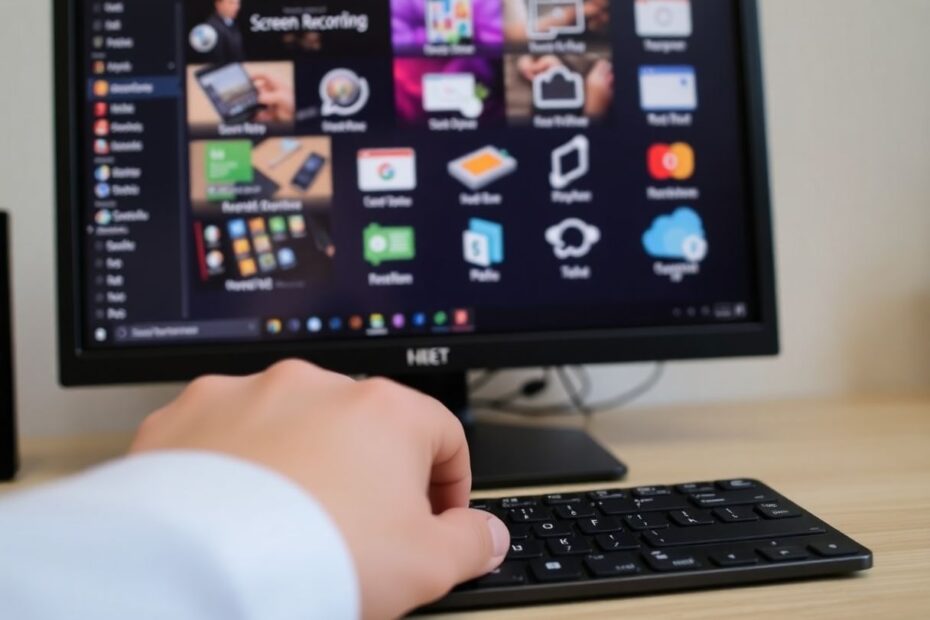
In today's digital landscape, the ability to capture and share what's happening on your computer screen has become increasingly important. Whether you're a content creator, educator, gamer, or professional, having a reliable screen recording tool at your disposal can be invaluable. This comprehensive guide will explore the best free screen recording options available for Windows 10 users, helping you make an informed decision based on your specific needs.
Understanding the Importance of Screen Recording
Screen recording software has evolved from a niche tool to an essential utility for many computer users. Its applications are vast and varied:
- Content creators use it to produce tutorials and walkthrough videos
- Educators leverage it for creating online learning materials
- Gamers capture their gameplay for sharing or review
- Professionals utilize it for training videos and software demonstrations
- IT support teams employ it for troubleshooting and documentation
While Windows 10 does include a built-in screen recorder in the form of the Windows Game Bar, its features are somewhat limited and primarily geared towards gaming. For more robust and versatile screen recording capabilities, third-party software solutions offer a wealth of options.
Top Free Screen Recorders for Windows 10
Let's delve into the most popular and feature-rich free screen recording tools available for Windows 10 users:
OBS Studio: The Open-Source Powerhouse
Open Broadcaster Software (OBS) Studio stands out as a favorite among content creators and streamers. This open-source software offers a professional-grade recording experience without any cost.
Key features of OBS Studio include:
- Unlimited recording time
- Customizable scenes with multiple sources
- Live streaming capabilities to various platforms
- High-quality video output with support for high frame rates
- Advanced audio mixing options for multi-track recordings
To use OBS Studio effectively:
- Download the software from the official OBS Project website
- Install and launch the application
- Configure your settings, including video resolution and frame rate
- Set up your scenes and sources in the main interface
- Use the "Start Recording" button to begin capturing your screen
OBS Studio's power lies in its flexibility. Users can create complex scenes combining multiple video and audio sources, making it ideal for advanced users who need granular control over their recordings.
ShareX goes beyond simple screen recording, offering a comprehensive suite of capture and productivity tools. Its versatility makes it a popular choice for users who need more than just video recording.
Notable features of ShareX include:
- Screen capture, recording, and GIF creation capabilities
- Robust editing tools for post-capture modifications
- Automated workflows for streamlined processes
- Easy sharing options to various platforms and services
- Customizable hotkeys for quick access to functions
To get started with ShareX:
- Download the application from the official ShareX website
- Install and open the software
- Navigate to "Task settings" to configure your recording preferences
- Use the capture menu or predefined hotkeys to start recording
- Utilize the built-in editing tools to refine your captures
ShareX's strength lies in its ability to handle various capture tasks efficiently. Its workflow automation features can save significant time for users who frequently share or process their recordings.
ScreenToGif: Specializing in Short, Looping Recordings
For users who primarily need to create short, animated GIFs, ScreenToGif offers a focused and user-friendly solution. Its lightweight nature and built-in editor make it perfect for quick demonstrations or tutorials.
Key features of ScreenToGif include:
- Intuitive interface for easy GIF creation
- Built-in editor with a variety of tools and effects
- Screen, webcam, and sketchboard recording options
- Low resource usage, ideal for less powerful systems
To use ScreenToGif effectively:
- Download and install the software from the official ScreenToGif website
- Launch the application and select your desired recording mode
- Set your capture area and begin recording
- Use the integrated editor to trim, add text, or apply effects to your GIF
- Export your creation in various formats, including GIF, video, or images
ScreenToGif's simplicity and focus on GIF creation make it an excellent choice for users who frequently need to share short, looping recordings or demonstrations.
VLC Media Player: The Hidden Screen Recording Gem
Many users are surprised to learn that VLC, a popular open-source media player, also includes screen recording capabilities. This feature makes VLC a versatile tool for those who already use it for media playback.
Notable features of VLC's screen recording function include:
- Familiar interface for existing VLC users
- Support for various output formats
- Customizable frame rate and resolution settings
- No watermarks or time limits on recordings
To use VLC for screen recording:
- Open VLC Media Player
- Navigate to "Media" > "Open Capture Device"
- In the "Capture" tab, select "Desktop" from the drop-down menu
- Click the arrow next to "Play" and choose "Convert"
- Set your desired output format and settings, then click "Start"
VLC's screen recording feature is particularly useful for users who need a quick and simple way to capture their screen without installing additional software.
Choosing the Right Screen Recorder for Your Needs
When selecting a screen recorder, consider the following factors:
- Ease of use: Evaluate the learning curve and interface intuitiveness.
- Output quality: Check supported resolutions and frame rates.
- File formats: Ensure compatibility with your intended use case.
- Editing capabilities: Determine if built-in editing tools are necessary.
- Resource usage: Consider the impact on system performance, especially for older or less powerful computers.
Advanced Screen Recording Techniques
For users looking to elevate their screen recording game, consider these advanced techniques:
- Multi-monitor recording: Learn how to capture content across multiple displays for comprehensive recordings.
- Custom overlays: Create professional-looking branding or information overlays for your videos.
- Chroma key effects: Utilize green screen techniques for creative and professional-looking presentations.
- Keyboard shortcut mastery: Streamline your workflow by learning and customizing hotkeys for quick actions.
Troubleshooting Common Screen Recording Issues
Even with the best software, users may encounter some common issues:
- Laggy or choppy recordings: This can often be resolved by lowering capture resolution or frame rate, closing unnecessary background applications, or upgrading hardware components.
- Audio synchronization problems: Ensure your audio drivers are up-to-date and consider using a dedicated audio capture device for high-quality sound.
- Large file sizes: Experiment with different codecs and compression settings to find the optimal balance between quality and file size.
- Software compatibility issues: Keep your operating system and recording software updated to the latest versions to minimize conflicts.
The Future of Screen Recording Technology
As technology continues to advance, we can expect to see improvements in screen recording software. Potential future developments may include:
- AI-powered editing tools for automatic highlight creation and content summarization
- Improved integration with cloud services for seamless sharing and collaboration
- Enhanced real-time streaming capabilities with lower latency and higher quality
- Better hardware acceleration support for improved performance on various systems
Conclusion
Screen recording has become an essential tool in our digital toolkit, and Windows 10 users are fortunate to have access to a variety of powerful, free options. Whether you're a content creator, educator, gamer, or professional, there's a screen recording solution that can meet your needs without breaking the bank.
By understanding the features and capabilities of tools like OBS Studio, ShareX, ScreenToGif, and VLC, you can choose the right software for your specific requirements. Remember to consider factors such as ease of use, output quality, and system resource usage when making your selection.
As you become more proficient with your chosen screen recording tool, don't be afraid to explore advanced techniques and troubleshoot common issues. With practice and experimentation, you'll be creating high-quality screen recordings in no time.
The world of screen recording is constantly evolving, and staying informed about the latest developments can help you stay ahead of the curve. Whether you're capturing gameplay, creating tutorials, or documenting software bugs, the right screen recording tool can make all the difference in the quality and effectiveness of your content.