Have you ever gazed at that dusty old laptop hiding in your closet and wondered if it could be given a new lease on life? Well, wonder no more! As a tech enthusiast and DIY advocate, I'm here to guide you through the exciting process of transforming your forgotten laptop screen into a fully functional external monitor. This project not only saves you money but also reduces electronic waste, making it a win-win for both your wallet and the environment.
The Why: Compelling Reasons to Upcycle Your Laptop Screen
Before we dive into the nitty-gritty of the conversion process, let's explore why this project is worth your time and effort. As someone who's been tinkering with electronics for years, I can attest to the numerous benefits of this undertaking.
First and foremost, the cost-effectiveness of this project is undeniable. High-quality external monitors, especially those with larger screen sizes, can easily set you back hundreds of dollars. By repurposing your old laptop screen, you're essentially getting a "new" monitor for a fraction of the cost. The components needed for this conversion typically range from $50 to $125, depending on the quality and features you choose. Compare this to the average cost of a new 15-inch monitor, which can run anywhere from $100 to $200 or more, and the savings become apparent.
Secondly, the environmental impact of this project cannot be overstated. According to the Global E-waste Monitor 2020, the world generated a staggering 53.6 million metric tons of e-waste in 2019, with only 17.4% being properly recycled. By giving your old laptop screen a second life, you're directly contributing to the reduction of electronic waste and participating in the circular economy. This not only conserves valuable resources but also reduces the energy and materials required to manufacture new monitors.
Moreover, this DIY project offers a unique opportunity for customization. Unlike off-the-shelf monitors, your converted laptop screen can be tailored to your specific needs and preferences. Whether you want to create a sleek, frameless display or integrate it into a custom-built setup, the possibilities are limited only by your imagination.
The How: A Step-by-Step Guide to Monitor Conversion
Now that we've established the "why," let's delve into the "how." As someone who's completed this conversion multiple times, I can guide you through each step of the process.
Step 1: Gather Your Materials
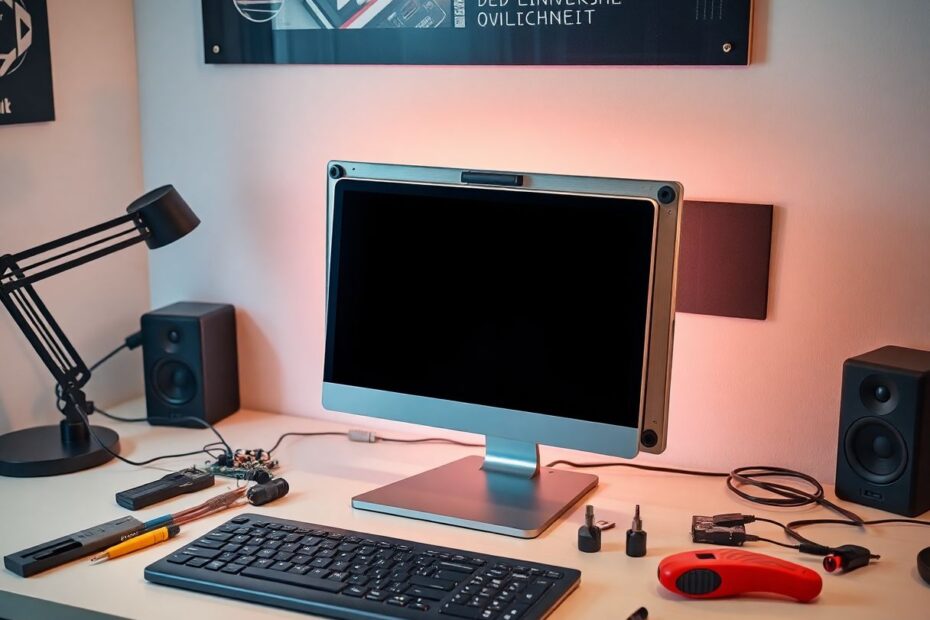
Before you begin, you'll need to assemble the following components:
- Your old laptop's LCD screen
- A compatible LCD controller board
- An LVDS cable
- A power adapter (typically 12V)
- An HDMI or VGA cable (depending on your controller board)
- A button control panel or infrared remote (often included with the controller board)
- Basic tools (screwdrivers, pliers, etc.)
- Optional: A frame or case for your new monitor
Step 2: Disassemble Your Laptop
The first hands-on step is to carefully disassemble your old laptop to extract the LCD screen. This process varies depending on your laptop model, so I recommend looking up a disassembly guide specific to your device. Generally, you'll need to:
- Power down the laptop and remove the battery.
- Unscrew and remove the bezel surrounding the screen.
- Disconnect the LVDS cable connecting the screen to the motherboard.
- Carefully remove the LCD panel from the laptop chassis.
Remember to work on a clean, static-free surface and handle components with care to avoid damage. As someone who's made the mistake of rushing this step before, I can't stress enough the importance of patience and precision here.
Step 3: Identify Your LCD Panel
Once you've successfully removed the LCD panel, locate the model number. This information is crucial for finding a compatible controller board. The model number is usually printed on a label on the back of the panel. Make sure to note this number accurately, as it will be your key to finding the right components for your conversion.
Step 4: Source a Compatible Controller Board
With your LCD model number in hand, it's time to find a matching controller board. I've had great success finding these on websites like eBay, Amazon, and AliExpress. Search for "universal LCD controller board" along with your panel's model number. From my experience, I highly recommend opting for a controller board with HDMI input for better compatibility with modern devices. Many of these boards also come with additional features like multiple inputs or audio support, which can enhance the functionality of your DIY monitor.
Step 5: Connect the Components
Now comes the exciting part – bringing everything together. Here's how to connect your components:
- Connect the LVDS cable to your LCD panel and the controller board.
- Attach the button control panel or infrared sensor to the designated port on the controller board.
- Connect your video input cable (HDMI or VGA) to the controller board.
- Plug in the power adapter to the controller board.
Ensure all connections are secure and properly aligned. A loose connection can lead to flickering or no display at all, as I learned the hard way during my first conversion attempt.
Step 6: Power Up and Configure
With everything connected, it's time to bring your new monitor to life:
- Plug the power adapter into an outlet.
- Connect the video cable to your computer or other device.
- Power on the controller board.
- Use the button panel or remote to access the on-screen display (OSD) and adjust settings like brightness, contrast, and resolution.
This is where you'll see your hard work pay off as your old laptop screen springs to life as a standalone monitor. Take some time to fine-tune the settings to your liking. In my experience, you may need to experiment with different resolutions and refresh rates to find the optimal configuration for your specific panel.
Troubleshooting and Optimization
Even with careful preparation, you might encounter some hurdles. Here are solutions to common issues I've faced and overcome:
No display: Double-check all connections, especially the LVDS cable. Ensure the power adapter provides the correct voltage. I once spent hours troubleshooting only to realize I had connected the LVDS cable backward!
Poor image quality: Adjust the settings using the OSD. You may need to experiment with different resolutions on your computer. Some older laptop screens may have lower native resolutions, so managing expectations is key.
Flickering screen: This could indicate an issue with the LVDS cable or a mismatch between the refresh rate and what the panel supports. Try adjusting the refresh rate in your computer's display settings.
Unresponsive controls: Ensure the button panel or infrared sensor is properly connected to the controller board. Some boards require a specific sequence to activate the controls, so consult the manual if provided.
Expanding Your Project: Advanced Features and Enhancements
Once you've successfully converted your laptop screen, why stop there? As a tech enthusiast, I'm always looking for ways to enhance my projects. Here are some advanced features you might consider adding:
Touch functionality: If your original laptop had a touchscreen, you might be able to retain this feature. Some controller boards support touch input, allowing you to create a DIY touchscreen monitor. This can be particularly useful for creative work or interactive displays.
Multiple inputs: Many controller boards support various input types. Set up your monitor to switch between different devices easily. I've created a multi-input display that I use for my computer, gaming console, and Raspberry Pi projects.
Built-in speakers: If your laptop had speakers, you could integrate them into your new monitor for a complete audiovisual experience. This might require some additional wiring and possibly a separate audio amplifier, but it's a great way to create a more comprehensive display solution.
Smart mirror: Use your new monitor as the display for a DIY smart mirror project, combining it with a two-way mirror and a Raspberry Pi. I've built one of these, and it's a fantastic way to have a futuristic, information-rich mirror in your home.
Custom housing: While not strictly a technical enhancement, creating a custom housing or frame for your new monitor can significantly improve its aesthetics and durability. I've experimented with both wooden frames and 3D-printed enclosures, each offering unique benefits in terms of style and function.
The Bigger Picture: Environmental Impact and Skill Development
As we wrap up this guide, it's important to zoom out and consider the broader implications of this project. By repurposing your old laptop screen, you're not just saving money; you're actively participating in the fight against electronic waste. The skills you develop through this project – from understanding electronic components to troubleshooting complex systems – are invaluable in our increasingly tech-driven world.
Moreover, this project serves as a gateway to more advanced DIY electronics endeavors. The knowledge gained here can be applied to repairing other devices, building custom electronics, or even developing your own tech innovations. It's a step towards becoming more self-reliant in a world where technology is often seen as a black box.
In conclusion, transforming your old laptop screen into an external monitor is more than just a clever hack – it's a statement about sustainability, a lesson in electronics, and a testament to the power of DIY. So, are you ready to breathe new life into that old laptop and create something uniquely yours? Grab your tools, channel your inner tech enthusiast, and let's turn that forgotten piece of hardware into your next favorite gadget!