In the ever-evolving landscape of digital content creation, podcasting has emerged as a powerful medium for sharing ideas, stories, and expertise. At the heart of every great podcast lies the unsung hero: the microphone. Among the myriad options available, the Blue Yeti stands tall as a favorite among both novices and seasoned professionals. This comprehensive guide will walk you through the intricacies of optimizing your Blue Yeti microphone settings for podcasting, ensuring that your voice resonates with clarity and professionalism.
Understanding the Blue Yeti: A Technical Marvel
The Blue Yeti is not just another microphone; it's a sophisticated piece of audio engineering. At its core, the Blue Yeti utilizes a tri-capsule array, allowing for exceptional versatility in recording patterns. This technology enables the microphone to capture audio with stunning clarity and depth, making it an ideal choice for podcasters who demand professional-grade sound quality.
The Anatomy of Excellence
Let's delve into the key components that make the Blue Yeti a podcaster's dream:
The mute button, strategically placed on the front of the microphone, offers instant audio cut-off – a feature that proves invaluable during live recordings or when you need to quickly silence background noise. Adjacent to the mute button, you'll find the volume dial. This isn't just for show; it controls the output volume to your headphones when directly connected to the mic, allowing for real-time monitoring of your audio.
On the rear of the microphone, two crucial controls demand your attention. The gain control, a often misunderstood yet vital component, adjusts the microphone's sensitivity. Getting this right is the difference between crisp, clear audio and a distorted mess. Equally important is the pattern selector, a unique feature that sets the Blue Yeti apart from many of its competitors.
Optimizing Your Blue Yeti: The Science of Sound
Picking the Perfect Pattern
For podcasters, the cardioid pattern is the holy grail of audio pickup. This heart-shaped (hence the name) pickup pattern focuses on sound coming directly from the front of the microphone while minimizing background noise. It's the ideal choice for single-voice recording, which is the backbone of most podcast formats.
To engage this pattern, locate the selector on the back of your Blue Yeti and turn it to the heart-shaped icon. Some audio enthusiasts humorously refer to this as the "butt" icon, a testament to the audio community's light-hearted approach to technical jargon.
Gaining Ground on Great Audio
The gain control is where the magic happens – or where disasters begin. Start conservatively, setting your gain to about 25% of its maximum (imagine the dial at 9 o'clock). From here, it's a process of fine-tuning. Speak into the microphone at your normal volume and listen carefully for any signs of distortion or clipping. If your voice sounds too quiet, gradually increase the gain. Conversely, if you hear any distortion, dial it back.
Remember, in the world of audio recording, it's always better to err on the side of caution. Recording at a slightly lower volume gives you the flexibility to boost levels in post-production without introducing unwanted noise. Once audio clips, however, that data is lost forever, leaving you with irreparable distortion.
Positioning for Perfection
The physical positioning of your Blue Yeti is just as crucial as its digital settings. For optimal results:
- Position the microphone vertically, ensuring the Blue logo faces you.
- Speak into the side of the microphone, not the top. This might seem counterintuitive, but it's key to capturing the best sound.
- Maintain a distance of 6-8 inches between your mouth and the microphone. This sweet spot balances clarity with a natural room presence.
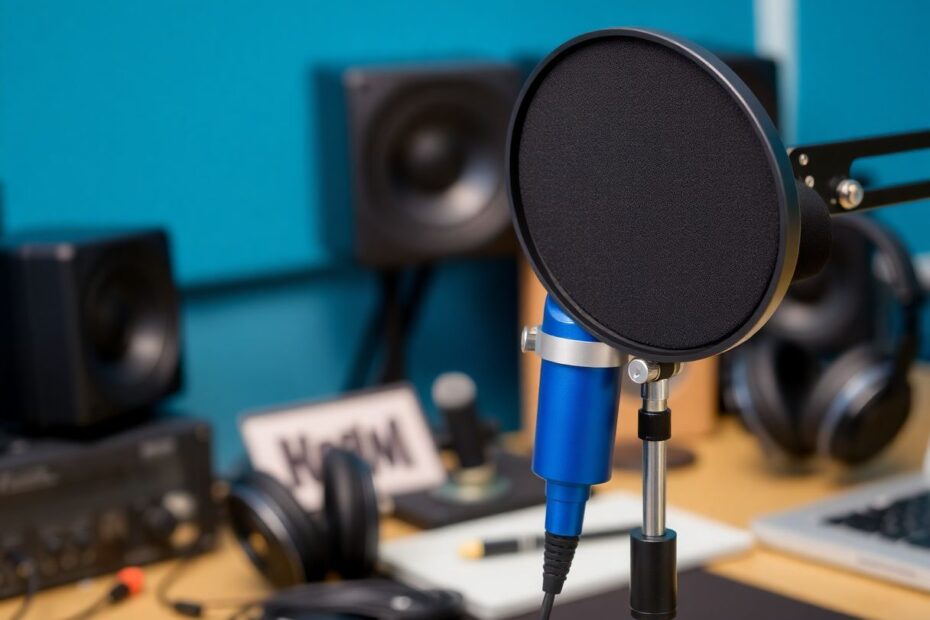
- Employ a pop filter to mitigate plosives – those harsh "p" and "b" sounds that can overwhelm your audio.
Advanced Techniques for the Discerning Podcaster
Creating Your Personal Recording Haven
While the Blue Yeti is a powerful tool, the environment in which you record plays a significant role in your audio quality. Consider these tips for creating a mini recording studio:
- Choose a quiet room with minimal echo. Smaller spaces often work better as they have fewer surfaces for sound to bounce off.
- Implement acoustic treatments. This doesn't have to break the bank – hanging heavy curtains or blankets can significantly reduce sound reflections.
- Invest in a vocal booth or reflection filter. These tools create a controlled acoustic environment around your microphone, further isolating your voice from the room.
Real-Time Monitoring: Your Secret Weapon
One of the Blue Yeti's standout features is its built-in headphone jack. This isn't just a convenience; it's a powerful tool for ensuring audio quality:
- Connect your headphones directly to the microphone.
- Use the volume knob to set a comfortable monitoring level.
- Listen attentively as you record, keeping an ear out for any issues that might compromise your audio quality.
This real-time feedback loop allows you to make immediate adjustments, potentially saving hours of frustration in post-production.
Software Synergy: Maximizing Your DAW
Your Digital Audio Workstation (DAW) is the perfect companion to your Blue Yeti. Here's how to ensure they work in harmony:
- Set your input device to the Blue Yeti in your DAW's preferences.
- Adjust the software's input level to complement your microphone's gain setting. This two-stage approach gives you finer control over your audio levels.
- Implement a noise gate plugin. This powerful tool can automatically mute your microphone when you're not speaking, eliminating background noise during pauses.
Troubleshooting: Conquering Common Challenges
Defeating Distortion
If your audio is plagued by distortion, don't despair. Try these steps:
- Lower the gain on your microphone. Overdriving the mic is a common cause of distortion.
- Increase your distance from the microphone. Being too close can lead to overload, especially on louder passages.
- Double-check your recording software's input levels. Sometimes, the issue lies in the digital realm.
Nullifying Noise
Unwanted background noise can ruin an otherwise perfect recording. Combat it with these techniques:
- Ensure you're using the cardioid pattern, which naturally rejects off-axis sounds.
- Eliminate environmental noise sources. This might mean turning off fans, air conditioning, or even waiting for that noisy construction outside to finish.
- In post-production, consider using a noise reduction plugin. Tools like iZotope RX can work wonders on problematic audio.
Mastering Muffled Audio
If your recordings sound muffled or lack clarity:
- Verify that you're speaking into the correct side of the microphone. The Blue Yeti's side-address design can be confusing at first.
- Ensure there are no obstructions between you and the microphone's grille.
- Experiment with slightly increasing the gain. Sometimes, a boost in sensitivity can capture more vocal detail.
Maintaining Your Blue Yeti: Preserving Perfection
Your Blue Yeti is an investment in your podcasting future. Treat it with care:
- Store the microphone in a dust-free environment when not in use. A microphone cover or case can provide additional protection.
- Clean the grille gently with a soft brush to remove any accumulated dust or debris.
- Handle the microphone with care. Avoid drops or impacts that could damage the sensitive internal components.
Expanding Your Audio Arsenal
As you grow more comfortable with your Blue Yeti, consider these upgrades to further enhance your setup:
- A boom arm provides flexibility in positioning and can help reduce desk vibrations that might otherwise be picked up by the microphone.
- A shock mount further isolates the microphone from physical vibrations, resulting in cleaner audio.
- A high-quality pop filter is essential for professional-sounding vocals, reducing plosives and sibilance.
The Room's Role: Understanding Acoustics
The space in which you record has a profound impact on your audio quality. Consider these acoustic principles:
- Hard surfaces create reflections that can lead to a "roomy" sound. While this might be desirable in music production, it's generally best avoided in podcasting.
- Soft furnishings and textiles absorb sound, reducing reflections and creating a "deader" acoustic space. This is typically preferable for voice recording.
- The size and shape of your room affect how sound behaves. Larger rooms often introduce more complex reflections, while smaller spaces can lead to a boxy sound if not properly treated.
Post-Production: Polishing Your Podcast
While getting great sound at the source is crucial, post-production can elevate your audio to new heights:
- Use equalization (EQ) to enhance vocal clarity. A slight boost in the high-mids can add presence, while cutting problematic low frequencies can reduce muddiness.
- Apply compression to even out volume levels. This helps maintain consistency throughout your podcast and can make your voice sound more authoritative.
- Add a touch of reverb for a more professional sound. Be subtle – the goal is to add depth, not to make it sound like you're podcasting from a cave.
Staying Ahead of the Curve
The world of audio technology is in constant flux. To maintain your edge:
- Regularly check for firmware updates for your Blue Yeti. These can improve performance and add new features.
- Stay informed about new recording techniques and software developments. Online forums and audio production blogs are excellent resources.
- Engage with the podcasting community. Sharing experiences and learning from others can provide invaluable insights and inspiration.
Conclusion: Your Journey to Podcasting Excellence
Mastering the Blue Yeti for podcasting is more than just twisting a few knobs – it's an ongoing journey of discovery and refinement. By understanding the microphone's capabilities, optimizing your recording environment, and continuously honing your technique, you're setting yourself up for podcasting success.
Remember, great audio isn't just about the equipment – it's about the care, attention, and passion you bring to each recording session. With the knowledge you've gained from this guide, you're well-equipped to create podcasts that not only sound professional but also truly engage your audience.
So, adjust that gain, fine-tune your position, and let your voice shine through the Blue Yeti. Your audience awaits, eager to hear what you have to say. Happy podcasting, and may your audio always be crisp, clear, and compelling!