Hollow Knight, the enchanting and challenging Metroidvania masterpiece, offers an intricate world filled with secrets and challenges. As you delve deeper into the haunting depths of Hallownest, upgrading your Nail becomes essential for survival. This comprehensive guide will unveil all six Hollow Knight pale ore locations, empowering you to enhance your weapon and conquer even the most formidable foes.
The Significance of Pale Ore in Hollow Knight
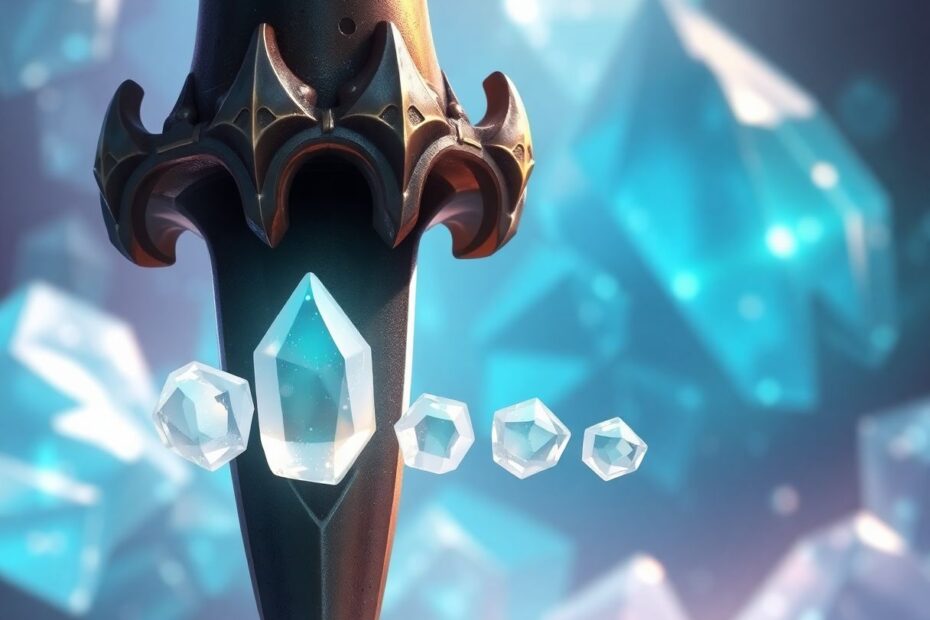
Pale ore stands as a cornerstone of progression in Hollow Knight. This rare, mystical material is crucial for upgrading the Knight's primary weapon, the Nail. Each upgrade substantially increases your damage output, transforming seemingly insurmountable challenges into manageable encounters. To fully realize your Nail's potential, you'll need to collect all six pieces of pale ore scattered throughout Hallownest.
The importance of these upgrades cannot be overstated. As you venture into more treacherous areas like Deepnest or the Kingdom's Edge, the increased damage from a upgraded Nail can mean the difference between victory and defeat. Moreover, certain late-game bosses and challenges become significantly more manageable with a fully upgraded Nail, allowing you to focus on mastering patterns and strategies rather than worrying about damage output.
Pale Ore Location 1: The Grubfather's Generous Gift
Our pale ore hunt begins in the familiar territory of the Forgotten Crossroads. This first piece serves as a reward for your dedication to rescuing the adorable grubs scattered throughout Hallownest. To claim this pale ore:
Navigate to Grubhome, located in the far left of the Forgotten Crossroads. This cozy sanctuary becomes accessible early in your adventure, but you'll need to put in some serious exploration time before claiming your prize. Focus on rescuing at least 31 of the 46 grubs hidden across the game world. This task will naturally lead you to explore every corner of Hallownest, from the fungal depths of the Fungal Wastes to the crystalline heights of Crystal Peak.
Upon returning to the Grubfather with your rescued grubs, you'll be rewarded not only with the pale ore but also with the heartwarming sight of the reunited grub family. This pale ore piece symbolizes your growth as an explorer and protector of Hallownest's innocent creatures.
Pale Ore Location 2: Conquering the Horrors of Deepnest
Our second pale ore piece requires a journey into one of Hollow Knight's most unnerving areas – Deepnest. This maze-like region tests not only your combat skills but also your nerves. Here's a detailed walkthrough:
Begin by descending to the bottom right of Deepnest, where you'll discover a serene hot spring area – a stark contrast to the surrounding hostility. From here, head left until you encounter a wall that trembles at your approach. Break through this barrier to enter a new area, then seek out another breakable wall on the left side.
As you progress, you'll catch glimpses of a mysterious figure that looks eerily similar to the Knight. This doppelganger leads you deeper into Deepnest's labyrinth, culminating in a boss fight against Nosk – a shapeshifting creature that preys on the memories and desires of its victims. Overcoming Nosk requires quick reflexes and pattern recognition, as it unleashes a barrage of attacks from both the ground and air.
After emerging victorious, proceed to the end of Nosk's lair to claim your well-earned pale ore. This particular piece represents your ability to face your fears and overcome deception, themes that resonate throughout Hollow Knight's narrative.
Pale Ore Location 3: Unearthing Secrets in the Ancient Basin
The Ancient Basin, a realm of forgotten royalty and hidden truths, holds our third piece of pale ore. This location is relatively straightforward to access once you've unlocked the necessary abilities:
Use the tram system from Deepnest to enter the Ancient Basin. Upon exiting the tram, immediately turn left and look for a hole you can drop down into. In this new area, continue left until you reach the pale ore. While the journey to this pale ore is less demanding than others, its location in the Ancient Basin hints at the deep connection between the pale ore and the ancient civilization of Hallownest.
The ease of obtaining this pale ore makes it an excellent early upgrade option for many players. It serves as a turning point in your journey, providing a significant power boost just as you begin to uncover the deeper mysteries of Hallownest.
Pale Ore Location 4: Proving Your Worth in the Colosseum of Fools
For our fourth piece of pale ore, we must prove our combat prowess in the brutal Colosseum of Fools, located in Kingdom's Edge. This challenge represents a true test of the skills you've honed throughout your journey:
Ascend to the top of Kingdom's Edge and enter the enormous bug carcass to find the Colosseum. You'll need to complete the first trial to unlock the second, known as the Trial of the Conqueror. This grueling gauntlet pits you against waves of increasingly difficult enemies, culminating in a boss fight against the God Tamer and her beast.
Success in the Colosseum requires mastery of all aspects of combat – precise nail strikes, effective spell usage, and flawless movement. The pale ore awarded for your victory here symbolizes your growth from a mere wanderer to a true warrior of Hallownest.
Pale Ore Location 5: Awakening the Dream Nail's Potential
Our fifth pale ore piece delves into the mystical side of Hollow Knight, intertwining with the game's dream mechanics:
To begin this quest, you must first obtain the Dream Nail in the Resting Grounds. This ethereal tool allows you to peer into the minds of others and access hidden realms. Your task is to collect 300 essence by defeating dream warriors, taking on dream boss variants, and exploring dream trees scattered throughout Hallownest.
As you accumulate essence, return periodically to the Seer in the Resting Grounds. At 300 essence, she'll award you with the coveted pale ore. This piece represents your growing understanding of Hallownest's hidden truths and your ability to navigate both the physical and dream realms.
Pale Ore Location 6: Scaling the Heights of Hallownest's Crown
The final piece of pale ore awaits at the very pinnacle of Hallownest, testing your platforming skills and determination:
Make your way to the top right of Crystal Peak, a area that shimmers with dangerous beauty. You'll need the Mantis Claw ability to reach this location, and while not strictly necessary, the Mothwing Cloak (dash) and Monarch Wings (double jump) abilities will make the ascent much more manageable.
As you climb, you'll face treacherous jumps and hostile crystal-infused enemies. Your perseverance is rewarded not only with the final pale ore but also with a breathtaking view of Hallownest from above. This last piece symbolizes your mastery over the vertical challenges of the game world and your ascent from a lowly wanderer to a true hero of Hallownest.
Maximizing Your Nail's Potential
With all six pale ore pieces in hand, it's time to unleash your Nail's true power. Seek out the Nailsmith in the City of Tears, located in the far left of the area. Each upgrade requires both geo and pale ore, with the costs increasing with each enhancement:
- First upgrade: 250 geo and 1 pale ore
- Second upgrade: 800 geo and 2 pale ore
- Third upgrade: 2000 geo and 3 pale ore
- Final upgrade: 4000 geo and 6 pale ore
Plan your upgrades strategically, as the increased damage output can significantly impact your gameplay experience. A fully upgraded Nail turns many late-game challenges from daunting ordeals into manageable encounters, allowing you to focus on mastering the intricate boss patterns and platforming challenges that define Hollow Knight's endgame.
Beyond Pale Ore: Holistic Character Enhancement
While pale ore upgrades form the backbone of your offensive capabilities, Hollow Knight offers numerous other avenues for enhancing your Knight:
Charms play a crucial role in customizing your playstyle. With 45 unique charms to discover, you can tailor your loadout to emphasize healing, spell casting, nail combat, or exploration. Experiment with different combinations to find synergies that complement your preferred approach to challenges.
Movement abilities like the Mothwing Cloak (dash) and Monarch Wings (double jump) not only aid in combat but also open up new areas for exploration. Mastering these skills allows you to navigate Hallownest's intricate environments with grace and precision.
Don't neglect your defensive capabilities. Seek out mask shards to increase your health and vessel fragments to expand your soul capacity. These upgrades provide the sustenance needed for long exploration sessions and tough boss fights.
Conclusion: Forging Your Legendary Journey Through Hallownest
Armed with this comprehensive guide to Hollow Knight's pale ore locations, you're now prepared to embark on a quest to maximize your Nail's potential. Each piece of pale ore represents not just a weapon upgrade, but a milestone in your journey through the haunting world of Hallownest.
As you traverse the game's atmospheric corridors and face its myriad challenges, let the thrill of discovery and the satisfaction of overcoming obstacles drive you forward. With perseverance, skill, and a fully upgraded Nail, you'll be well-equipped to uncover the deepest secrets of Hollow Knight and emerge as a true legend of this captivating metroidvania masterpiece.
Remember, the path of the Nail is one of constant growth and refinement. Each swing brings you closer to mastery, and each victory etches your legend into the very fabric of Hallownest. So venture forth, brave Knight, and may your journey be as rewarding as it is challenging. The mysteries of Hallownest await, and with your trusty Nail by your side, no secret will remain hidden, no foe unconquered.