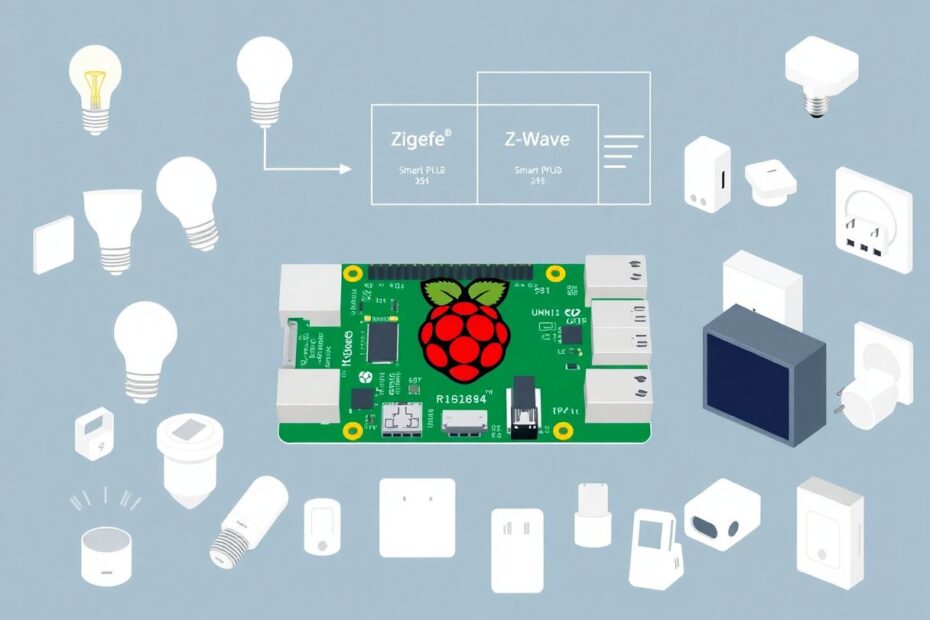
In the ever-evolving landscape of smart home technology, the ability to seamlessly integrate diverse devices and protocols is paramount. Enter the Raspberry Pi – a versatile, pocket-sized computer that can be transformed into a powerful universal bridge for Zigbee and Z-Wave devices. This comprehensive guide will walk you through the process of creating a centralized control system that's not only flexible and future-proof but also budget-friendly and customizable.
The Smart Home Revolution: Understanding Zigbee and Z-Wave
Before we delve into the technical aspects of our project, it's crucial to understand the two primary protocols we'll be working with: Zigbee and Z-Wave. These technologies form the backbone of many smart home setups, each with its own strengths and characteristics.
Zigbee: The Flexible Mesh Network
Zigbee, an open wireless standard, has gained significant traction in the smart home market due to its low power consumption and mesh networking capabilities. Developed by the Zigbee Alliance (now rebranded as the Connectivity Standards Alliance), this protocol operates primarily on the 2.4 GHz frequency band.
Key features of Zigbee include:
- Support for up to 65,000 devices on a single network
- Typical indoor range of 10-20 meters
- Mesh network architecture where each device can act as a repeater
- Adoption by popular brands like Philips Hue, IKEA TRÅDFRI, and Amazon Echo devices
Zigbee's mesh network capability is particularly noteworthy. Each device on the network can relay messages, effectively extending the range and improving reliability. This makes Zigbee an excellent choice for larger homes or setups with numerous devices.
Z-Wave: The Reliable Low-Frequency Option
Z-Wave, a proprietary wireless protocol developed by Sigma Designs and now owned by Silicon Labs, offers excellent reliability and compatibility. Operating on the 800-900 MHz frequency band, Z-Wave avoids interference with Wi-Fi networks and provides better wall penetration compared to 2.4 GHz signals.
Z-Wave's key characteristics include:
- Support for up to 232 devices on a network
- Longer range than Zigbee, typically 30-100 meters outdoors
- Mesh network topology for extended coverage
- Widespread adoption in smart locks, sensors, and home security systems
Z-Wave's lower frequency gives it an edge in terms of range and obstacle penetration, making it ideal for devices that may be placed in hard-to-reach areas or need to communicate through walls.
Hardware Requirements: Building Your Bridge
To transform your Raspberry Pi into a universal Zigbee and Z-Wave bridge, you'll need to gather the following components:
- Raspberry Pi (Model 3 or newer recommended for optimal performance)
- MicroSD card (16GB or larger for ample storage)
- Power supply for your Raspberry Pi (at least 3A for stability)
- Zigbee USB dongle (e.g., CC2531 or CC2652R)
- Z-Wave USB dongle (e.g., Aeotec Z-Stick Gen5 or Silicon Labs HUSBZB-1)
- Ethernet cable (optional but recommended for network stability)
When selecting your Zigbee and Z-Wave dongles, it's important to choose models with good community support and compatibility. The CC2652R-based dongles are currently favored for Zigbee due to their superior performance and larger buffers. For Z-Wave, the Silicon Labs HUSBZB-1 is a popular choice as it supports both Z-Wave and Zigbee, potentially reducing the number of USB ports required.
Software Setup: Creating the Foundation
Our universal bridge will rely on a combination of software components to manage Zigbee and Z-Wave devices effectively. We'll be using:
- Raspbian OS (now called Raspberry Pi OS)
- Mosquitto MQTT broker
- Zigbee2MQTT for Zigbee device management
- Z-Wave JS for Z-Wave device control
- Home Assistant as our central management platform
Let's walk through the installation process step by step, ensuring a robust and reliable setup.
Step 1: Install Raspberry Pi OS
Begin by downloading the Raspberry Pi Imager from the official Raspberry Pi website. This tool simplifies the process of flashing the OS to your MicroSD card. Once downloaded:
- Insert your MicroSD card into your computer
- Open the Raspberry Pi Imager
- Select "Raspberry Pi OS (32-bit)" as the operating system
- Choose your MicroSD card as the destination
- Click "Write" to flash the OS to the card
After the process completes, insert the MicroSD card into your Raspberry Pi and power it on.
Step 2: Initial Raspberry Pi Configuration
Once your Raspberry Pi boots up, you'll need to perform some initial configuration:
- Connect to your Raspberry Pi via SSH or directly with a keyboard and monitor
- Run
sudo raspi-configin the terminal - Change the default password for security
- Set up Wi-Fi if not using Ethernet
- Enable SSH for remote access
- Expand the filesystem to utilize the entire SD card
After configuration, update your system with:
sudo apt update
sudo apt upgrade -y
Step 3: Install Mosquitto MQTT Broker
MQTT (Message Queuing Telemetry Transport) is a lightweight messaging protocol ideal for IoT devices. We'll use Mosquitto, an open-source MQTT broker. Install it with:
sudo apt install -y mosquitto mosquitto-clients
sudo systemctl enable mosquitto.service
Step 4: Set Up Zigbee2MQTT
Zigbee2MQTT is an open-source project that allows you to use Zigbee devices without the vendors' bridges or gateways. To set it up:
Install Node.js and dependencies:
curl -sL https://deb.nodesource.com/setup_14.x | sudo -E bash -
sudo apt-get install -y nodejs git make g++ gcc
Clone and install Zigbee2MQTT:
git clone https://github.com/Koenkk/zigbee2mqtt.git
cd zigbee2mqtt
npm ci
Configure Zigbee2MQTT by editing the configuration file:
cp data/configuration.yaml data/configuration.yaml.bak
nano data/configuration.yaml
Update the configuration to match your setup, particularly the
serialsection to point to your Zigbee USB dongle.Create a service file for automatic startup:
sudo nano /etc/systemd/system/zigbee2mqtt.serviceAdd the necessary content to ensure Zigbee2MQTT starts automatically on boot.
Enable and start the service:
sudo systemctl enable zigbee2mqtt.service
sudo systemctl start zigbee2mqtt.service
Step 5: Install Z-Wave JS
Z-Wave JS is a JavaScript implementation of the Z-Wave protocol, allowing integration with Node.js applications. To install:
Install Z-Wave JS Server:
sudo npm install -g zwave-js-serverCreate a service file for automatic startup:
sudo nano /etc/systemd/system/zwave-js-server.serviceAdd the necessary content to ensure Z-Wave JS Server starts automatically.
Enable and start the service:
sudo systemctl enable zwave-js-server.service
sudo systemctl start zwave-js-server.service
Step 6: Install Home Assistant
Home Assistant will serve as our central management platform, bringing together all our smart home devices under one roof. To install:
Install required packages:
sudo apt-get install -y python3 python3-dev python3-venv python3-pip libffi-dev libssl-dev libjpeg-dev zlib1g-dev autoconf build-essential libopenjp2-7 libtiff5Create a Home Assistant user and directory:
sudo useradd -rm homeassistant -G dialout,gpio,i2c
sudo mkdir /srv/homeassistant
sudo chown homeassistant:homeassistant /srv/homeassistant
Set up a virtual environment and install Home Assistant:
sudo -u homeassistant -H -s
cd /srv/homeassistant
python3 -m venv .
source bin/activate
pip3 install wheel
pip3 install homeassistant
Create a service file for Home Assistant:
sudo nano /etc/systemd/system/home-assistant@homeassistant.serviceAdd the necessary content to ensure Home Assistant starts automatically.
Enable and start the Home Assistant service:
sudo systemctl enable home-assistant@homeassistant.service
sudo systemctl start home-assistant@homeassistant.service
Configuring Your Universal Bridge
With all components installed, it's time to bring everything together in Home Assistant. Access the Home Assistant web interface by navigating to http://your_raspberry_pi_ip:8123 in your browser and follow these steps:
- Go through the initial setup process to create your account.
- Navigate to Configuration > Integrations.
- Add the MQTT integration, pointing it to your local Mosquitto broker.
- Add the Zigbee2MQTT integration, which should auto-discover if set up correctly.
- Add the Z-Wave integration, pointing it to
ws://localhost:3000.
Now you can start adding your Zigbee and Z-Wave devices. For Zigbee devices, put your USB dongle into pairing mode and follow the instructions for each device. For Z-Wave devices, use the Z-Wave control panel in Home Assistant to add them to your network.
Advanced Features and Customization
Once your universal bridge is up and running, you can explore more advanced features to truly unleash the potential of your smart home:
Create complex automations that work across different protocols. For example, you could trigger a Z-Wave smart lock when a Zigbee motion sensor detects movement.
Develop custom components for Home Assistant to integrate devices or services that aren't natively supported.
Implement advanced security measures, such as SSL encryption for MQTT communications and two-factor authentication for Home Assistant.
Explore energy monitoring and optimization by tracking power consumption of your smart devices.
Integrate with voice assistants like Amazon Alexa or Google Assistant for voice control of your entire smart home setup.
Set up remote access to control your home from anywhere in the world, using Home Assistant's secure remote access feature.
Implement presence detection using a combination of Wi-Fi device tracking, Bluetooth beacons, and GPS data from smartphones to automate your home based on who's present.
Conclusion: Embracing the Future of Smart Home Technology
By transforming your Raspberry Pi into a universal Zigbee and Z-Wave bridge, you've not only created a powerful, centralized control system for your smart home but also opened up a world of possibilities for customization and expansion. This setup allows you to break free from the limitations of proprietary hubs, giving you the flexibility to mix and match devices from different manufacturers and protocols.
As the smart home industry continues to evolve, your DIY bridge puts you in an excellent position to adapt to new technologies and standards. Whether it's integrating future IoT protocols or developing your own custom solutions, you now have a solid foundation to build upon.
Remember, the journey doesn't end here. The open-source nature of many components in this setup means you're part of a larger community of enthusiasts and developers. Stay engaged with forums, contribute to projects like Zigbee2MQTT or Home Assistant, and don't be afraid to push the boundaries of what's possible in home automation.
Your Raspberry Pi-powered universal bridge is more than just a smart home controller – it's a gateway to a more connected, efficient, and personalized living space. Happy automating!