
There is an affluence of electronic solutions: from small gadgets that improve our daily routine to computer systems that automate processes. How are they created? Everything starts with an idea.
An electronic product has a long way to go before it reaches a consumer: starting from a concept design and ending with technical support. Let’s go through all the stages of a new product lifecycle.
The concept design stage
The concept design stage is quite a creative one. It includes research, validation, and defining a cost-efficient way of designing an electronic product.
This stage implies market research for your product, designing specifications, defining the development costs, choosing the right components, and creating a Bill of Materials.
The Proof-of-Concept stage
The Proof-of-Concept stage means that you should prove that your product is viable. For that, it is necessary to assess weak places in technical design and check if you have chosen the right components and platform for your product.
If everything is okay and functional, you can move to the designing stages.
The enclosure design stage
The enclosure design stage is where you choose materials, finishes, textures, colors, and create a 3D modeling design of a product and its enclosure.
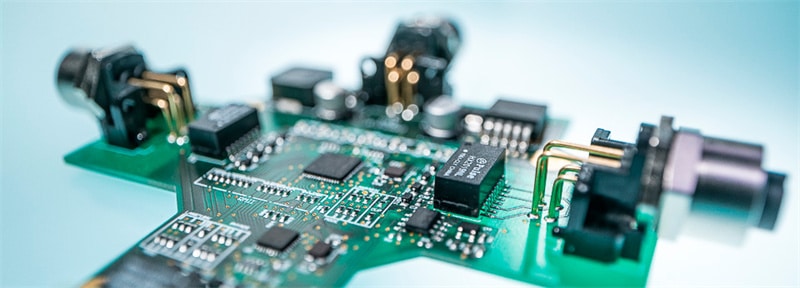
The electronics design stage is dedicated to building Schematics, PCB design, and layout, PCB fabrication, and testing.
Here, you design connectivity between components taking into account the number of PCB layers and the dimensions of components. Besides, it is necessary to ensure that the electronics fit the enclosure.
At this stage, you can take steps to cut the development costs and reduce time to market by performing DFM/DFA analysis.
Generating a full production BOM.
Generating a full production BOM. At this point, you should create a complete Bill of Materials that contains every component and their specifications.
Ordering PCB prototypes.
Ordering PCB prototypes. Approaching this point, you should have already created all the necessary documents and materials that specify the dimensions of the PCB, its form, the components to be used, and other significant details.
At this stage, you should output the PCB layout in a Gerber format and it should contain files for each PCB layer. After that, you can use these Gerber files for small volume production as well as for high volume one.
The next step is soldering all the components onto your PCB and Gerbers will allow assembly shops to automate this process according to the exact coordinates of putting the components on the PCB.
One more significant part is the testing process. Proper testing procedures will allow you to get high-quality prototypes.
Programming and debugging.
Programming and debugging. This is the time for programming, evaluating, and testing your prototype. Usually, these three things happen simultaneously during programming.
Finalizing your solution can require several iterations before you get a properly functioning prototype.
Ordering enclosure prototypes.
Ordering enclosure prototypes. With a real prototype in your hand, you can evaluate your enclosure design in the most efficient and accurate way.
Now, you can change the 3D modelling design according to the dimensions and forms your prototype has got.
Product certification stage.
Product certification stage. This stage is an obligatory one if you want to take your solution to market. You can ensure successful certification of tour product by preparing for it carefully.
For example, you can use pre-certified components and have your product developed according to the certification requirements.
However, it is better to start certification procedures when your product is finalized. There are different types of certifications and you should choose those that are necessary for your market and the countries where you are going to sell your product.
Choosing an outsourcing team.

Choosing an outsourcing team. If you need more info on how to come up with your own electronics design, check out Integra Sources’ custom electronic design services page. Our team has the necessary expertise required for the development of digital and analog electronics, from the selection of the necessary components to printed circuit board assembly and testing.
We work with companies and startups around the world to provide solutions for a wide range of industries including business, healthcare, consumer electronics and more. You can learn more about the different types of services on our electronic design page, which includes info on power electronics, hardware firmware development, PCB development services, FPGA and product engineering services.
All possible models of cooperation are also provided on that page in case you want to share responsibilities between your company and our team. As you can see, there are several different areas of responsibility for each phase of development, so you can decide on your own which team will engage in R&D, development, or outsourcing.
In case you still have any questions, you can check out the FAQ section for answers to the most frequently asked questions, or ask us a question in the form below. You can also check out the entire list of services offered, as well as specific cases for each area.