You have enjoyed playing Minecraft on Mac and Windows, and now want to experience the game on your Linux operating system? First things first, you need to install the game on your PC. Below, we have discussed some methods and steps on how to install Minecraft on Linux. Keep reading to find out…..
Minecraft is a popular sandbox video game on Windows, Mac, and Linux operating systems. It is based on the Java programming language. As of January 2022, it was still considered the bestselling video game with over 140 million monthly active users. It was first created by Markus Persson and later developed by Jens Bergensten.
In this article, we’ll focus on how to install Minecraft on Linux. The methods and steps covered in this post include installing the game on Debian Derivatives, installing Minecraft on Non-Debian derivatives of Linux, and how to uninstall the game from your Linux PC. With that being said, let’s get started…..
1. install Minecraft on Debian Derivatives of Linux
To begin with, let’s learn how to install Minecraft on Debian derivatives of Linux. The process is relatively straightforward. Follow the steps outlined below to get it done:
Step 1: Download Minecraft
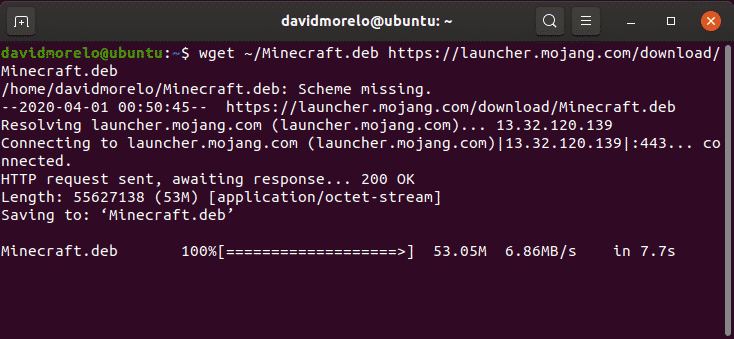
The first step is to download the Minecraft deb installation package from the Minecraft official website via your web browser. If you don’t have a web browser installed on your PC, you can use the following command to download Minecraft on your computer:
wget https://launcher.mojang.com/download/Minecraft.deb.
After downloading the software package, next, you need to run it on your computer.
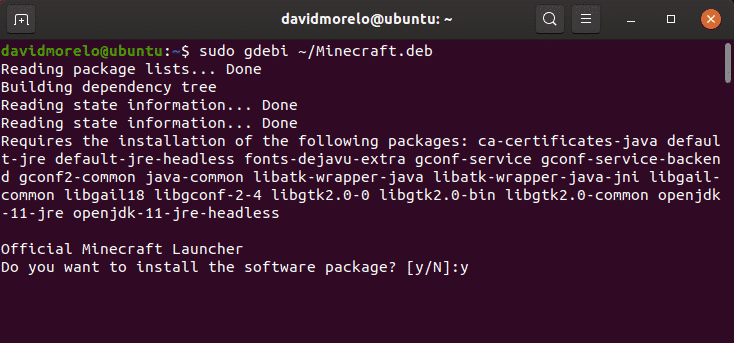
Step 2: Install Minecraft
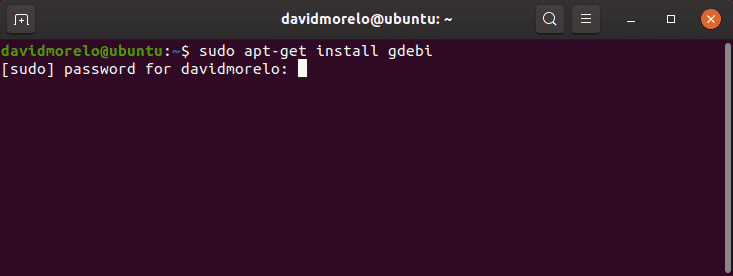
To install the Minecraft Debian package, we recommend using gdebi tool. The tiny tool makes it easy to install all the software package dependencies. To access and install gdebi, use the following command:
$ sudo apt install gdebi-core
To install Minecraft with gdebi, use this command:
$ sudo gdebi~/Minecraft.deb
After successfully installing Minecraft on your PC, the next step is launching the game on your Linux operating system.
Step 3: Start Minecraft
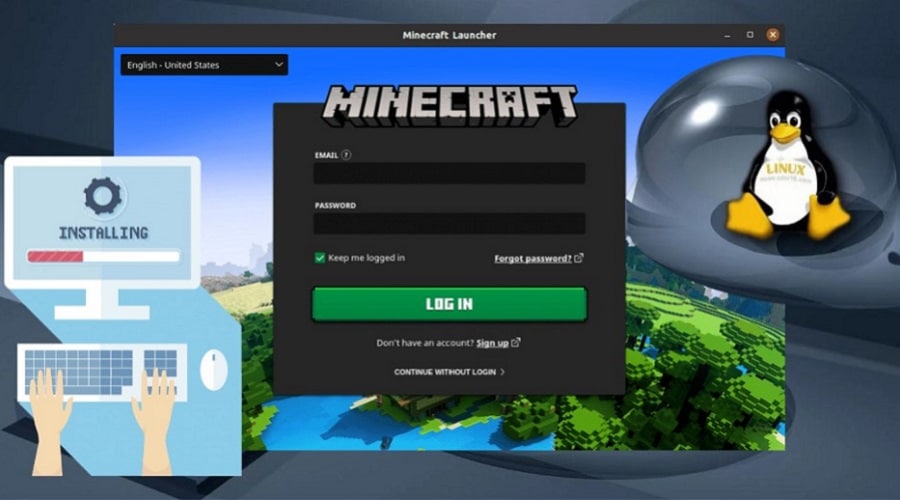
Before you can start playing Minecraft, first, you need to run the game launcher. To do that, you need to enter your user email and password and click Ok.
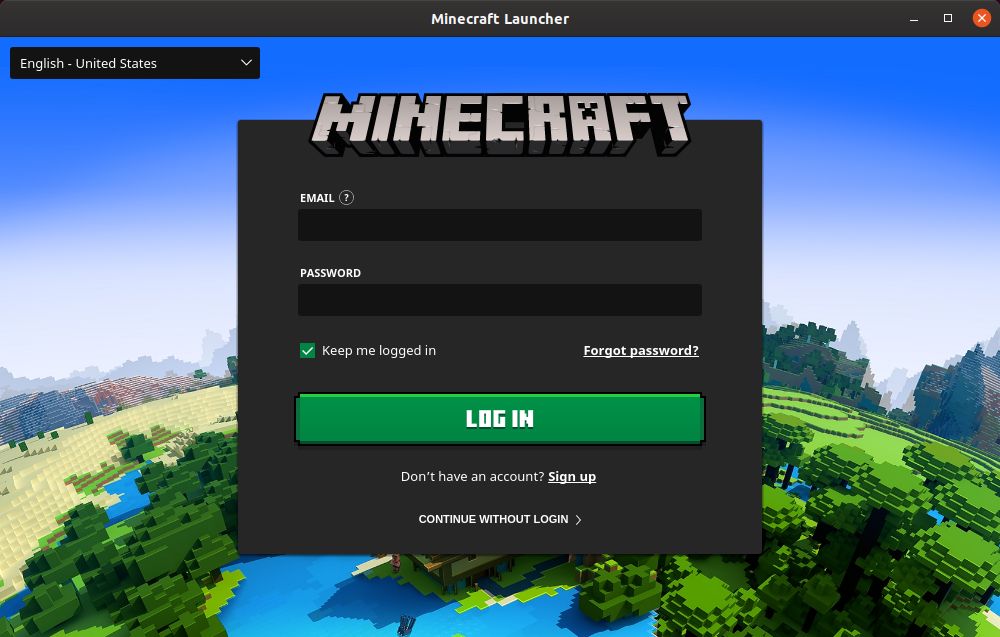
That’s all you need to do to start building your world. Enjoy playing Minecraft.
2. install Minecraft on Non-Debian versions of Linux
Besides the Debian derivatives of Linux, Minecraft also operates on non-Debian versions of Linux, provided there’s an installed Java Runtime Environment and a 3D graphics card.
Below are some steps to help you install the award-winning sandbox video game on non-Debian versions of Linux:
Step 1: Install the Appropriate JRE
The JRE (Java Runtime Environment) has the necessary components to run Java applications. When it comes to running Java programs, most Linux versions have several options, such as:
- JDK (Java Development Kit): The JDK is a set of tools for Java programmers that includes a Java Virtual Machine (JVM) and other resources for creating Java software.
- Headless JRE: The stripped-down version of the Java Runtime Environment is designed to run Java applications without a graphical user interface. As a result, it is not compatible with Minecraft on Linux.
- Full JRE: This version of the Java Runtime Environment is based on the headless version and contains everything you’ll need to run Java applications with a graphical user interface, such as Minecraft.
Non-Debian users should install the open JDK with the following command:
su -c “yum install java-1.8.0-openjdk”
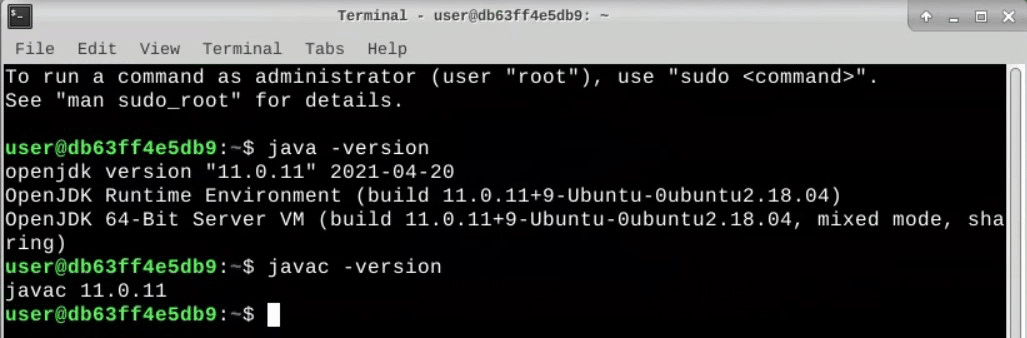
You can also check the Java version of your Linux distribution by simply typing the terminal: java -version.
Step 2: Install the Graphics Card Driver

Minecraft is a 3D game that requires you to install and enable a 3D acceleration driver on your PC graphics card. To begin, you need to test your PC’s GPU for 3D acceleration support. To do that, you need to install the Mesa-utils package first.
Once the package is successfully installed, the next step is to type the command glxgears in the terminal. That will let you know whether or not the graphics card can render FPS. A new window with three spinning gears will emerge, and the PC will display the number of rendered frames in the terminal.
Because glxgears use minimal PC resources, any Linux computer with functioning 3D acceleration should be able to generate hundreds of frames per second. If the gears appear jerky, your 3D acceleration isn’t working, and you’ll need to update your graphics card driver.
You can easily do that by accessing “Open Software & Updates” clicking on the “Additional Drivers” tab, and selecting the proprietary option on Linux operating systems to update the driver. When you’re all done, restart your PC to save the changes.
After installing the right Java Run Time and graphics card driver, the next task is installing the game on your Linux PC.
Step 3: Install Minecraft
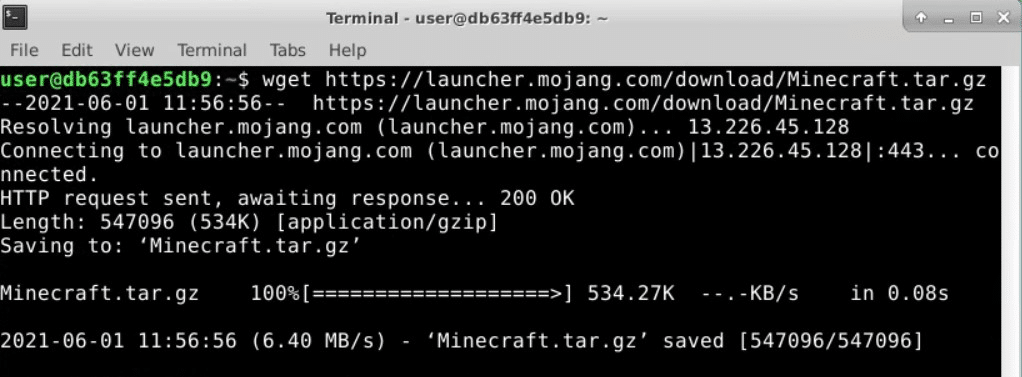
Download the Minecraft.tar.gz version from the official website using the following wget if your distribution is not based on Ubuntu.
wget https://launcher.mojang.com/download/Minecraft.tar.gz
To decompress Minecraft after download, use the following command:
tar-xvf Manecraft.tar.gz

There are two ways to go about the installation process for Minecraft, depending on whether or not your version of Linux has a pre-installed version of the Snap package:
i. For Linux versions featuring a pre-installed Snap package (e.g., recent Ubuntu versions and flavors, Solus 3, and Zorin OS), Minecraft installation can be done using the following command:
$ sudo install minecraft-launcher-ot
ii. For Linux versions with no pre-installed Snap, use the following command to install Minecraft:
sodu dpkg-i minecraft.deb
iii. To solve any dependency problem while installing Minecraft on Linux, use the following command:
sudo apt-fix-broken install
Step 4: Run Minecraft
After successfully installing Minecraft on your Linux PC, the last step is to start the game and begin playing. To do that, use the command “Minecraft-launcher”.
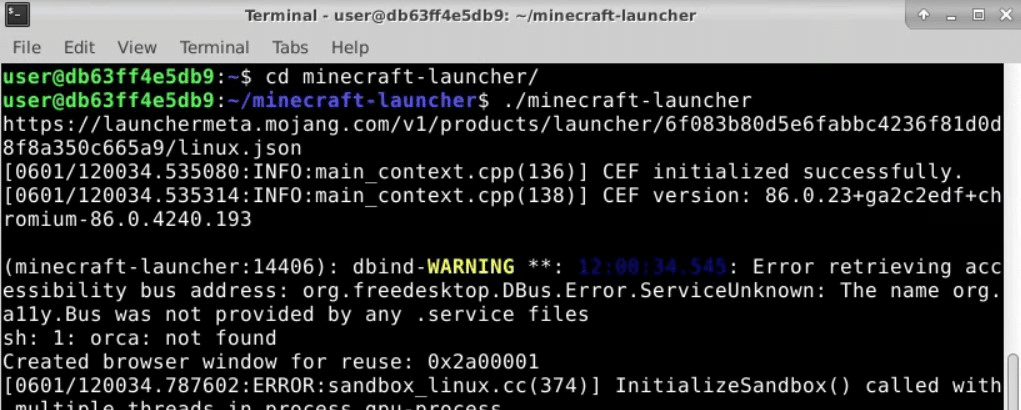
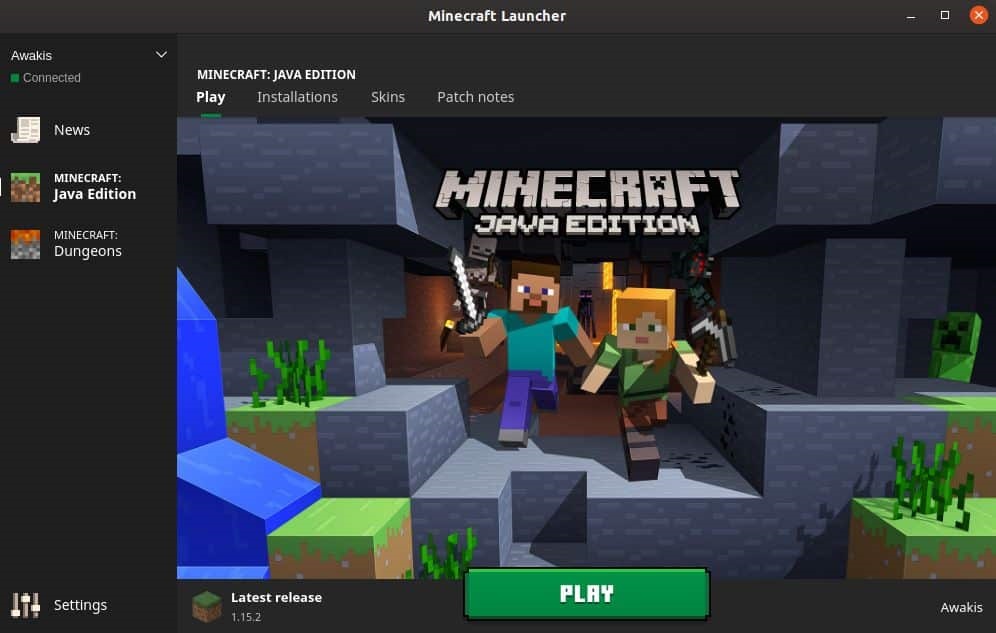
Once you launch the gaming application, you’ll be prompted to finalize the setup process using the Mojang user credentials. After doing that, you should be able to start playing Minecraft on your Linux PC.
How to Uninstall Minecraft on Linux
When you’ve had enough of Minecraft and no longer wish to play the game on your Linux PC, you can uninstall it from your machine. Here’s how to do that:
Before we go any further, you need to remember that whenever Minecraft is installed on your PC, a Minecraft folder will be automatically generated and saved to store game data on your computer.
With that said, the procedure for uninstalling Minecraft from your Linux PC involves removing the Minecraft folder. To do that, use this command:
rm-vr~/.minecraft/*
Conclusion
That wraps up our detailed breakdown of the methods and steps for installing Minecraft on Linux. Moreover, we have also shared some details on how to uninstall the game from your gaming PC when you’ve had enough of it.
I hope you found the content very useful. If you have any questions, drop them in the comment section below.