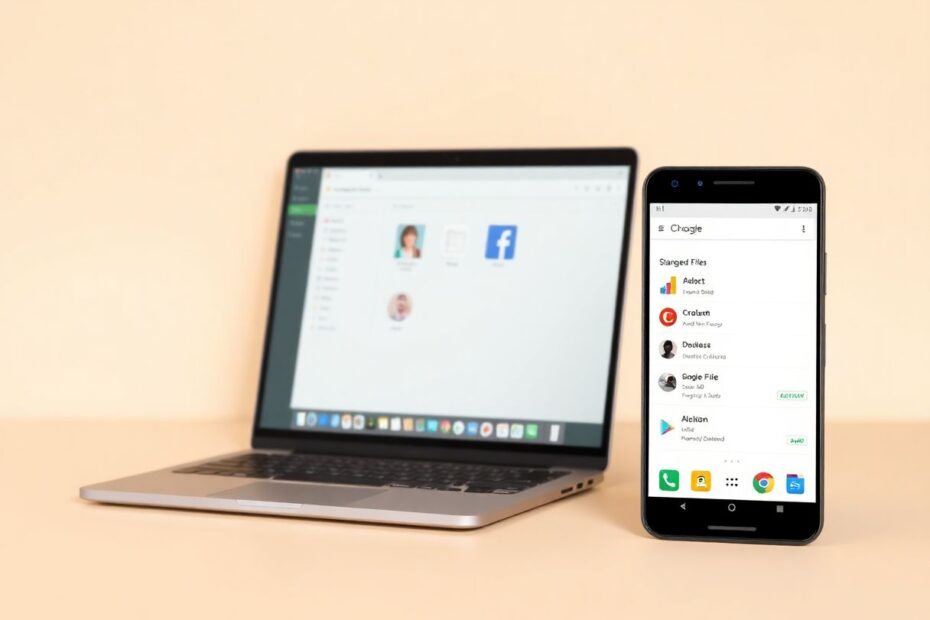
In our increasingly interconnected digital world, the ability to seamlessly link devices has become not just a convenience, but a necessity for many. This comprehensive guide will walk you through the process of connecting your Android phone to your Chromebook, unlocking a wealth of features and integration possibilities that can significantly enhance your productivity and user experience.
The Benefits of Android-Chromebook Integration
Before delving into the technical aspects, it's worth exploring why you might want to connect these devices in the first place. The integration between Android phones and Chromebooks offers a host of advantages that can streamline your digital life:
Seamless File Transfer: Gone are the days of emailing files to yourself or fumbling with USB drives. With a connected Android phone, you can effortlessly move files between your devices with just a few clicks.
Access to Android Apps on Chromebook: While Chromebooks have come a long way in terms of available applications, the ability to run Android apps expands your options exponentially. From productivity tools to entertainment apps, you'll have access to a vast ecosystem.
Shared Notifications: Never miss an important message again. With shared notifications, you can see and respond to phone notifications directly from your Chromebook.
Instant Tethering: Need internet on the go? Your connected Android phone can automatically share its mobile data connection with your Chromebook when Wi-Fi isn't available.
Smart Lock: Enhance your security without sacrificing convenience. Smart Lock allows you to unlock your Chromebook automatically when your paired Android phone is nearby.
Ensuring Compatibility
Before you begin the connection process, it's crucial to ensure that your devices are compatible with these features. While most modern Chromebooks and Android phones will work seamlessly together, there are a few requirements to keep in mind:
Your Chromebook should support Android apps. This feature was introduced in 2016, so most Chromebooks manufactured after this date should be compatible. To check, you can visit the Chromium OS website, which maintains a list of Chromebooks that support Android apps.
Both your Chromebook and Android phone should be running relatively recent versions of their respective operating systems. For Chromebooks, you'll want to be on Chrome OS version 71 or later. For Android phones, Android 5.1 (Lollipop) or later is required, though newer versions will offer more features and better stability.
Both devices should be signed in to the same Google account. This is crucial for the connection process and for accessing shared features.
To verify your device specifications, you can check the 'About' section in your device settings or consult the manufacturer's website for detailed information.
The Connection Process: A Step-by-Step Guide
Now that we've covered the benefits and compatibility requirements, let's dive into the actual process of connecting your Android phone to your Chromebook. This process involves several steps, but don't worry – we'll go through each one in detail.
Step 1: Enable Bluetooth on Both Devices
The first step in the connection process is to ensure that Bluetooth is enabled on both your Android phone and your Chromebook. This wireless technology forms the foundation of the connection between your devices.
On your Android phone:
- Open the Settings app.
- Navigate to the 'Bluetooth and Devices' or 'Connected Devices' section.
- Toggle the Bluetooth switch to the 'On' position.
On your Chromebook:
- Click on the status area in the lower-right corner of the screen.
- Look for the Bluetooth icon and click on it.
- If Bluetooth is off, click to turn it on.
Step 2: Pair Your Android Phone with Your Chromebook
With Bluetooth enabled on both devices, you're ready to initiate the pairing process:
- On your Chromebook, open the Settings app.
- In the left sidebar, click on 'Connected Devices'.
- Under the 'Android phone' section, click on 'Set up'.
- A list of available devices should appear. Select your Android phone from this list.
- Click 'Accept and Continue'.
- You'll be prompted to enter your Google account password. Do so and click 'Done'.
- On the next screen, click 'Verify' next to your phone's name.
- On your Android phone, you should see a prompt asking if you want to connect to your Chromebook. Tap 'Connect'.
- You may need to enter a PIN or confirm a code on both devices to complete the pairing process.
Step 3: Configure Settings
Once your devices are paired, you'll want to configure the settings to ensure you're getting the most out of the connection:
On your Chromebook:
- Go back to the 'Connected devices' section in Settings.
- Click on your phone's name to access available settings.
- Here, you can toggle various features on or off, such as Smart Lock, Instant Tethering, and Nearby Share.
On your Android phone:
- Open the Settings app.
- Go to 'Connected devices' or 'Bluetooth and Devices'.
- Tap on the 'Chromebook' option.
- Here, you can adjust settings for notifications, photos, media syncing, and more.
Exploring Key Features
Now that your devices are connected and configured, let's explore some of the key features you can take advantage of:
Phone Hub
Phone Hub is a central control center on your Chromebook that allows you to interact with your Android phone without picking it up. You can view recent Chrome tabs from your phone, locate your device if it's misplaced, and even respond to text messages.
To set up Phone Hub:
- Click on the Phone Hub icon in your Chromebook's shelf (usually located next to the status area).
- Follow the on-screen instructions to complete the setup.
Once set up, you can use Phone Hub to ring your phone, check its battery life, turn on its hotspot, and more.
Instant Tethering
Instant Tethering is a feature that allows your Chromebook to automatically use your phone's mobile data when Wi-Fi is unavailable. This can be a lifesaver when you need to get work done on the go.
To enable Instant Tethering:
- On your Chromebook, go to Settings > Network.
- Under 'Mobile data', toggle on 'Instant Tethering'.
When your Chromebook detects that there's no Wi-Fi connection available, it will automatically connect to your phone's mobile data (if your phone is nearby and has a signal).
Smart Lock
Smart Lock enhances security while improving convenience by allowing you to unlock your Chromebook automatically when your paired Android phone is nearby.
To set up Smart Lock:
- On your Chromebook, go to Settings > Security and Privacy.
- Under 'Smart Lock', click 'Set up'.
- Follow the on-screen instructions to complete the setup.
Once enabled, your Chromebook will automatically unlock when your paired Android phone is nearby and unlocked.
The Shared Clipboard feature allows you to copy text on one device and paste it on the other, making it easy to transfer snippets of information between your phone and Chromebook.
To enable Shared Clipboard:
- On your Chromebook, go to Settings > Connected devices.
- Click on your phone's name.
- Toggle on 'Clipboard sync'.
Now, when you copy text on your phone, it will be available to paste on your Chromebook, and vice versa.
Troubleshooting Common Issues
While the connection process is generally straightforward, you may encounter some issues. Here are some common problems and their solutions:
Connection Fails
If you're having trouble establishing the initial connection:
- Ensure both devices are signed in to the same Google account.
- Restart both devices and try the connection process again.
- Check for system updates on both devices, as outdated software can sometimes cause connectivity issues.
Features Not Working
If certain features aren't functioning as expected:
- Verify that the feature is enabled in the settings on both devices.
- Ensure your devices meet the minimum requirements for the feature. Some advanced features may require newer hardware or software versions.
Sync Issues
If you're experiencing problems with data syncing between devices:
- Check your internet connection on both devices.
- Try signing out of your Google account on both devices and signing back in.
Advanced Tips and Tricks
For those looking to get even more out of their Android-Chromebook connection, here are some advanced tips:
Using Android Apps on Your Chromebook
One of the most powerful features of connecting your Android phone to your Chromebook is the ability to use Android apps on your laptop. Here's how to get started:
- Open the Google Play Store on your Chromebook.
- Browse or search for the apps you want to install.
- Click 'Install' to download and install the app on your Chromebook.
Not all Android apps will work perfectly on a Chromebook due to differences in hardware and input methods, but many popular apps have been optimized for the Chrome OS environment.
Nearby Share is Google's answer to Apple's AirDrop, allowing for quick and easy file transfers between nearby devices. Here's how to use it:
- On your Chromebook, right-click the file you want to share.
- Select 'Share' > 'Nearby Share'.
- Choose your phone from the list of nearby devices.
Your phone will receive a notification asking if you want to accept the file. Once accepted, the transfer will begin.
Customizing Notification Settings
To avoid being overwhelmed by notifications, you can fine-tune which app notifications you receive on your Chromebook:
- Go to Settings > Connected devices.
- Click on your phone's name.
- Under 'Notifications', you can select which apps are allowed to send notifications to your Chromebook.
This level of granular control allows you to stay informed about important notifications without being distracted by less critical ones.
The Future of Android-Chromebook Integration
As technology continues to evolve, we can expect even deeper integration between Android phones and Chromebooks. Google has consistently worked to blur the lines between these devices, aiming for a seamless ecosystem that rivals Apple's tight integration between iPhones and MacBooks.
Some potential future developments could include:
- Improved app continuity, allowing you to start a task on your phone and seamlessly continue it on your Chromebook.
- Enhanced file syncing and backup options.
- More advanced screen mirroring and remote control features.
- Deeper integration with Google's AI and machine learning technologies to provide more personalized experiences across devices.
Conclusion
Connecting your Android phone to your Chromebook opens up a world of possibilities, from seamless file transfers to shared notifications and beyond. By following this guide, you can create a stable and efficient connection between your devices, boosting your productivity and enhancing your digital experience.
Remember, the exact steps and available features may vary slightly depending on your specific devices and software versions. Don't hesitate to explore and experiment with different settings to find the setup that works best for you. As these technologies continue to evolve, stay curious and keep an eye out for new features and improvements that can further enhance your connected experience.
With your Android phone and Chromebook working in harmony, you'll have a powerful, flexible, and seamlessly integrated digital ecosystem at your fingertips. Embrace the connectivity, and enjoy the productivity boost that comes with it!