Understanding SOS Only Mode on iPhone
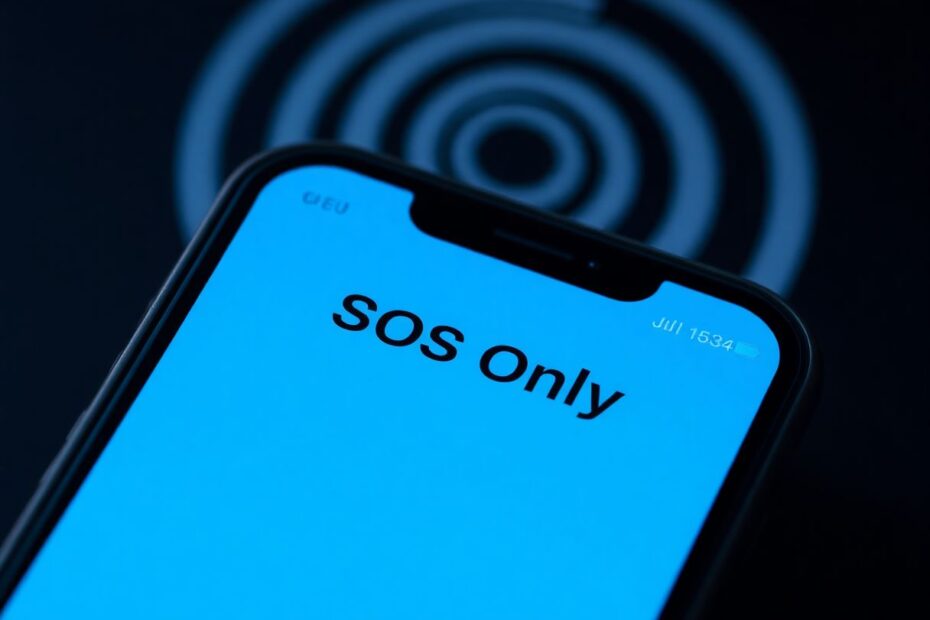
When your iPhone displays "SOS Only" in the status bar, it indicates that your device has lost its regular cellular connection. This state limits your phone's functionality to emergency calls only, which can be frustrating when you need full access to your device's features. However, it's important to understand that this is a crucial safety feature designed to ensure you can always reach emergency services, even in areas with poor or no cellular coverage.
The SOS Only mode is not a setting that users can accidentally enable. Rather, it's an automatic response to various connectivity issues. These issues can range from being in an area with poor network coverage to problems with your carrier's network infrastructure. In some cases, it may also be triggered by incorrect network settings on your iPhone, issues with your SIM card, or software glitches in your device's operating system.
Common Causes of SOS Only Mode
There are several factors that can trigger the SOS Only mode on your iPhone. Understanding these can help you diagnose and resolve the issue more effectively:
Poor network coverage is often the primary culprit. If you're in a remote area or a location with known cellular dead zones, your iPhone may struggle to maintain a connection with your carrier's network. Urban environments with many tall buildings or underground locations can also interfere with cellular signals.
Issues with your carrier's network can also lead to SOS Only mode. Network outages, maintenance work, or temporary disruptions can affect your ability to connect to cellular services. In such cases, the problem may resolve itself once the carrier addresses the issue.
Incorrect network settings on your iPhone can sometimes cause connectivity problems. This could be due to a software update that changed your settings or a glitch that altered your network configurations.
Problems with your SIM card can also trigger SOS Only mode. A damaged, improperly inserted, or malfunctioning SIM card may prevent your iPhone from establishing a proper connection with your carrier's network.
Software glitches or outdated iOS versions can sometimes interfere with your iPhone's ability to connect to cellular networks. Apple regularly releases updates that include fixes for various connectivity issues, making it crucial to keep your device's software up to date.
Detailed Solutions to Fix SOS Only on iPhone
Let's explore in detail the various methods to resolve the SOS Only issue on your iPhone:
Toggle Airplane Mode: This simple yet effective trick can often resolve network connectivity issues. When you enable Airplane Mode, it turns off all wireless communications on your device, including cellular, Wi-Fi, and Bluetooth. When you disable it after a short period, it forces your iPhone to re-establish all connections, potentially resolving the SOS Only issue. To do this, swipe down from the top-right corner of your screen to open Control Center, tap the airplane icon to enable Airplane Mode, wait for about 30 seconds, then tap it again to disable it.
Improve Signal Reception: Sometimes, the issue is simply your location. Check your signal bars in the status bar. If they're low or non-existent, try moving to a different area. Go outside or to a higher elevation for better reception. In buildings, moving closer to windows or doors can often improve signal strength. Wait a few minutes in the new location to see if your phone reconnects to the network.
Restart Your iPhone: A simple restart can often fix minor software glitches that may be causing the SOS Only issue. For iPhone X and later models, press and hold the side button and either volume button until the power off slider appears. For iPhone 8 and earlier models, press and hold the power button until you see the slider. Slide to power off, wait for 30 seconds, then press and hold the side or power button to turn your device back on.
Enable Data Roaming: If you're traveling, especially internationally, enabling data roaming might help your iPhone connect to available networks. Go to Settings > Cellular > Cellular Data Options and toggle on Data Roaming. However, be aware of potential roaming charges from your carrier.
Switch to 4G/LTE: While 5G networks offer faster speeds, they're still developing in many areas. Switching to 4G/LTE might provide a more stable connection. Go to Settings > Cellular > Cellular Data Options > Voice & Data and select 4G or LTE instead of 5G.
Update Carrier Settings: Carriers occasionally release updates to improve network performance. These updates can often resolve connectivity issues. Ensure you're connected to Wi-Fi, then go to Settings > General > About. If an update is available, you'll see a prompt to update your carrier settings.
Reset Network Settings: This step will erase all saved Wi-Fi passwords and Bluetooth connections, but it can resolve persistent network issues. Go to Settings > General > Reset > Reset Network Settings. You'll need to enter your passcode and confirm the action.
Check and Re-insert Your SIM Card: A loose or faulty SIM card can cause connectivity issues. Power off your iPhone, locate the SIM tray (usually on the side of your device), and use a SIM eject tool or paperclip to open it. Remove the SIM card, check for any damage, and clean it gently with a soft, dry cloth. Reinsert the SIM card and tray, then power on your iPhone.
Update iOS: Keeping your iPhone's software up to date is crucial for maintaining optimal performance and resolving various issues, including network connectivity problems. Connect to Wi-Fi, go to Settings > General > Software Update, and if an update is available, tap Download and Install.
Contact Your Carrier: If none of the above steps work, the issue might be with your carrier's network or your account. Contact your carrier's customer support, explain the SOS Only issue and the steps you've already taken. They may need to reset your account from their end or provide a new SIM card.
Visit an Apple Store: As a last resort, if all else fails, book an appointment with the Genius Bar at your local Apple Store. They can perform more advanced diagnostics and determine if there's a hardware issue with your device.
Preventing SOS Only Mode in the Future
To minimize the chances of encountering SOS Only mode in the future, consider the following preventive measures:
Keep your iPhone's software up to date by enabling automatic updates or regularly checking for new iOS versions. Apple frequently releases updates that include improvements to cellular connectivity and fixes for known issues.
Regularly check for carrier setting updates. These updates are designed to optimize your iPhone's performance on your specific carrier's network.
Protect your iPhone and SIM card from physical damage. Use a protective case and handle your device with care to prevent internal damage that could affect its cellular capabilities.
Be aware of your surroundings and network coverage when traveling. Research your carrier's coverage map and consider purchasing a local SIM card or enabling international roaming plans when traveling abroad.
Consider using Wi-Fi calling when available. This feature allows you to make and receive calls over a Wi-Fi network, which can be helpful in areas with poor cellular coverage.
The Importance of SOS Only Mode
While the SOS Only mode can be frustrating when you need full functionality, it's important to remember that this feature exists for your safety. In emergency situations, having the ability to call for help can be life-saving, even when regular cellular service isn't available.
The technology behind this feature is quite sophisticated. When your iPhone enters SOS Only mode, it's still capable of connecting to any available cellular network, regardless of your regular carrier. This is made possible through agreements between carriers and regulatory requirements that prioritize emergency communications.
In conclusion, the "SOS Only" message on your iPhone, while inconvenient, is a testament to the device's advanced safety features. By understanding the causes and solutions, you can quickly resolve this issue and regain full functionality of your device. Remember, if you frequently encounter this problem, it might be worth discussing with your carrier or considering a different provider with better coverage in your area. With patience and the right approach, you should be able to resolve the SOS Only problem and get back to using your iPhone normally.