
Do you love playing Nintendo Switch games? Guess what, you can record special parts while playing the games. There is a limit of 30 seconds, but you can use hardware to extend the time limit.
Are you planning to record a game on Nintendo Switch? It is not that complex, and you will manage fast. However, you need to be sure of what part you want to record due to the thirty-second recording limit. However, I will show you how else you can record on Nintendo Switch for a longer time. Additionally, get to know how to save, edit, and transfer the video.
How to Record on Switch for 30 Seconds
The Nintendo Switch itself supports the recording of short videos. However, it is just limited to thirty seconds. The recording is done using the capture button.
The capture button can be used to record or screenshot. This works on both Switch and Switch lite, so you won’t be left out.
Step 1: To record, first load up your preferred switch game and start playing. You should have chosen it way before.
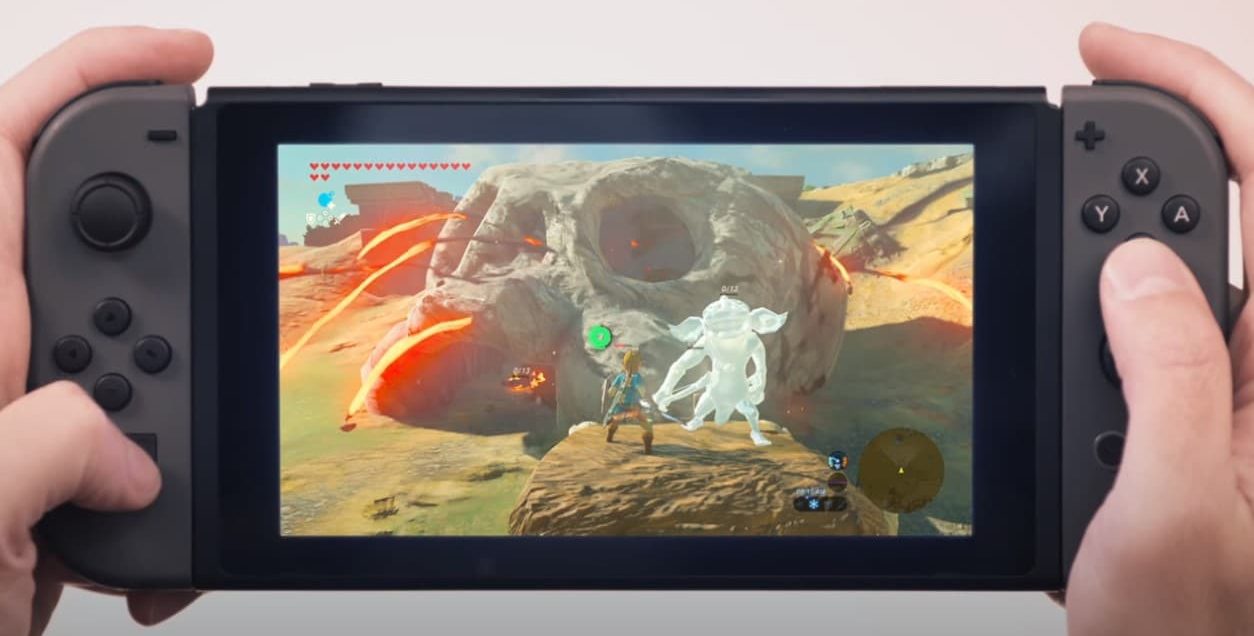
Step 2: When something memorable happens, to preserve, simply press and hold the capture button.
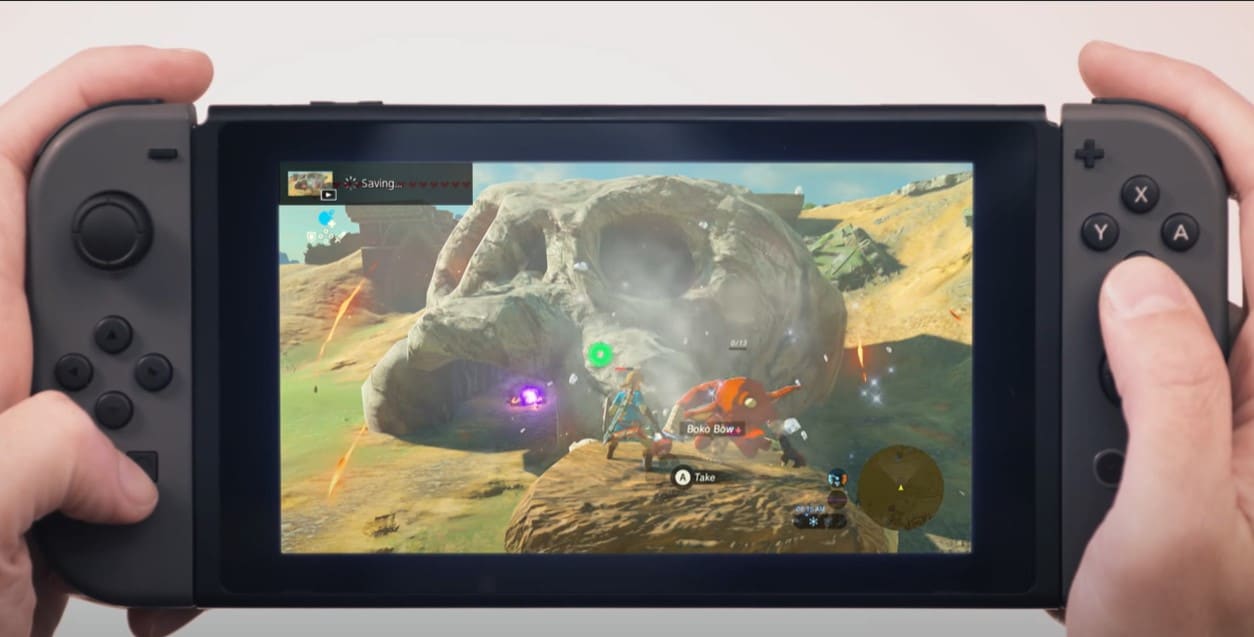
Step 3: You will see a saving icon. It will appear on the screen to show that the screen was recorded or captured.
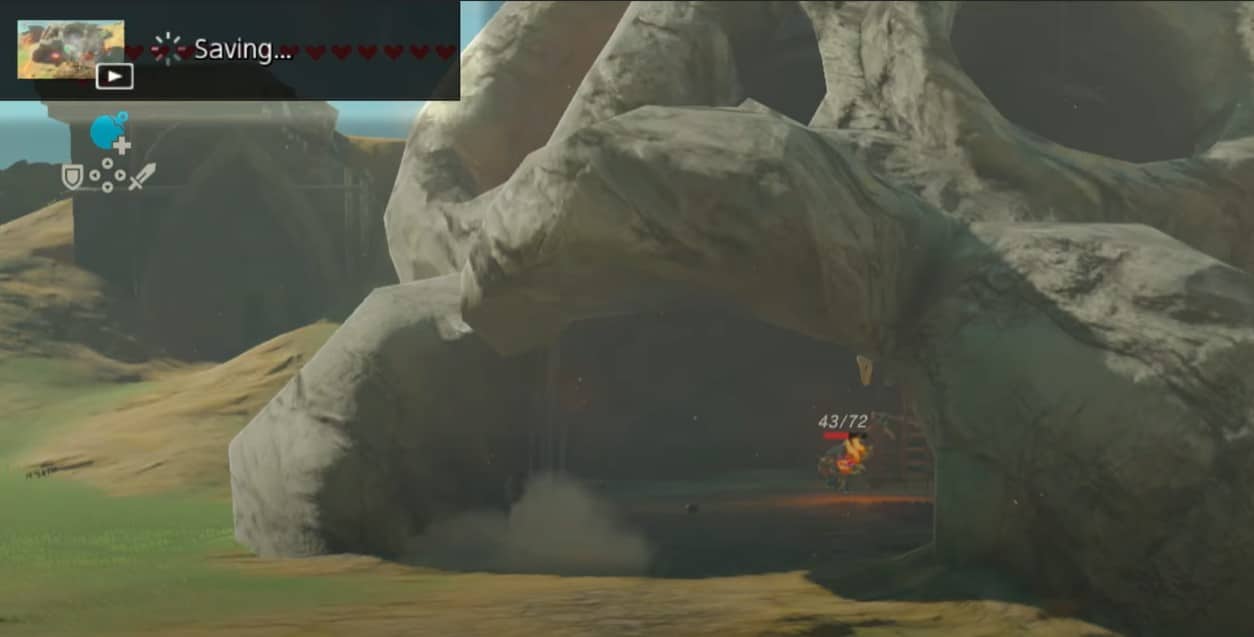
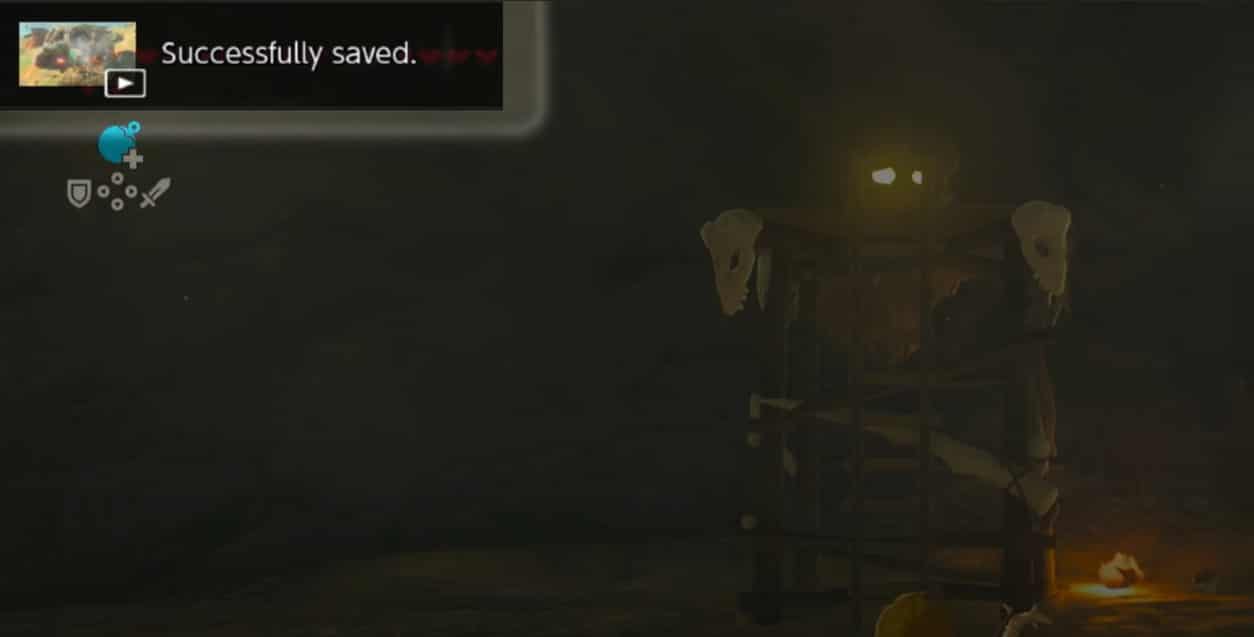
Step 4: Once that’s done, and the full capture has been made, a message will pop up on the screen. Unfortunately, Switch can only capture like 30 seconds of gameplay using its built-in screen recorder.
However, if you want a lengthy video, you might consider taking several video clips then combining them.
How to Transfer Recorded Short Videos from Switch
The Nintendo Switch has updated the 11.0 system to support mobile phone scan code transmission. This allows you to transmit your screenshots and videos more quickly.
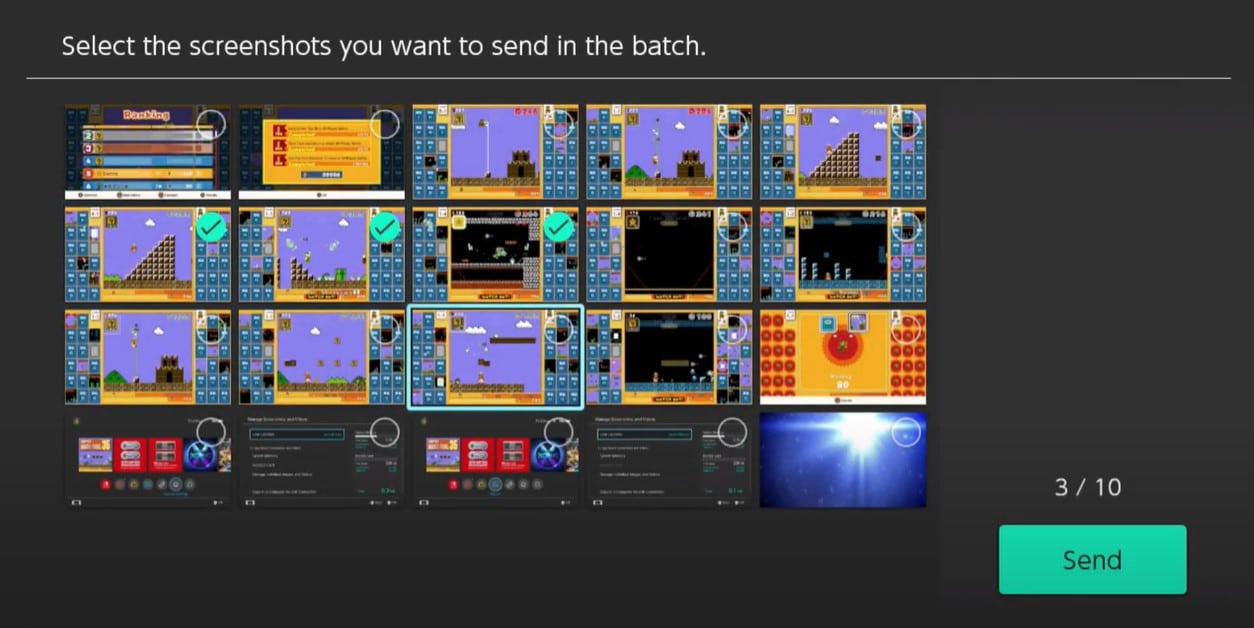
Step 1: You should first select the picture to be shared or the video. The host should then create a hotspot.
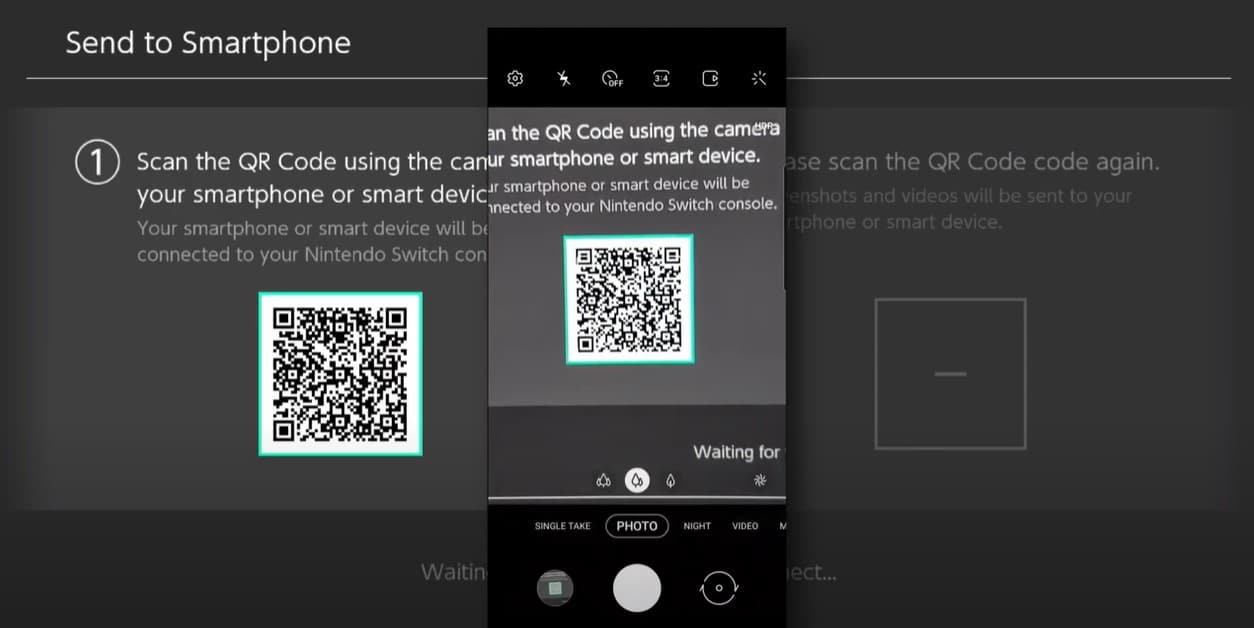
Step 2: By scanning the code (the QR code contains the specific information of the hot spot), you can join the hot spot of the host.
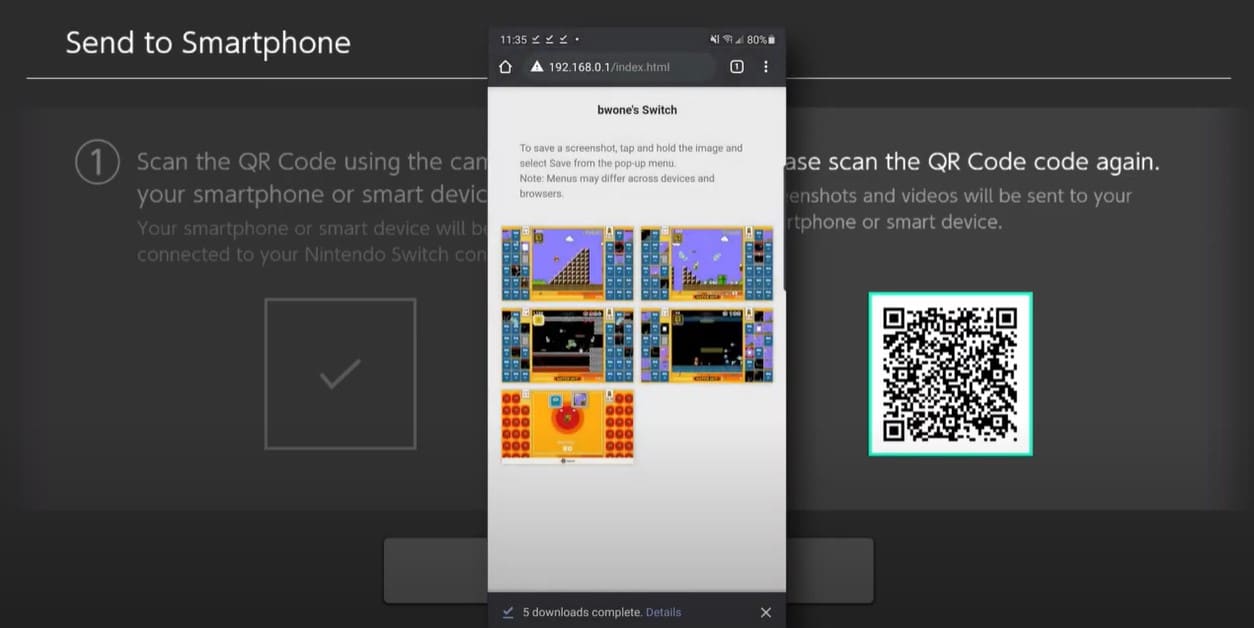
Step 3: Scan the code again and enter the LAN URL to save the pictures on the webpage.
Tip: I don’t recommend this method. However, if you are playing a real-time game like Mario cart 8 or Monster Hunter, it is very inconvenient for you to operate when the recorded time is only 30 seconds.
Video Capture Card
In most cases, you can only record videos for up to 30 seconds. However, you can record more than 30 seconds, but with the help of external hardware. You will need a standalone video capture device and connect to the computer.
However, this method can only be used on Nintendo Switch. It can’t work with Switch Lite.
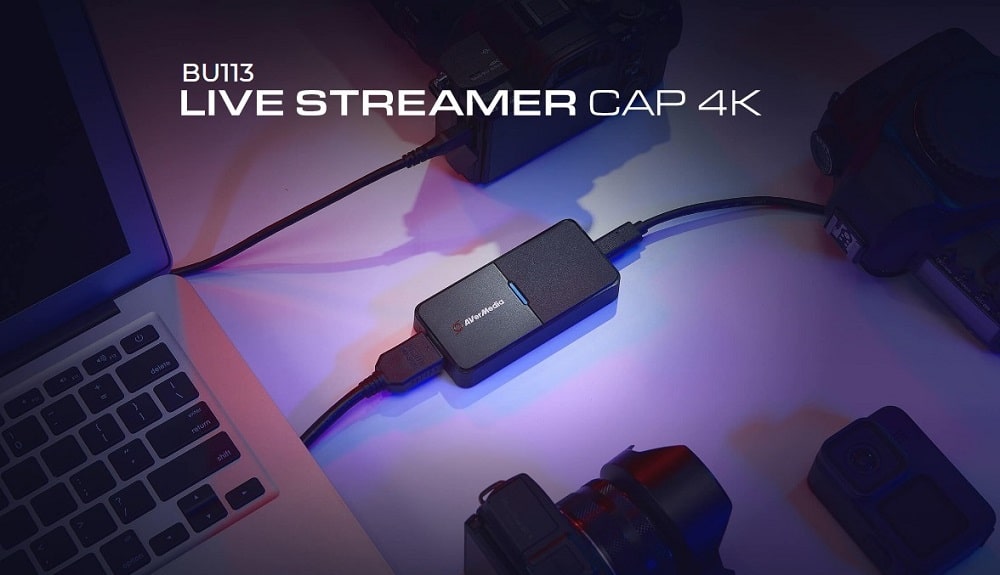
You can use the live streamer CAP 4K to hook up your video camera or camcorder to create high video quality content.
Step 1: You can connect your computer using a USB cable to the Aver media Live Streamer CAP 4K. After that, progressively connect the HDMI to the DSLR or camera.
Step 2: In this, you will need to connect your Nintendo Switch hardware to its dock. Then connect an HDMI cable to your dock if it isn’t connected yet. Then connect the output of the dock to the HDMI input of the device you will need for capturing. You should then connect the HDMI cable to your computer device, monitor, or television.
Step 2: Connect the end of the HDMI cable to the HDMI output on your capture device. Remember to connect the capture device properly to your computer.
Step 3: Launch your preferred Nintendo Switch game to start recording. Make sure you activate the recording feature. Enjoy your game.
Switch Emulator Recording

You can then capture your game using a video emulator. You only need to run a screen recording software to capture the game video. OBS studio software and Geforce gaming devices will make your screen recording easier.
OBS Studio is open-source software that you can use to record videos and stream live. You can use it on Windows, Mac, or Linux.
Step 1: Go to the official website and download the right software for your device. When you click any of the software for the different devices, you will see the installation instructions.
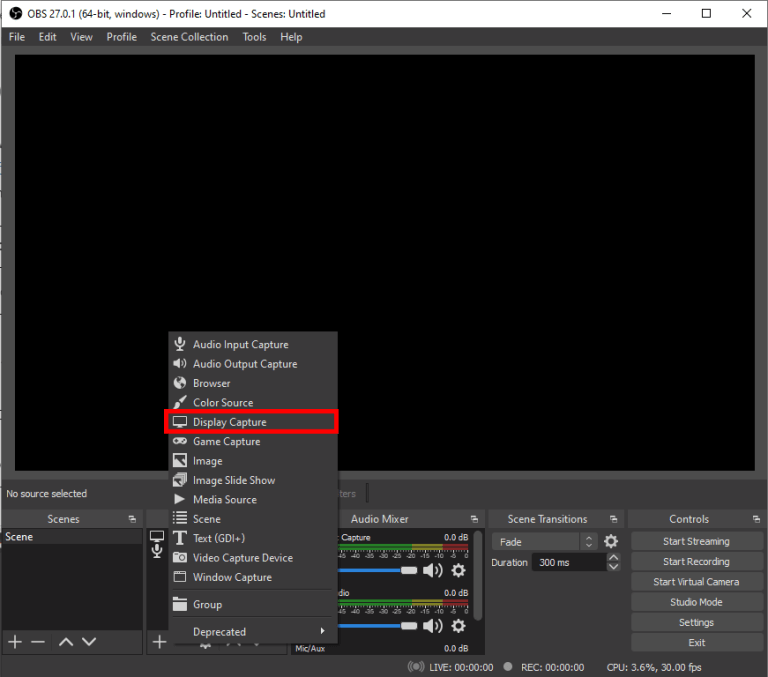
Step 2: Once installed, go to the sources panel, select the plus sign, and on the drop-down choose “display capture”. This allows you to record your screen and then edit later.
![]()
A windows dialog will appear for you to decide your preferred display.
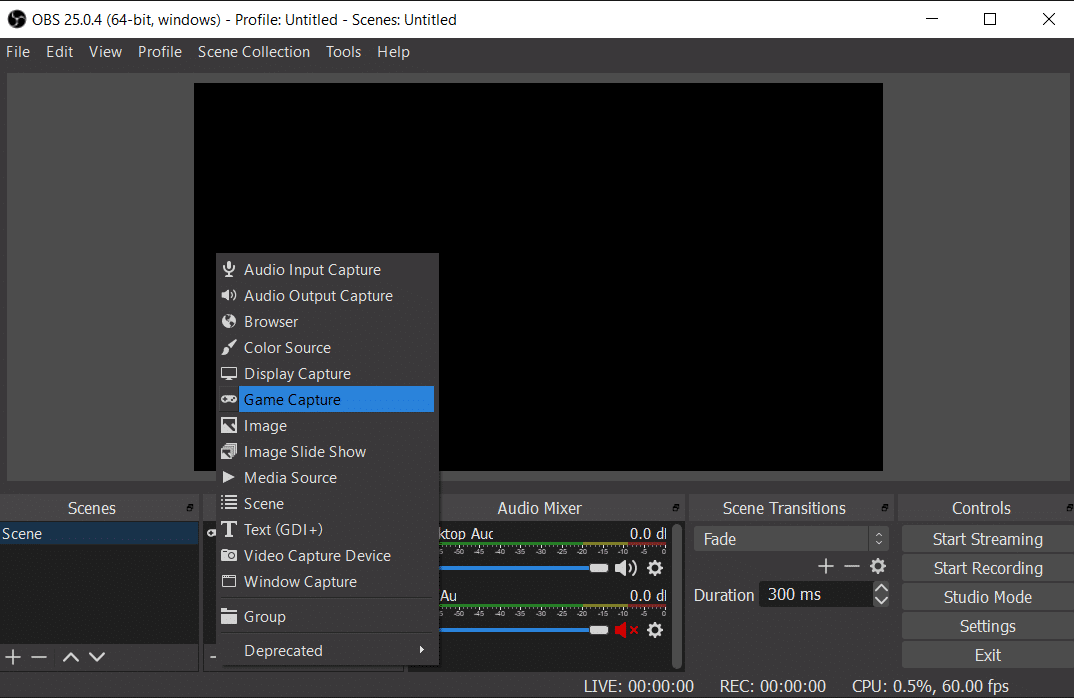
Step 3: Go back to the sources box, if you want to record the games that you are playing, select “game capture”.
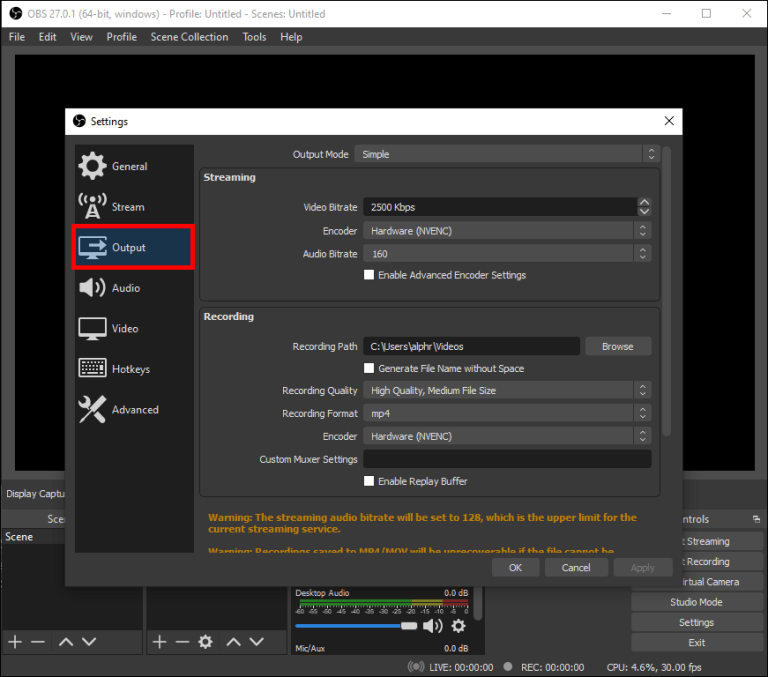
Step 4: Click on the Settings icon to modify other settings. On the mixer panel, you can change the audio or sound settings. You can also edit the microphone settings and select the microphone you want to use.
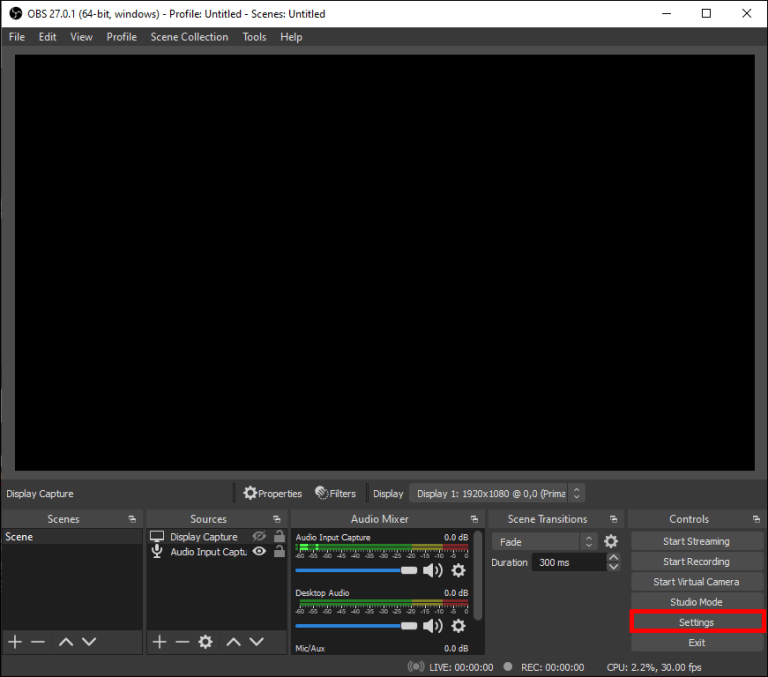
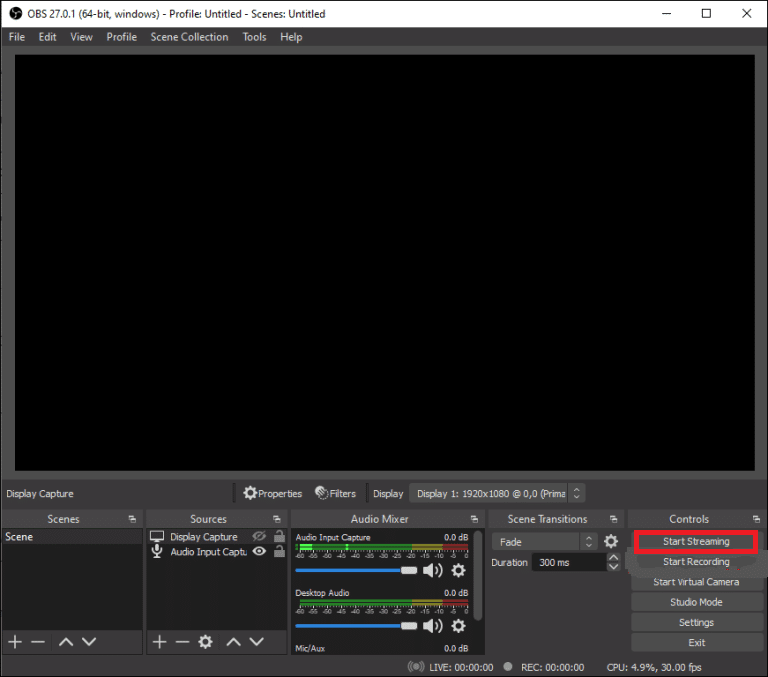
Step 5: On the other panel, there are the controls that allow you to start streaming, stop streaming, and much more. You can modify the settings as you wish.
Step 6: Start your Switch game while your OBS studio is still on. On the OBS studio, under the control panel, click start streaming. This will help to record your games. That’s it!
FAQ – Frequently Asked Questions
1. Will using a video capture card cause game delays?
There is almost no delay in the loop-out collection, and it does not affect the video.
2. Is it possible to edit a captured game?
Yes, once you record your game, you can edit it. Simply navigate to the album, select “all screenshots & videos” and choose the video you want to edit. Additionally, you can trim the video.
3. How can you screenshot on Nintendo Switch?
It is also possible to screenshot on Nintendo Switch. You just need to click on the capture button to take a screenshot.
4. Why is recording gameplay on PC better?
This is because it can allow you to bypass the Nintendo recording time limit.
Conclusion
I hope you can now be able to record, edit, save and transfer the videos on Switch. This will help to preserve some great gameplay memories. The recording is easy if you follow the right procedures. You can never go wrong at all. While editing, you can use your favorite video editing tool.
)