
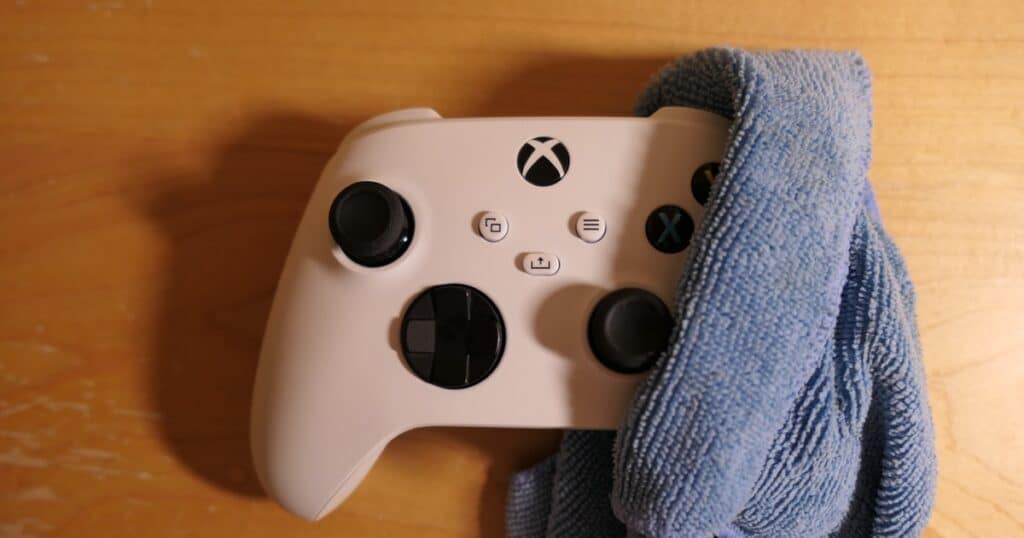
Xbox one controller has come with a variety of advanced and sophisticated controls. It has been improved over the previous generations of Xbox, making it easier to hold and use.
But, it isn’t easy to clean and maintain your Xbox One controller properly. You need to follow a certain procedure and use certain tools to clean or maintain your Xbox One controller.
Does this article explain How to Clean Xbox One Controller?
Why You Should Consider Cleaning Your Xbox One Controller
Here are some reasons you should consider cleaning your Xbox One controller:
1. It stops germs from spreading
The Xbox One controller has many crevices and nooks where germs can hide, so keeping it clean is essential. Using the same controller for multiple people becomes even more important as germs can spread from person to person.
2. It extends the life of your controller

Over time and with use, controllers can become worn out and feel less responsive than when they were new. Cleaning your controller can help slow down this process by keeping it in better shape longer than if you didn’t clean it at all.
3. It makes your console look nicer
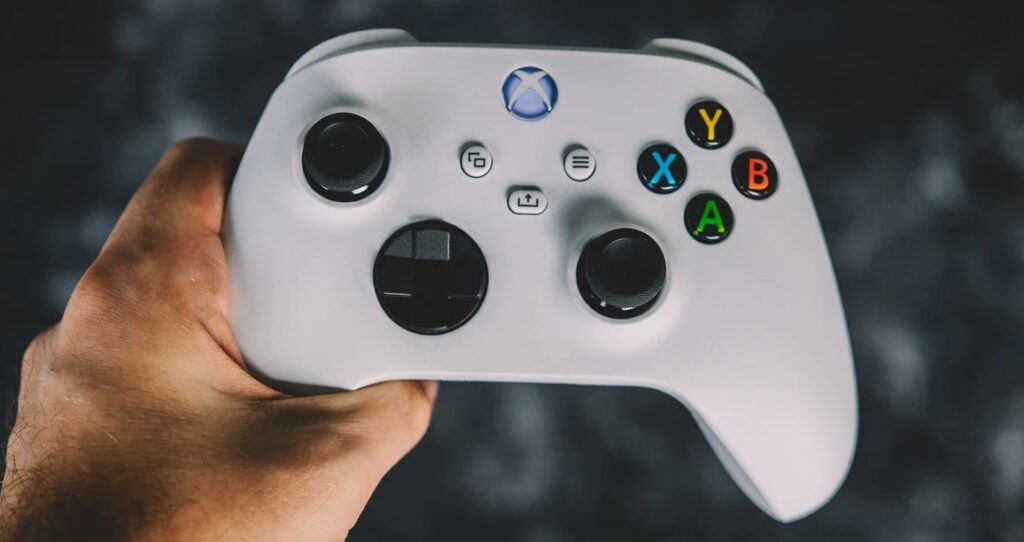
Cleaning an Xbox One controller doesn’t just improve its performance and longevity — it also makes it look nicer! A clean controller feels better than one covered in dirt and grime. You’ll also be able to see all the details on your console’s design much better.
4. Protects Your Investment
Your gaming controller is an investment and needs to be properly managed. Cleaning your controller regularly will help protect this investment and ensure it will last longer.
5. Keeps You Safe
Cleaning your controller regularly will help prevent dirt and bacteria from building up inside the device, which can cause health problems if left unchecked. It may also prevent mold from forming on your controller, making someone sick if they come into contact with it.
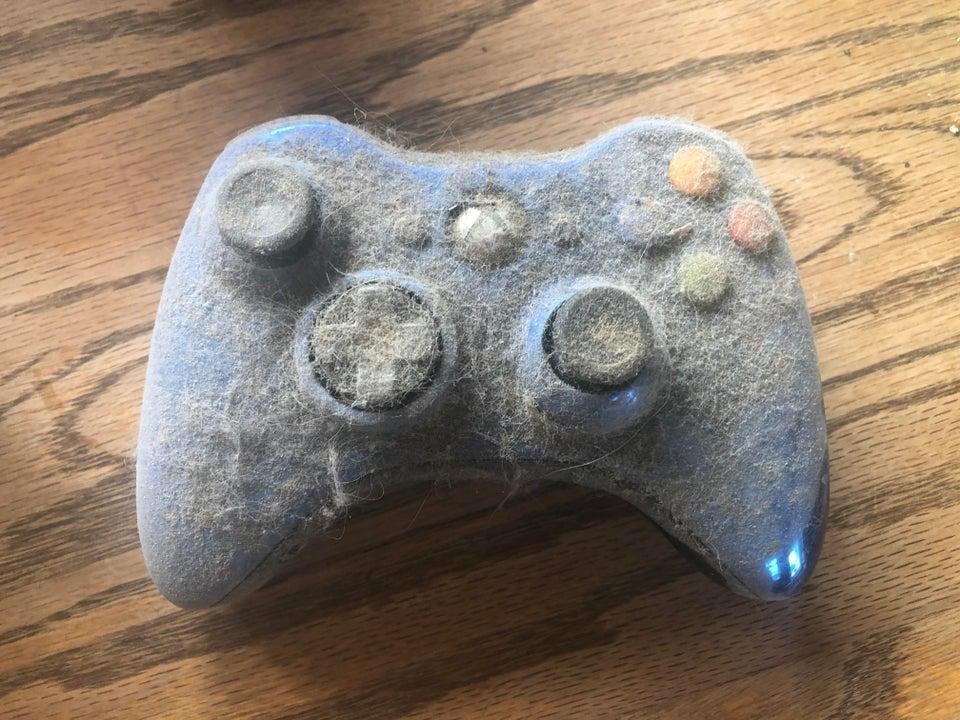
6. Dirt and dust can cause damage
Dust particles act as abrasives that constantly rub against the plastics on your controller, causing scratches or even small cracks over time. These scratches and crashes can cause problems with the sensors on your controller, leading to unwanted actions such as skipping or stuttering during gameplay.
What Should You Clean Inside the Xbox One Controller?
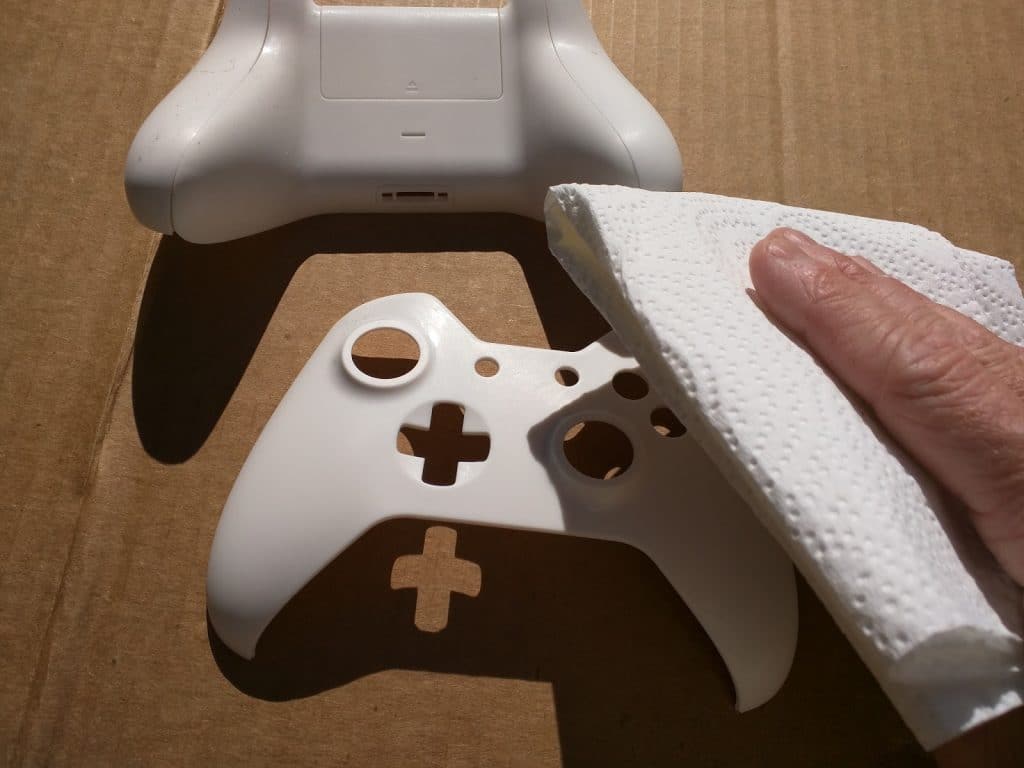
Step 1: Clean the Shell
Cleaning the shell of your Xbox One controller is easy. Just flip it over and remove the four screws on the bottom panel. Then pop off the back case by prying it off with a small flathead screwdriver or butter knife.
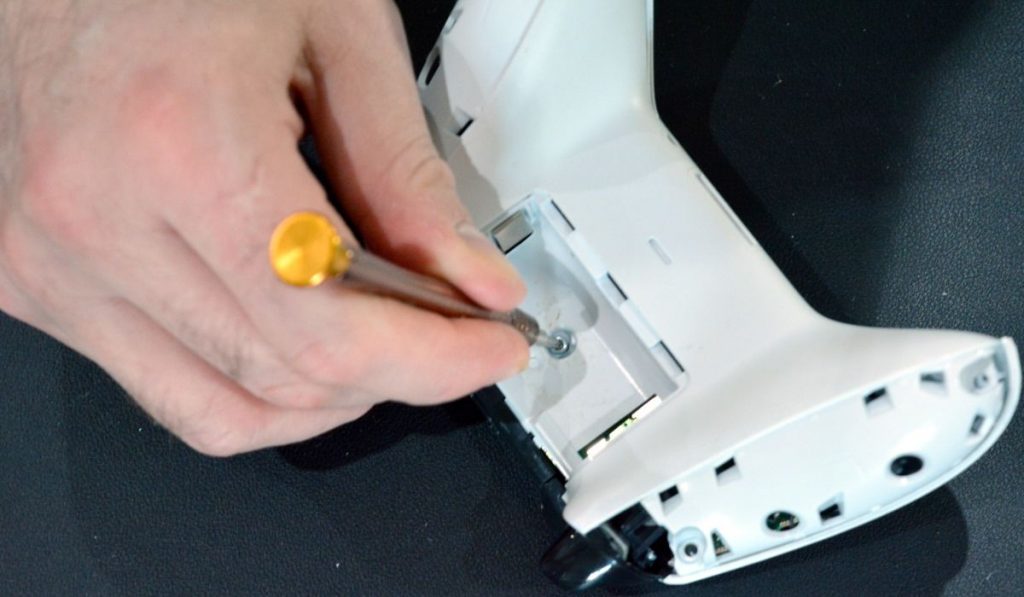
Once you get inside, four little screws hold down the top panel. Remove these and lift off the top panel to reveal many components. The most important thing to clean here is the analog sticks, which can get gross if you don’t keep them clean.
To do so, remove the two outermost screws that secure each analog stick base to its shafts. Then use an alcohol wipe or cloth to wipe down all surfaces of each analog stick base (including those little rubber pads). Don’t forget about those little white plastic discs on the end of each analog stick shaft—these can get pretty dirty too!
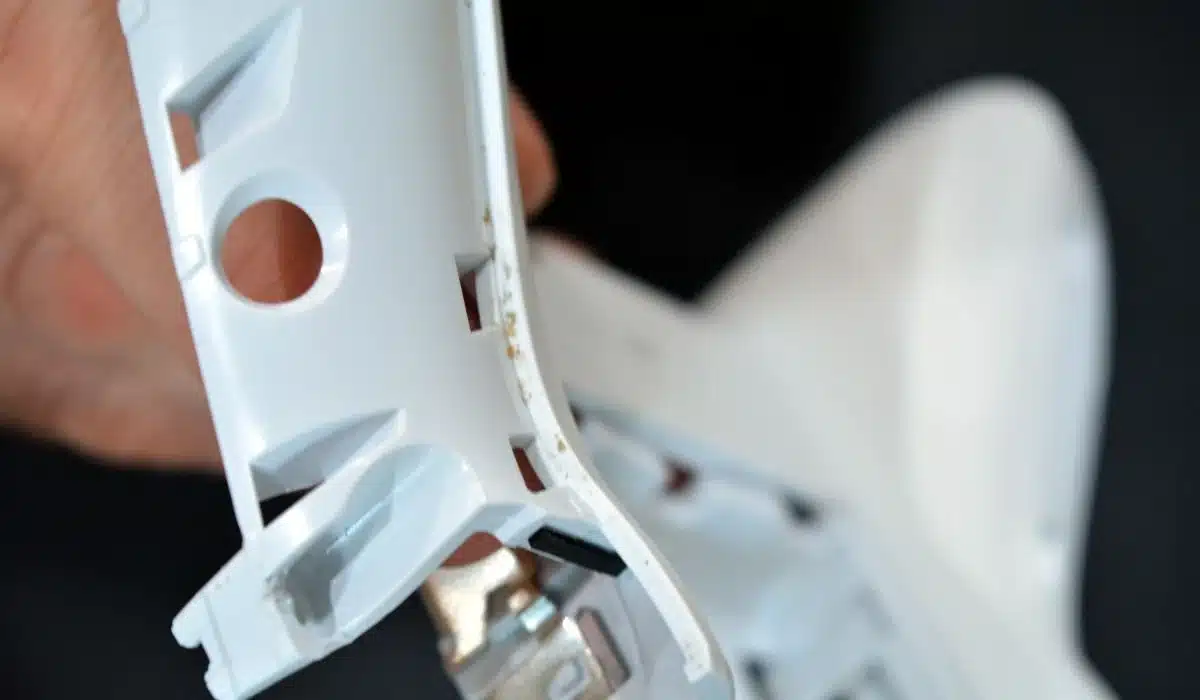
Step 2: Clean Inside the Xbox Controller
The first thing to do is take off the faceplate, which can be done by inserting a paperclip into the hole on the right side of the controller. Once that’s off, remove the two screws on either side of the controller and lift off the top piece.
Next, remove all the screws from where you removed the top piece, shown below in red. Now you can lift the back part of your controller and remove it from your controller entirely. This will expose all of your buttons and gears for you to clean!
Use a damp cloth or sponge to clean off any dust or debris inside your controller. You’ll want to make sure that everything is nice and clean so that there are no obstructions when pressing down on buttons or moving joysticks around.
Step 3: Remove Grime from the Nooks and Crannies
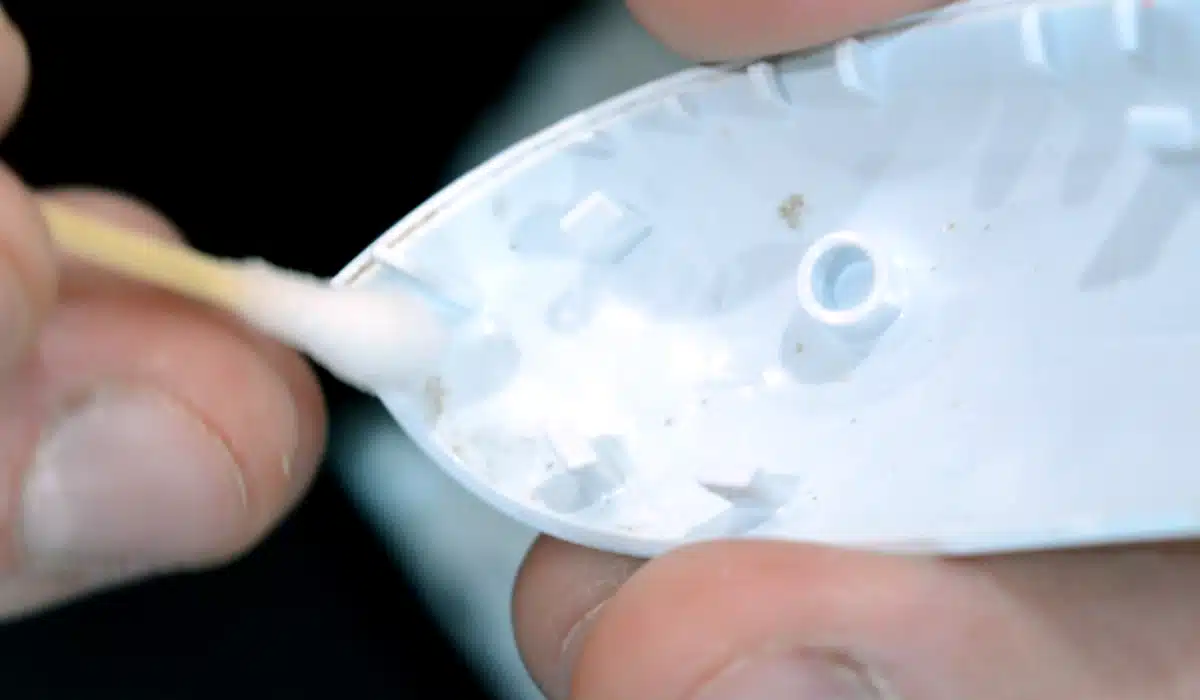
Now that you’ve cleaned off as much grime as possible on the top panel of your Xbox One controller, it’s time to move on to cleaning out all those nooks and crannies inside the controller itself.
The easiest way to do this is by using a cotton swab, or q-tip dipped in rubbing alcohol or isopropyl alcohol (found at most drug stores). Dip one end of either tool into some rubbing alcohol and then use that end to scrub away any grime that has built up inside any nook or cranny.
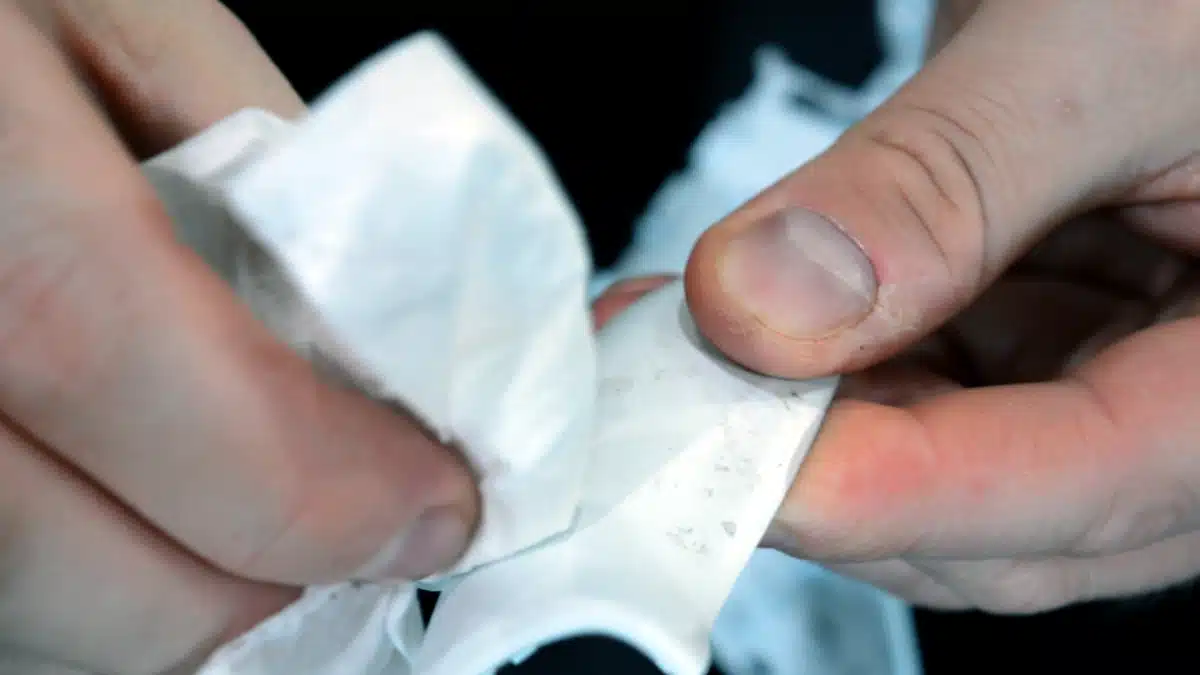
Step 4: Use Antibacterial Spray and Wipes
Once you have wiped down the outside of your controller, you can use an antibacterial wipe to clean the inside of the controller. This can help prevent mold or mildew from growing inside the controller and ruining it.
If there is any sticky residue leftover from dirt or sweat on the inside of your controller, then you can use rubbing alcohol to clean it off. If you want to go all out, you can use a product like Goo Gone! Just be sure not to spray too much into your controller, or it may get damaged when you plug it back in.
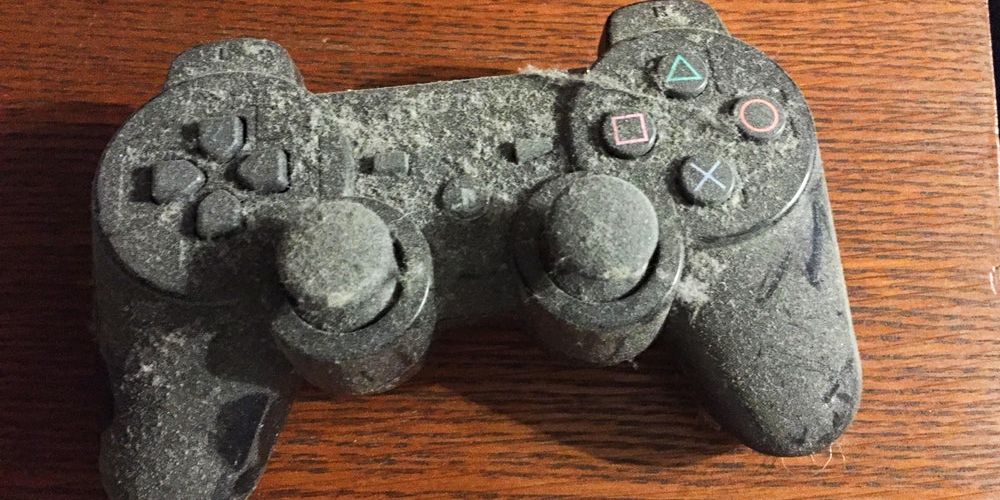
Bottom Line
It’s not just your keyboard or mouse that can get dusty, but any device you have near the ground can get dirty. Controllers are no exception and will often come into contact with a dusty environment. And even with rigorous cleaning, dirt can accumulate within the crevices of your controller, which is why we recommend regularly cleaning your controller once a month.