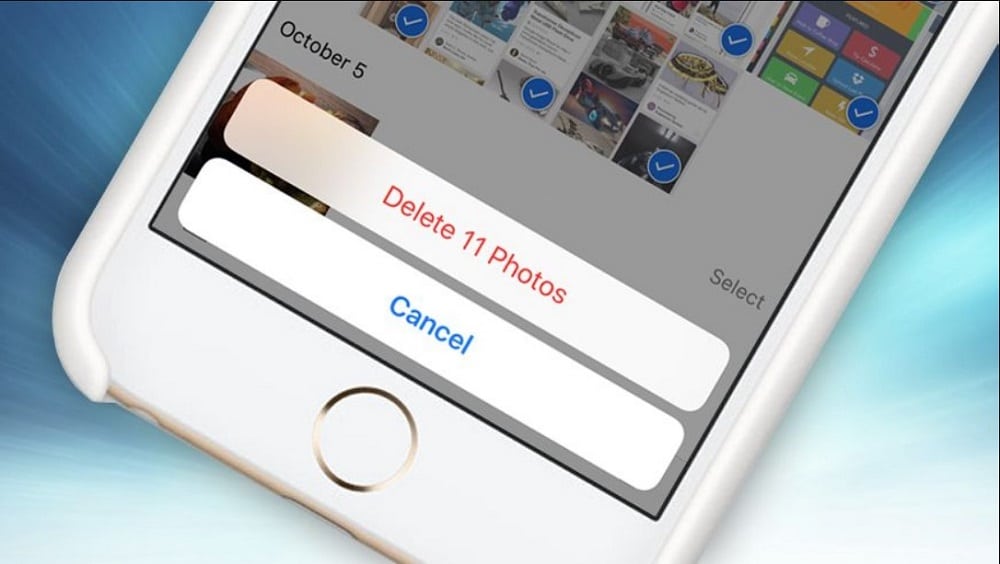
Sometimes, you might want to erase your photos on iPhone or iPad to create space for other stuff or new photos. When that time comes, you can count on this post for assistance on how to delete all photos from your iPad or iPhone. Read on for the details…….
For some reason, users sometimes want to delete all their photos on iPhone or iPad. It could be to avail more space for other stuff or do away with the old and welcome the new. Whatever the reason, you need to understand the exact steps to go about it. We are here to help. With that being said, let’s dive right in.
Delete a single photo from an iPad or iPhone

If you would like to delete a single photo from your iPad or iPhone, here are the steps:
Step 1: Open the Photos app on your iPhone or iPad
Step 2: In the Library tab, click on All Photos
Step 3: Tap on a photo you want to delete to bring it to full screen
Step 4: Click on the trash can icon in the upper-right corner
Step 5: Tap Delete Photo
Step 6: The particular photo will be deleted
Permanently delete all photos from your iPad or iPhone

You may notice that deleting photos from your iPad or iPhone does not free up space. When you delete photos, they are stored in the Recently Deleted album. However, they are automatically deleted after 30 days. But if you would like to delete all photos, follow these simple steps permanently:
Step 1: Launch the Photos app
Step 2: Click on Albums
Step 3: Select Recently deleted
Step 4: Tap on Select
Step 5: Tap Delete All to delete all photos permanently
Step 6: Confirm the deletion
Delete all photos from iPad
You can also delete all photos from your iPad using your Windows PC and Mac.
1. Using Windows PC

To get rid of all photos from your iPad using Windows PC
Step 1: Plug your iPad into the PC
Step 2: Find your device in Explorer
Step 3: Navigate to the DCIM folder
Step 4: Choose the photos to delete or press CTRL+A to select all
Step 5: Right Click
Step 6: Delete the photos
You can also delete photos from all your devices, including your iPad, by logging into your iCloud account on your Windows PC. To do this Open icloud.com on a browser > Photos > Photos tab > CTRL+A > Delete icon >Delete
2. Using Mac

You can delete iPad photos using Mac if you are an iCloud user. The photos you delete from your Photo Library on your Mac will also be deleted from your iPad. You should ensure that the My Photo Stream option is enabled on your Mac and iPad. If you would like to delete photos from your iPad using Mac, follow these simple steps:
Step 1: Open the Photos app on Mac
Step 2: Click on the Library tab
Step 3: Select the photos you would like to delete or click CTRL+A to select all
Step 4: Click Delete
Step 5: Open the Recently Deleted tab
Step 6: Select the photos you would like to delete permanently
Step 7: Confirm the deletion
Delete all photos from iPad but not iCloud
If you would like to delete all photos from iPad but not iCloud, you’ll have to disable iPad and iCloud sync. To do that:
Step 1: Go to Settings
Step 2: Click on Apple ID
Step 3: Tap on iCloud
Step 4: Tap on Photos
Step 5: Click on Toggle off iCloud Photos
Step 6: You can also choose Optimize iPhone Storage
You can then follow the steps of deleting all photos from your iPad or iPhone discussed above. That will delete photos from your iPad and not iCloud.
Recover deleted photos on iPad or iPhone
Luckily, if you accidentally deleted a photo on your iPhone or iPad, you can recover it. To recover deleted photos on your iPad or iPhone:
Step 1: Click on the Photos app
Step 2: Tap on Albums at the bottom of your screen
Step 3: In Albums, navigate to Other Albums
Step 4: Tap on Recently Deleted
Step 5: Tap on a photo you would like to restore
Step 6: Tap Recover
Step 7: Click on Recover Photo
If you would like to recover multiple photos, instead of tapping on a single photo:
Step 1: Tap Select from the Recently Deleted screen
Step 2: Tap on each photo you would like to restore. If you want to recover all deleted photos, tap on Recover All
Step 3: Click on Recover
Conclusion
There are different methods that you can use to delete all photos from your iPad or iPhone, as outlined above. With that, we wrap up this post. We hope you found it very useful. If you have any questions, drop them in the comments section below.
