
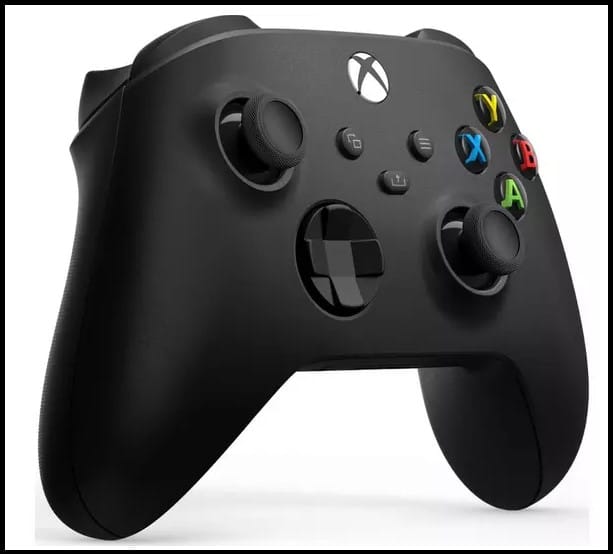
Is gaming on your Xbox One using wired headphones becoming less convenient? If that’s the case, you can consider switching to alternatives such as wireless Bluetooth headphones. This post details multiple ways of connecting your wireless Bluetooth headphones to your Xbox One console.
Wired headphones have long been preferred over their wireless counterparts due to their higher sound quality and fast response times. At times, however, the benefits come at the expense of convenience. For instance, gamers have to sit close to the TV, which sacrifices their freedom of movement.
As a result, more gamers are switching to wireless headphones. The current wireless technology has come a long way and now offers the better sound quality, with the batteries often lasting long. However, if you own an Xbox One, you might find that connecting it to Bluetooth headphones is not as straightforward as you thought. So, how do you go about connecting your Bluetooth headphones to your Xbox One? Read on to find out.
Which Headphones are Xbox One Compatible?
Unfortunately, not all Bluetooth headphones are compatible with the Xbox gaming console. Only officially supported wireless headphones can connect. This is mainly because Xbox does not directly offer Bluetooth connectivity. What it offers instead is a system called “Microsoft Wireless.” Users can use it to connect the console to wireless peripherals.
Nevertheless, many brands have supported headphones. Such brands include Razor, Logitech, and HyperX. Below is a list of some popular compatible wireless headphones if you are unsure which wireless headphones to buy.
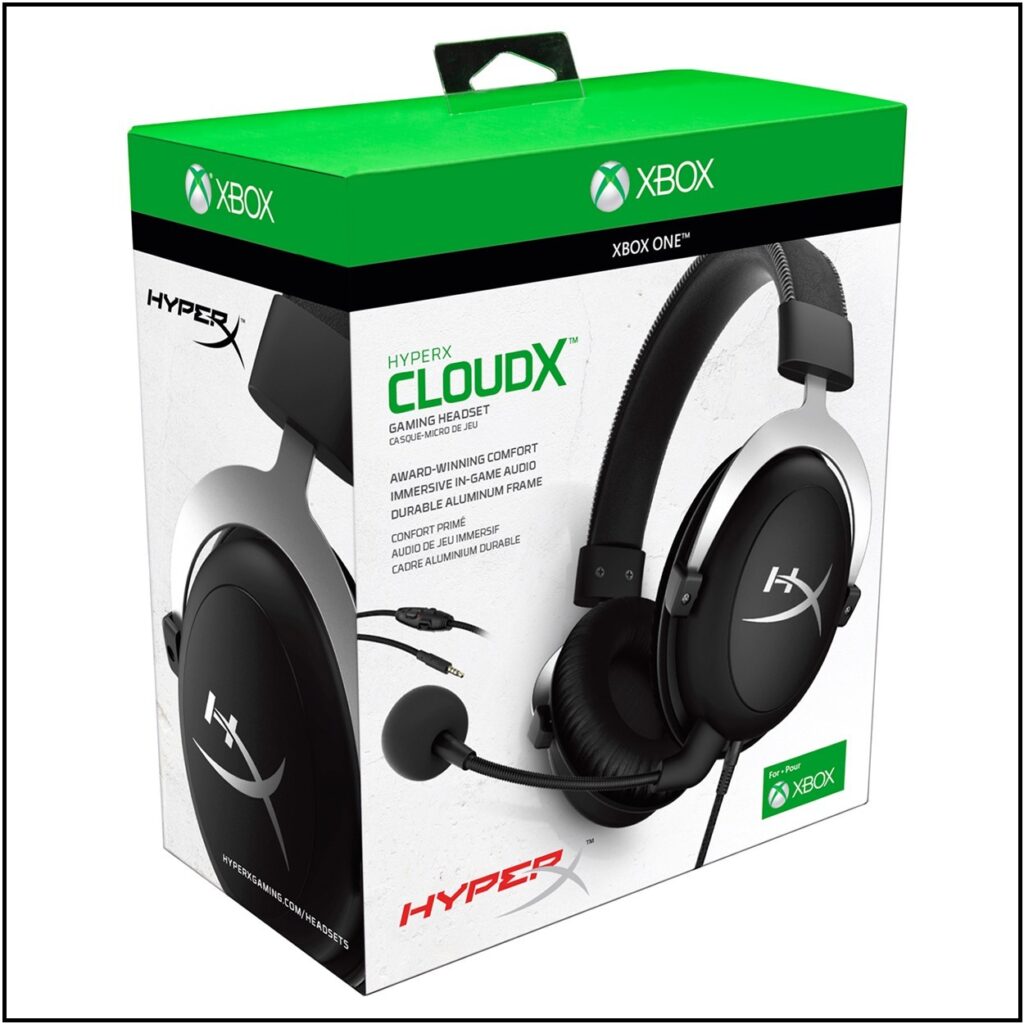
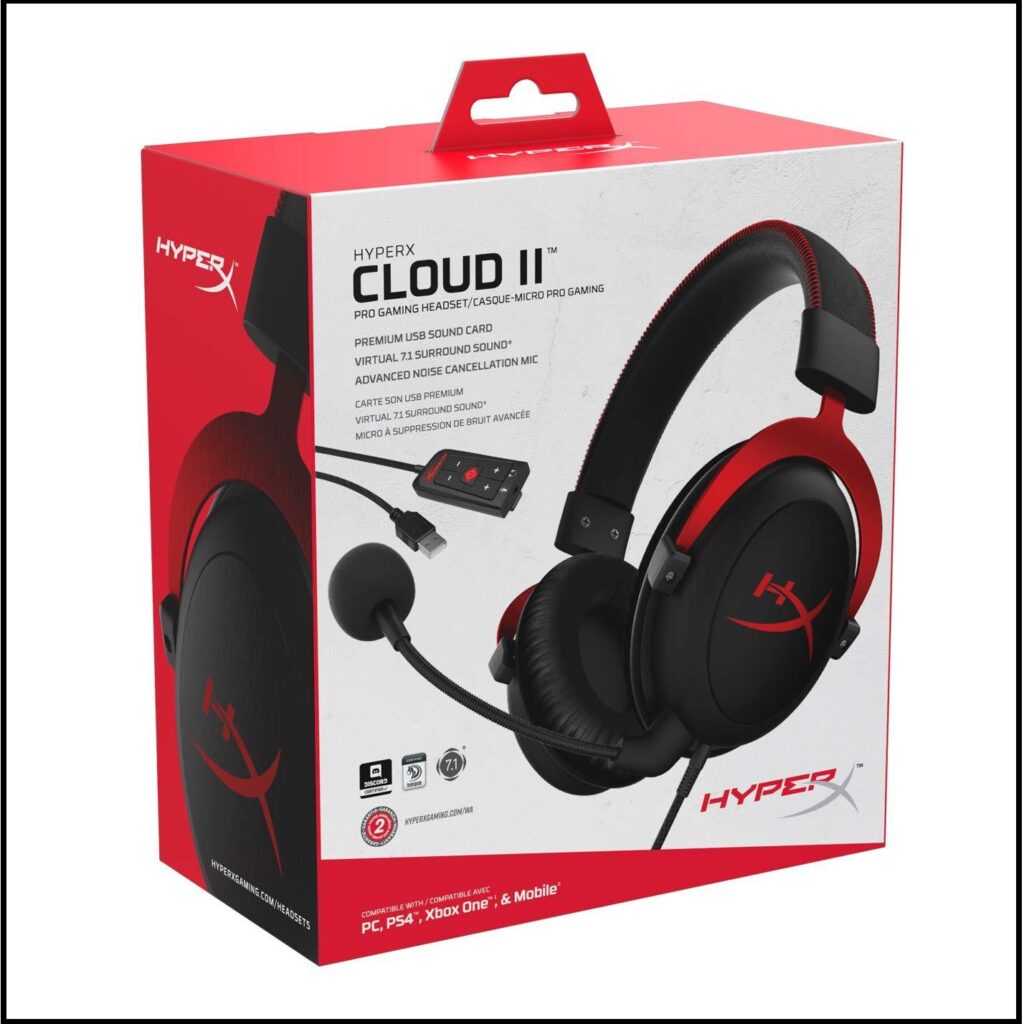
From HyperX
- HyperX CloudX Flight
- HyperX Cloud II
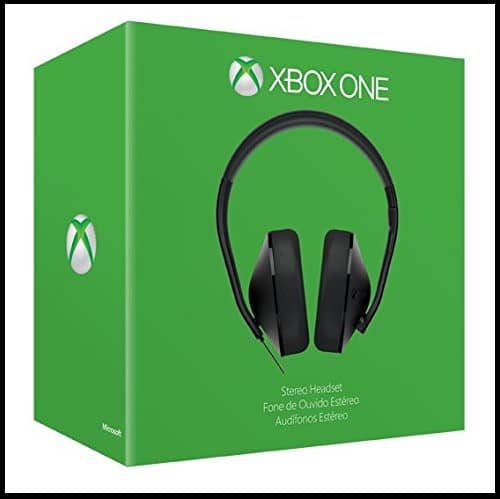
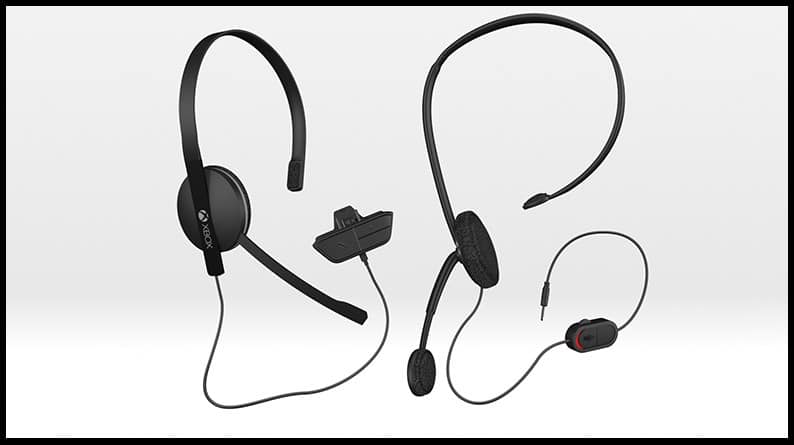
From Xbox
- Xbox One Stereo Headset
- Xbox One Chat Headset
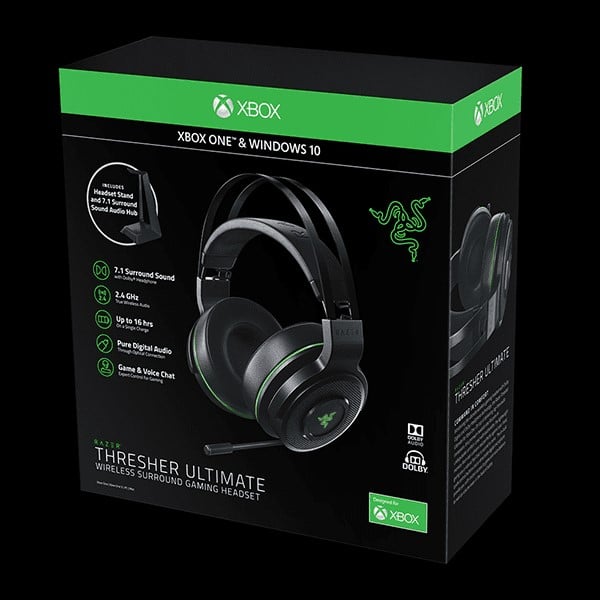
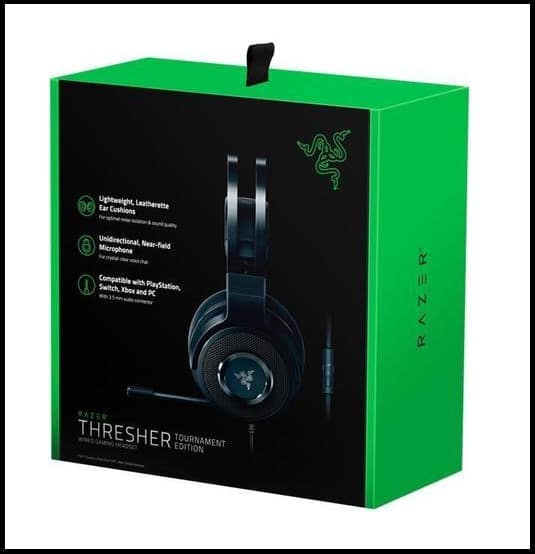
From Razor
- Razer Thresher Ultimate
- Razer Thresher
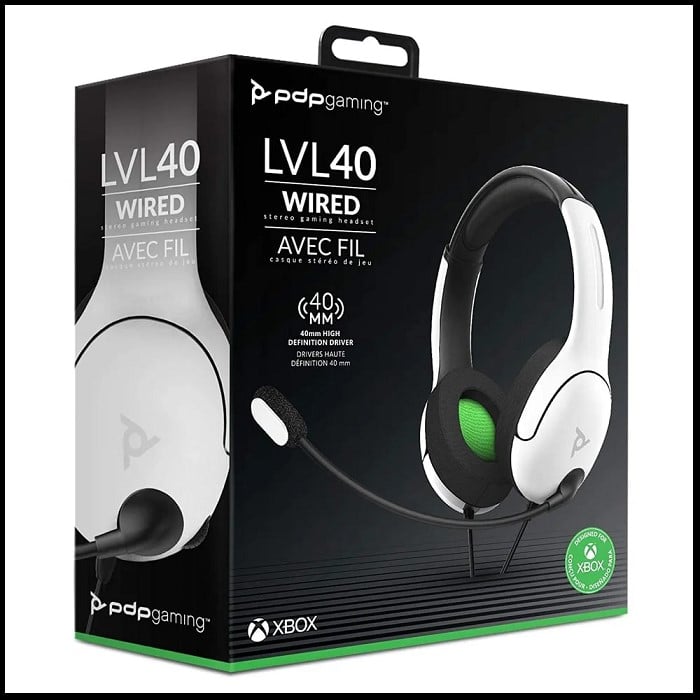
From Other Brands
- LVL40 Wired Headset
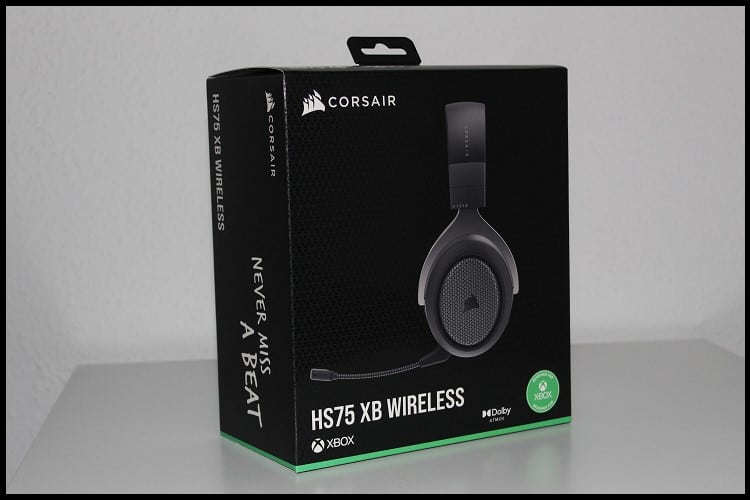
- Corsair Hs75 Xb Wireless
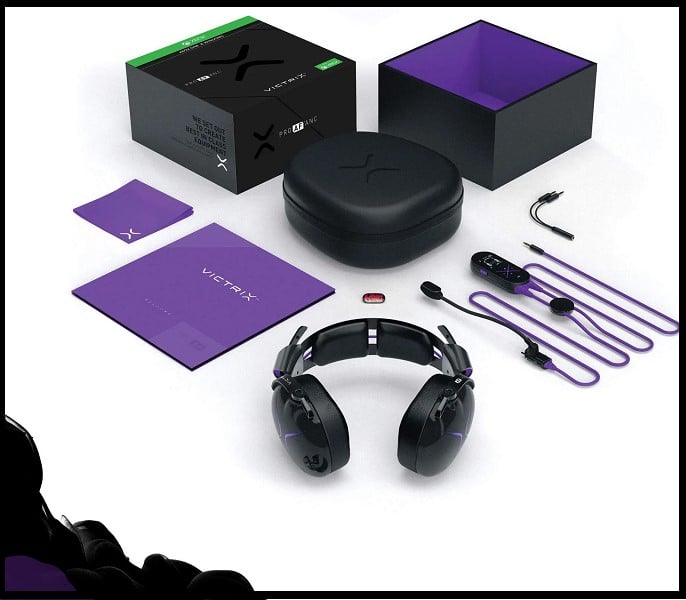
- Victrix Pro AF
If you have a pair of supported headphones, you can easily connect them to your Xbox One console by pairing the devices. However, if your wireless headphones do not have built-in support for Xbox Wireless, you will have to use an external adapter. You can use one of the following workarounds to connect your wireless headphones to the console if they do not support Xbox Wireless.
1. Using Bluetooth Transmitter
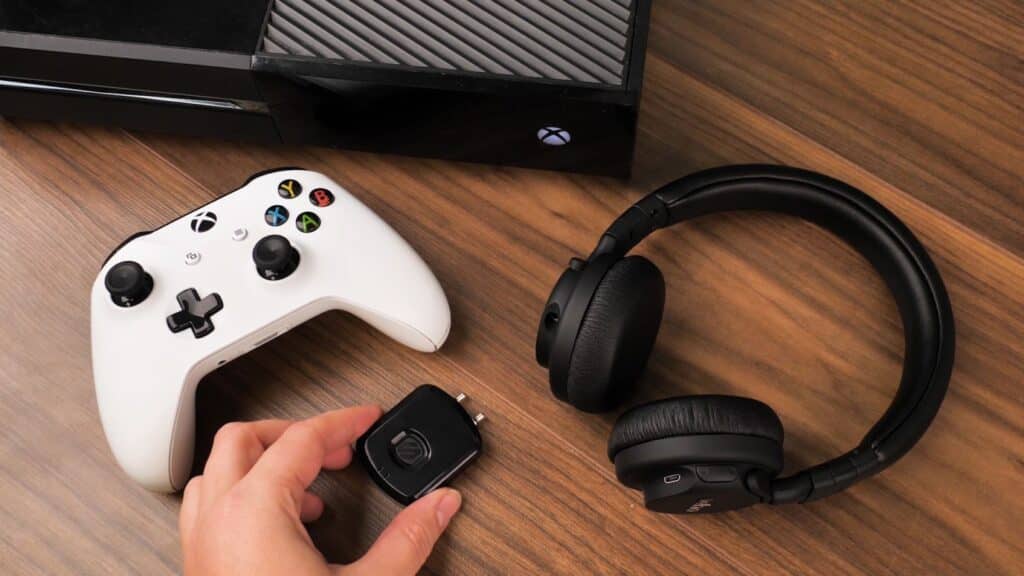
Using a Bluetooth transmitter is a simple approach to bypassing Xbox One’s Bluetooth restrictions. You should, however, note that Bluetooth transmitters only allow for one-way audio. As a result, you will only be able to hear the console’s audio output. To use a Bluetooth transmitter, follow the steps below:
Step 1: Press the power button of the transmitter for about 3 seconds to turn it on.
Step 2: Plug the transmitter into the 3.5 mm port in your controller.
Step 3: Power on your headphones and go to pairing mode.
Step 4: Hold the multifunction button down for around 5 seconds to put the transmitter in pairing mode.
Step 5: Once a connection is established, you can start listening to the audio from the headphones.
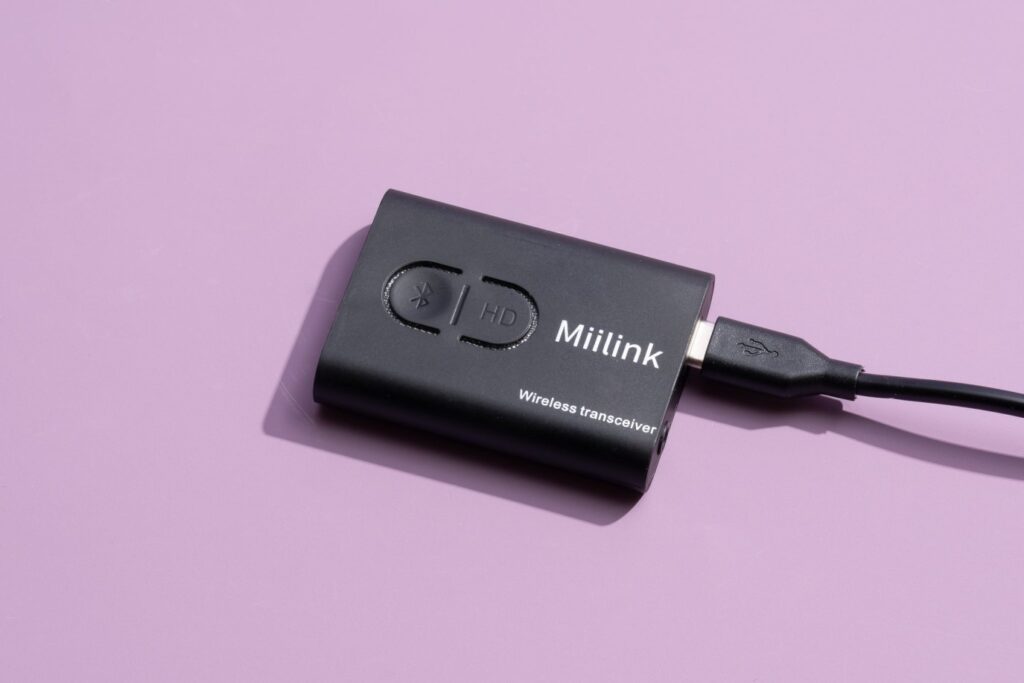
2. Using Bluetooth Transmitter And Receiver
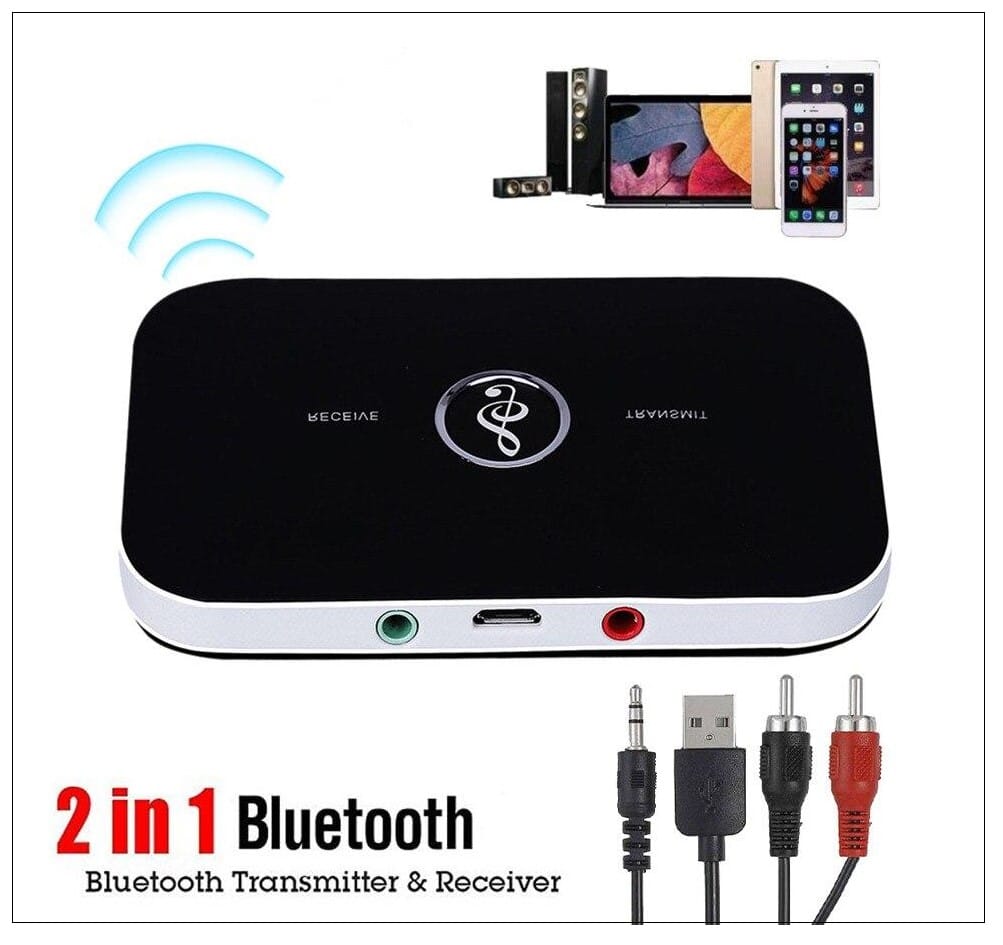
You must utilize a Bluetooth transmitter and receiver for 2-way audio support. The transmitter and receiver also enable you to use the built-in Xbox communication features. However, you should be aware that this alternative is more expensive than a Bluetooth transmitter.
3. Using The Audio Jack
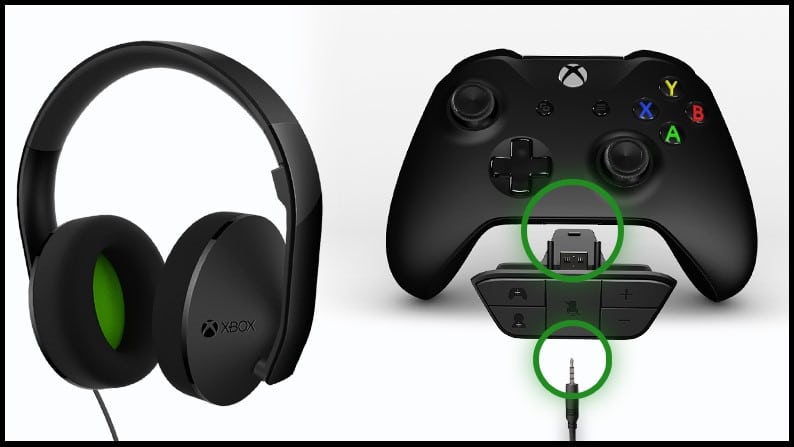
If your Xbox controller has an audio jack, you can connect the wireless headphones with a Bluetooth adapter. You must first sync your Xbox controller with your console to do that. To do so, follow the steps below:
Step 1: Turn on your Xbox and pair it with the console.
Step 2: Navigate to the controller settings after synchronizing the controller, then change the audio output to controller audio.
Step 3: Plug the adapter into the 3.5 mm audio jack on the controller’s lower side.
Step 4: The adapter turns on automatically after connecting it to the console. However, some models might require you to enable them manually. So, check the user manual if you are unsure.
Step 5: That’s it! You can now pair the headset to the adapter.
4. Using An Optical Port
Try using an optical connection if you cannot connect the Bluetooth transmitter to the controller via the audio port. Your Bluetooth transmitter needs to support a digital optical connection for this method to work. You should also be aware that this approach prevents you from using the headset’s microphone:
Step 1: Locate the S/PDIF port located on the rear side of your console.
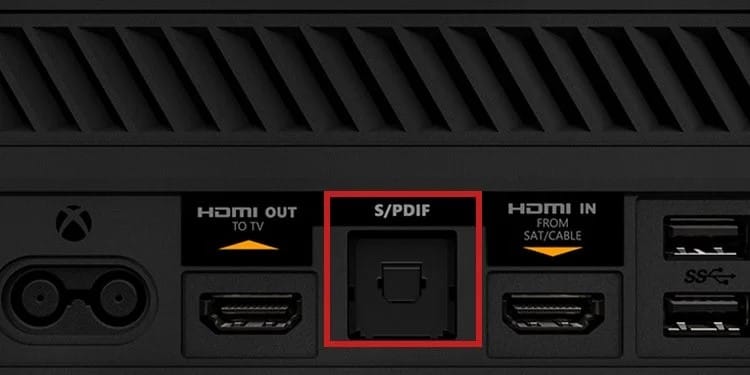
Step 2: Connect the Bluetooth transmitter to the S/PDIF port.
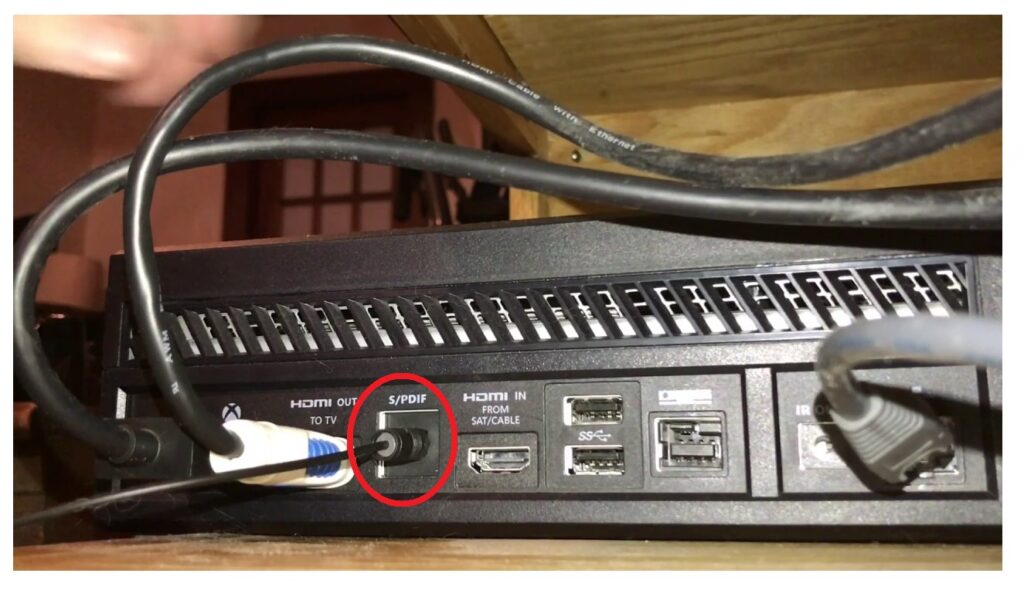
Step 3: Navigate to the console settings and ensure that the audio output is switched to the S/PDIF port.
Step 4: Now, you may use your wireless headset without issues by connecting it straight to the Bluetooth transmitter.
5. Using Xbox Remote Play
“Xbox Remote Play” is a feature that enables you to remotely play Xbox games on various devices such as your laptop and smart TV. This technique also makes it simple to use a wireless headset for gaming. To do so:
Step 1: Pair your standard Bluetooth headphones with the device you are gaming on.
Step 2: Connect your Xbox controllers to the device you are gaming on.
Step 3: Press the Guide button on your console.
Step 4: Select “Profile and Systems” from the options presented, then navigate to Settings.
Step 5: Navigate to “Device and Connections.”
Step 6: Enable the remote features settings and ensure that you have changed the power mode to “instant-on” from the settings.
Step 7: At the top of the screen, click on the “Remote Play” button.
Step 8: The final step is pairing your console with the app. Once you are done, you’ll be able to use your standard Bluetooth headphones while gaming.
6. Using The Xbox App
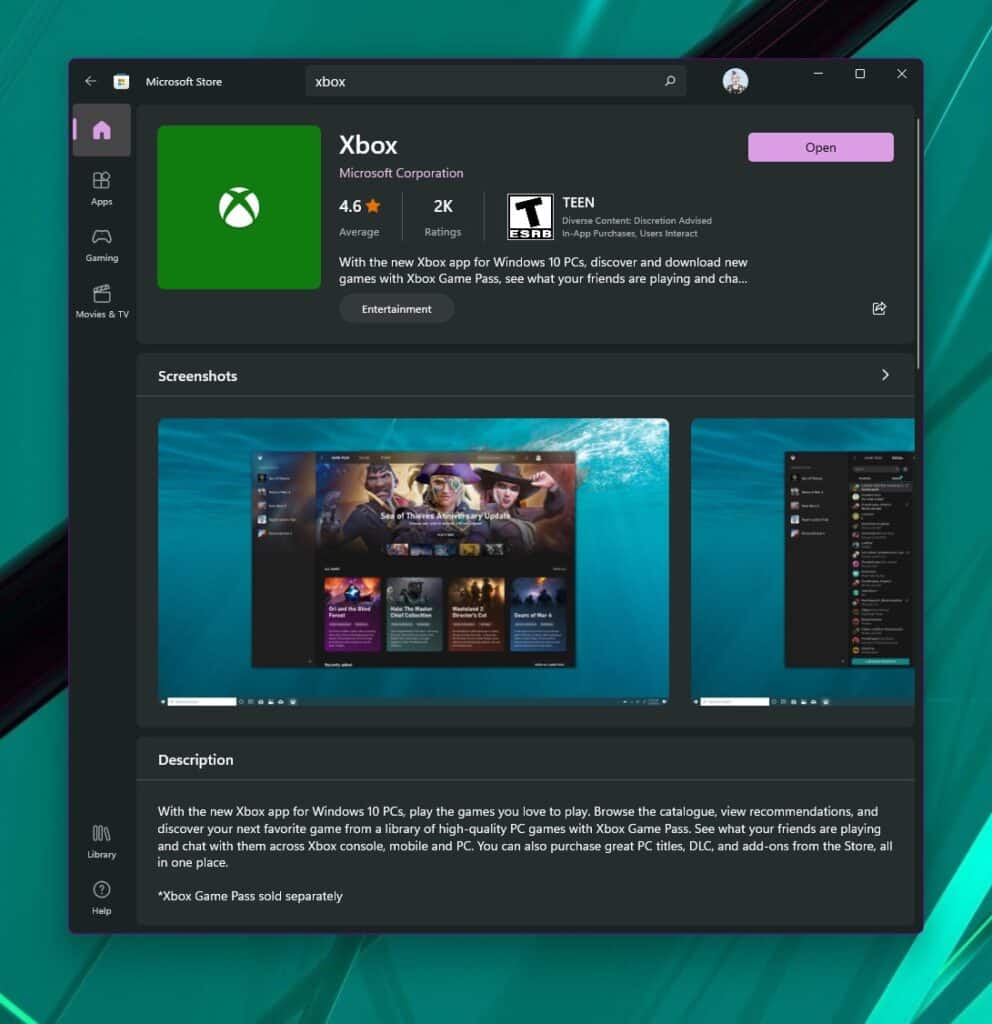
This method is more of a hack and will only allow you to listen to party chat. As a result, you will not be able to listen to the game audio or talk through the microphone. Even though it is not the most convenient way, it’s still worth a shot. To do so, follow the steps below.
Step 1: Download and install the free Xbox app.
Step 2: Connect your standard Bluetooth headphones to your smartphone.
Step 3: After opening the app, click on the Social icon.
Step 4: At the top right of the screen, click on the Headset icon.
Step 5: Agree to the permissions.
Step 6: The app will open a party chat screen you can use to chat with your friends.
Bottom Line
Even though it seems like it should be easy, connecting standard Bluetooth headphones to your console can be daunting. The easy way is to purchase an officially supported headset. Once you get your hands on one, just pair it with the console and start gaming. You’ll have to use an adapter if you do not have a supported headset. For 2-way communication, you will need a Bluetooth transmitter and receiver. The procedure will be more straightforward if you consult the Bluetooth transmitter and receiver manuals.