
Known for its exceptional lineup of games and innovative design, the Nintendo Switch is a versatile console. You can carry it around or play games on a bigger screen by connecting it to your TV. In addition to that, you can also connect your Switch to your PC. This will allow you to play your favorite Nintendo Switch games, use its controllers with your computer, and transfer videos and screenshots from your Switch to your PC.
For whatever reason, you can connect your Switch to your PC in different ways. Let’s look at the various options and possibilities you can use to connect your Switch to your PC.
Using a Capture Card
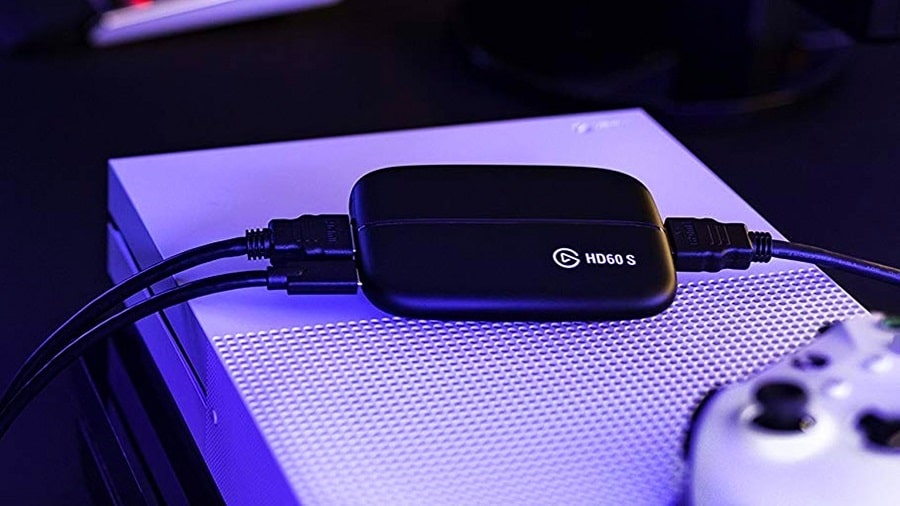
You can connect your Nintendo Switch to your computer using a capture card. A capture card is a device that allows you to send your Switch’s video and audio output to any computer, whether a MacBook or Windows PC. This means you can convert your computer into a monitor using a capture card. The best USB video capture device you can use is the Elgato HD60 capture card.
A capture card is the best way to connect your PC to your Nintendo Switch. You can do this by:
Step 1: Unplug the Nintendo Switch cable from your TV
Step 2: You can then connect the HDMI cable to the Elgato capture card
Step 3: Open the Game Capture HD app on your computer
Step 4: Switch on the Nintendo Switch
Step 5: Press Home on your controllers
Step 6: Now connect your PC to the Elgato capture card
Step 7: You should now see your Switch’s home screen on your computer.
Connect Your Switch to a PC Monitor
If you would only like to display your Switch or play Switch games on your PC’s monitor, there is no need to connect it to your PC. You can connect it to your PC monitor using the HDMI connection. While most modern monitors support HDMI connections, you should check whether your monitor has an HDMI port before proceeding.
You can plug your Switch dock into your monitor using an HDMI cable. The HDMI cable transmits both audio and video. Therefore, if your monitor has built-in speakers, you should get sound from it. If not, you can connect your speakers to your monitor through the headphone output. You can also connect them through Bluetooth or the headphone output on the Switch itself.
Using a USB cable
When you connect your Switch to your PC using a USB cable, the Switch will appear on your computer as a USB drive. Therefore, you can then transfer photos and videos from your Switch to your computer. You’ll need a cable that has a USB-C connector on both ends. Then all you have to do is connect one end of the cable to the USB-C port on your PC. After that, you can now transfer files by:
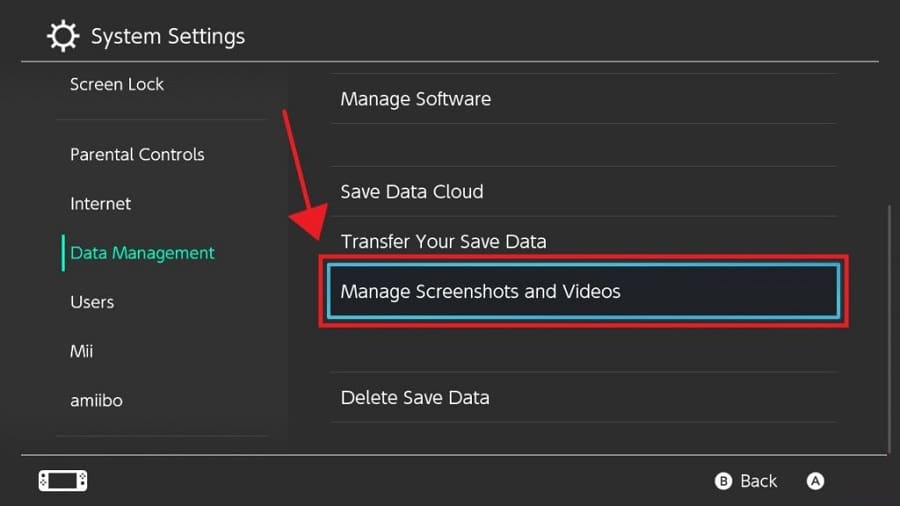
Step 1: From the Switch home screen, click on the System Settings icon
Step 2: Then select Data Management. After that, tap on Manage Screenshots and Videos
Step 3: Scroll down and tap on Copy to a Computer via USB Connection
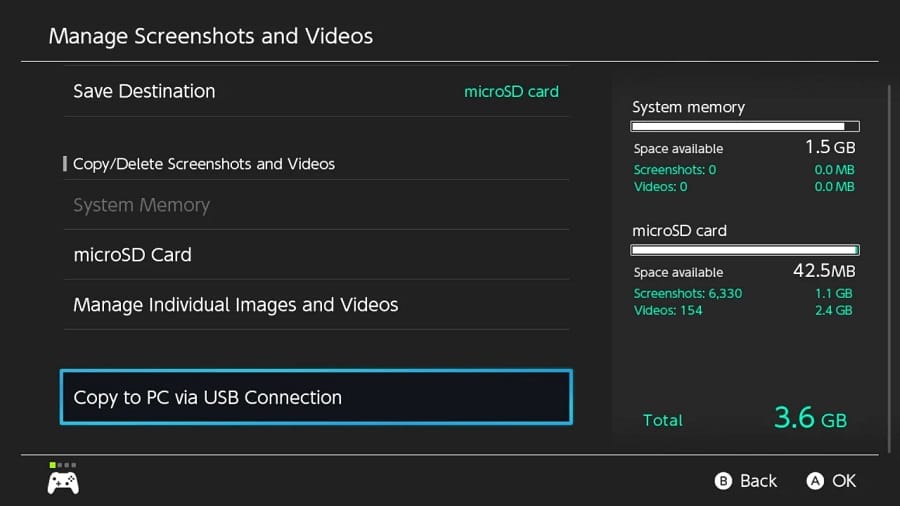
You’ll then see a pop-up message that shows that your Switch is connected to your computer. You can then open the Switch drive on your computer and transfer the files. After you’re done copying, you can tap on Disconnect to end the connection.
Connect the Joy-Con Controllers to Your PC
You can also connect your Nintendo Switch’s Joy-Con controllers to your PC and play your favorite PC games. This comes in handy if you don’t have a controller or are tired of wired controllers. You can only connect your Switch controllers to your PC using Bluetooth. Therefore, your computer must have Bluetooth connectivity. If not, you can buy the USB Bluetooth adapter to help you use this feature.
On Windows
You can then connect your controller to your PC by:
Step 1: After that, disconnect your controllers from your Switch.
Step 2: Press the Sync button on the controllers for at least 5 seconds. You should see the LEDs flashing consecutively.
Step 3: Then, on your computer, click on Start > Settings > Devices.
Step 4: Then toggle the Bluetooth Switch On.
Step 5: Click on Add Bluetooth or Other Device
Step 6: Select Bluetooth
Step 7: You’ll see the Joy-Con L and Joy-Con R on the list of Bluetooth devices.
Step 8: Click on Pair, then Done.
Once they are connected, the computer will take them as separate controllers. You can now use any of them to play your favorite games.
On Mac
If you’re using a Mac, the process is the same except for the part of accessing your device Bluetooth. You can turn on Bluetooth and connect your Switch controllers to your Mac by:
Step 1: Open the Apple menu at the top-left corner of the screen
Step 2: Then select System Preferences
Step 3: Click on Bluetooth
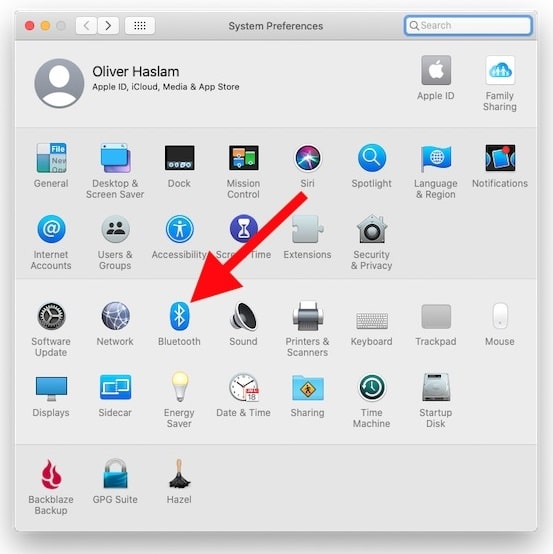
Step 4: Then click the Turn Bluetooth On button to enable it.
Step 5: You should then see the Joy-Con L and Joy-Con R on the list of Bluetooth devices
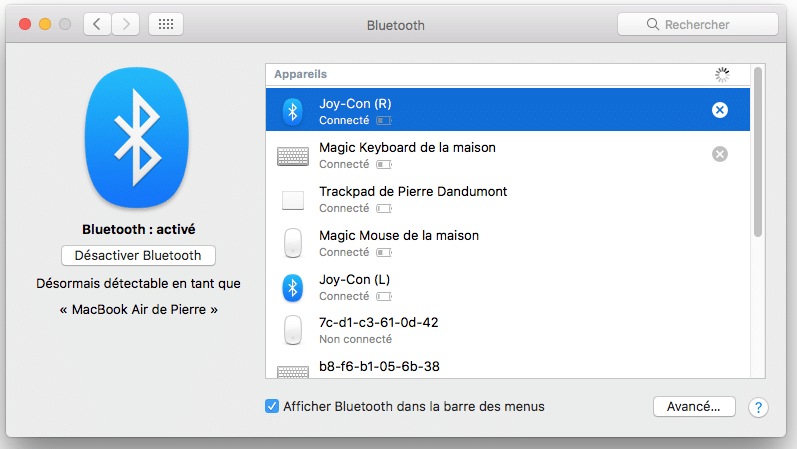
Step 6: Click on the Connect button next to them
Connect the Switch Pro Controller to your PC
In addition to the Joy-Con controllers, you can also use your Nintendo Switch Pro controller on your Windows PC. Switch Pro controllers have more buttons than the Joy-Con controllers giving you a better gaming experience. It also allows you to connect to your PC using a cable or through a wireless connection.
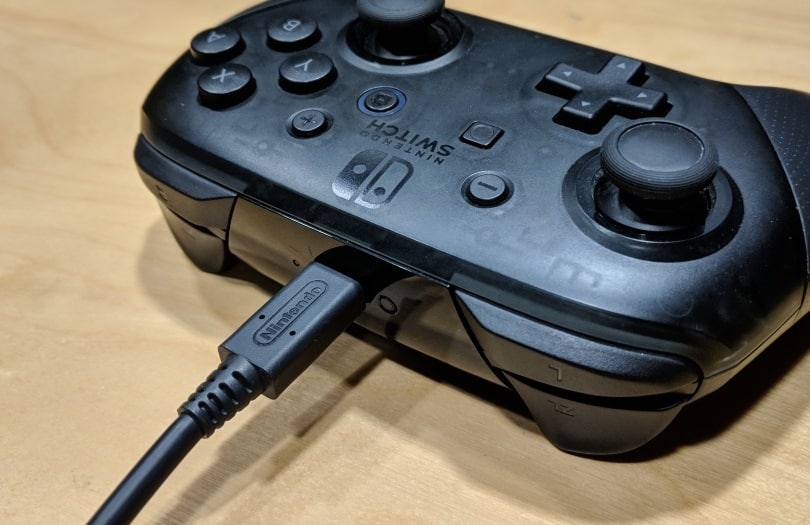
Wired connection
Connecting your Switch Pro controllers to your PC using a cable is a straightforward process. All you’ll need is a USB-C cable. You can then take the following steps to establish a connection on your Windows PC or Mac:
Step 1: Plug the cable into the Switch pro controller, and your PC
Step 2: Your computer should automatically detect the new device as a Pro Controller
Step 3: You can then change the controller settings to your liking when you launch a particular game
Wireless connection
Using Bluetooth, you can also wirelessly connect your Switch Pro controllers to your PC. Therefore, you can make your Pro controller discoverable by your PC’s Bluetooth by:
Step 1: Switch on your Switch Pro controller
Step 2: Press and hold the sync button. You should find it at the top of our controller
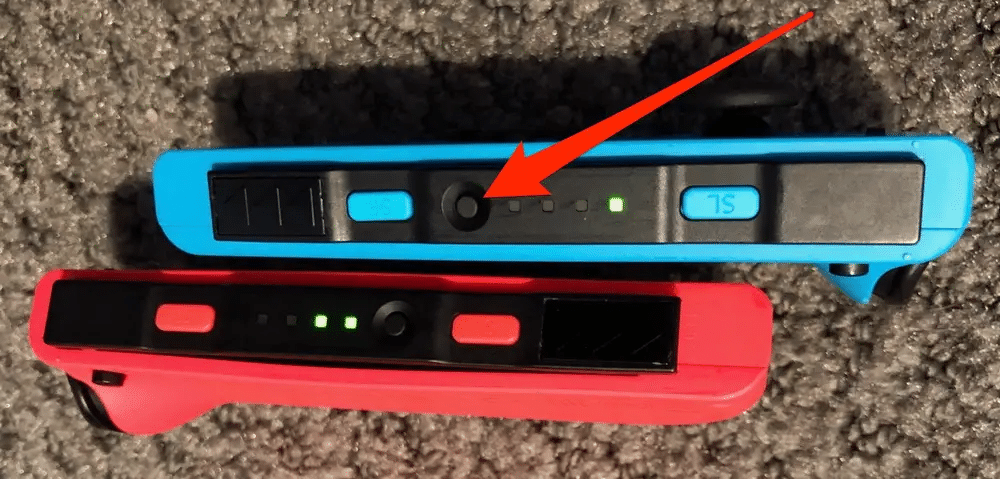
Step 3: The indicator light should start flashing. This means that other Bluetooth devices can discover it.
After that, you can follow the steps described above to add your Pro controller to your PC’s Bluetooth devices, depending on whether you’re using a Windows PC or Mac.
Conclusion
That’s how you can connect your Switch to your PC. To play your favorite Switch games or use its full functionalities on your PC, you’ll have to either use your PC’s monitor or connect your Switch to your computer using the HDMI capture card. Alternatively, you can also use your Switch’s controllers to play games on your PC.
However, it would help if you kept in mind that any solution that needs an HDMI connection will not work on the Switch Lite. This is because of its hardware limitations. The steps described above will work on any regular Switch console.