
Have you ever gotten the “card’s to write protect switch is set to lock” error message when using your camera? Well, there is no need to freak out, it is a minor issue that I will show you how to solve. Don’t worry anymore.
When I went out to take pictures last week, my camera screen prompted me that the “card’s write-protect switch is set to lock” I tried to fix it and finally solved it. This was after several failed attempts; it wasn’t that easy.
The following is my experience; it will help save you a lot of time. Always be observant when using your camera to ensure it works perfectly.
1: Check the write-protect switch of the memory card
The error message “card’s write-protect switch is set to lock” can appear unexpectedly on your camera. Therefore, this prevents you from capturing or deleting any images. This hinders the camera from saving data to the card. If you were working professionally, don’t feel disheartened. Just do this:
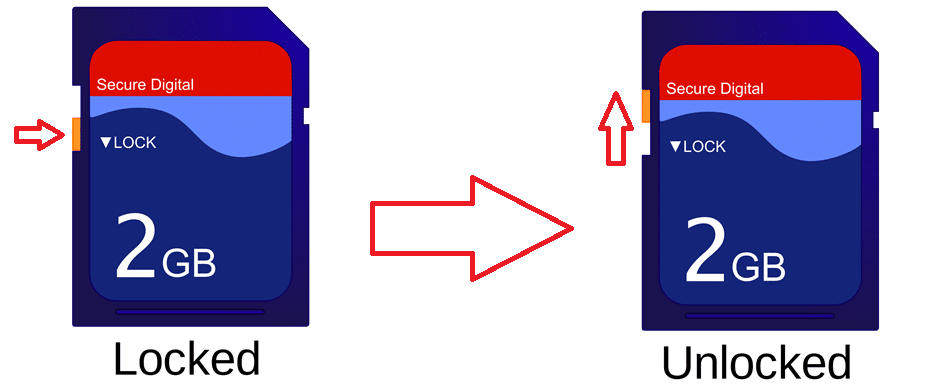
Step 1: First, remove the memory card from the camera and check the small write-protect switch on the left side as it faces you.
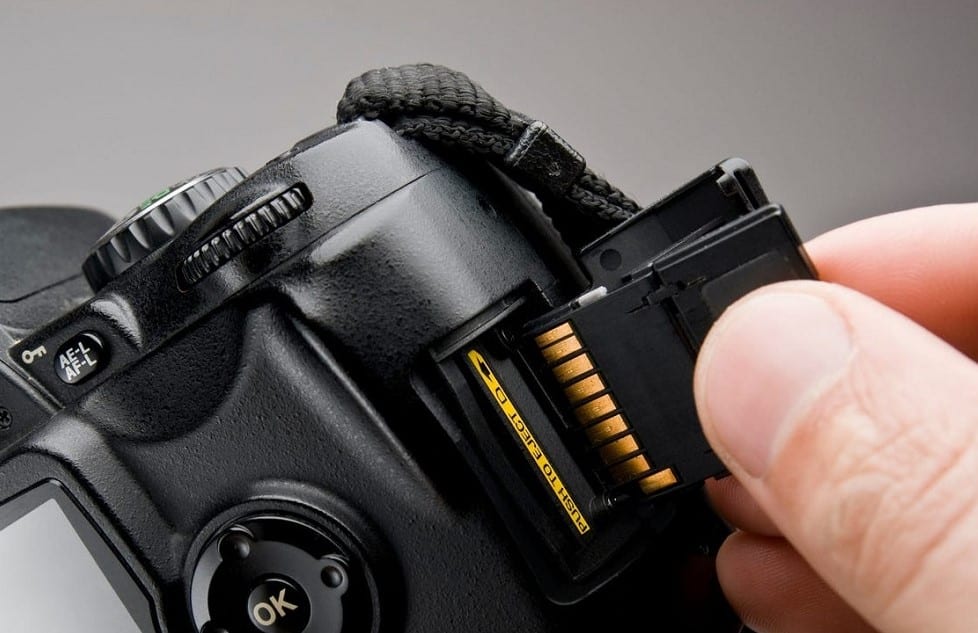
Step 2: Next, slide the switch of the mem card upwards. (When it is locked, it will be downwards, hence, to unlock, move it upward). It is just like flipping a switch from one side to the other.
Step 3: After you are done, insert back the card; the error shouldn’t appear anymore.
The correct unlocked position should be slid up towards the direction of the connector.
2: Wipe the metal contacts of the memory card

The next method is to wipe the metal contacts of the memory card. When the metal contacts are oxidized, poor contact, reading, and writing errors, to wipe, you can use alcohol & white vinegar to erase and either wait for it to dry or use an eraser to wipe it.
While wiping the metal contacts of the camera card slots, try not to use any liquids or water. Just use a thin wire for scratching the metal contacts.
Also, you can try to clean the gold contacts on the card with a Q tip moistened with isopropyl alcohol + 90%. Just ensure you don’t rub too hard but ensure you clean well enough.
3: Check the camera card slot sensor
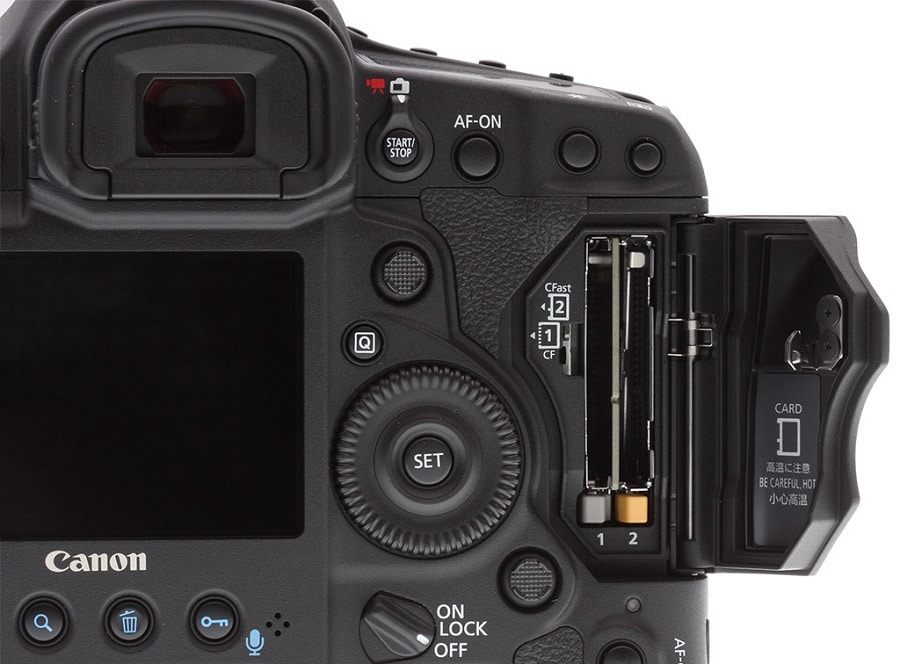
There is a sensor in the camera SD card slot. It detects the card lock on one side of the card. The sensor may be clogged, dirty, or damaged.
Therefore, try to prevent the camera sensor from pushing the switchback. If you find that the sensor is broken, send it to a Canon repair shop for repair.
You may have tried all these methods, but nothing is working.
Step 1: First, look inside the slot; you will see some gold color on the side. This is typically the camera’s unlock switch, and the other is the reader’s connectors.
Step 2: Hence, you can take a toothpick or any other nonmetallic item, gently push against the switch to leave it unlocked.
This should help to fix the issue.
4: Use Scotch Tape
At times, the write-protect switch of the memory card might be loose, and it may slide to lock when it is installed in the camera. Hence, you can use transparent tape to fix it.
Step 1: To fix this, first, take out your SD card from the camera, then take a scotch tape to cover the upper part.
Step 2: However, be careful while covering the hole, but don’t cover the metallic part to make sure the camera reads the SD card.
Step 3: This should automatically make the camera start working again.

5: Reset camera settings
You can also reset your camera to default or update the camera firmware to see whether you will solve the issue. You can watch this informative YouTube video to see how best to do it.
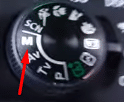
Step 1: First, switch your camera on. Please set it to manual mode, then check your screen.
Step 2: Tap on the menu button, scroll to the last option and then click clear settings.
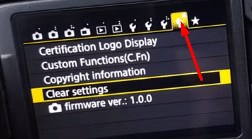
Step 3: On the next page, you will see some more options.
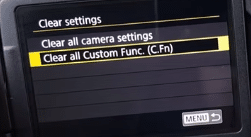
Step 4: You will get two options; click “clear all camera settings.” Then give it time to clear, then click clear all custom functions and wait for the process to end; that’s it.
6: Replace with a new card

If all these methods don’t seem to work, you can consider purchasing a new camera memory card. However, ensure it is of the same specifications as your camera.
FAQs
Q. How many pictures can a 128 GB SD card hold?
The capacity a 128 GB SD can hold depends on the device being used. A 128 GB SD card can be able to hold 25,200 JPEG images in a smartphone.
If you have a GoPro, you can store up to 30,480 images. If using a standard DSLR, it can store up to 13,104 images, and a raw DSLR can store 3277- 6533 images.
Q. How much writing speed does the SD card of the camera need?
The minimum write speed for most SD cards in cameras is 10 MB/second. However, the “UHS U3 speed class three” has a minimum write speed of 30 MB/second. The write speed depends on the device or the specific camera.
For example, SanDisk Extreme Pro 32GBSD UHS-1 card has a read capacity of 95 MB/sec and a write capacity of 90 MB/sec. It just depends on the camera’s type, host device, processor, and interface. If you want more speed, consider using a compact flash.
Conclusion
It would help if you always were careful when using your camera. This prevents you from taking multiple pictures only to realize that none is saved on the memory card. What a waste? You will have done zero work.
Try the troubleshooting methods one by one to see what works best for you—all the best as you modify your camera. I modified mine successfully; I hope you will too.