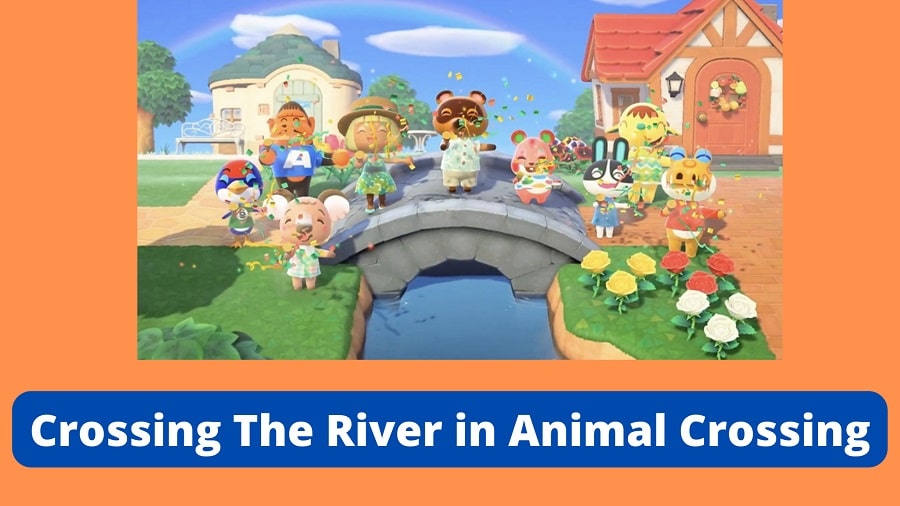
In Animal Crossing New Horizons game, you are required to try accessing small sections of deserted island by crossing a river.
A river circumnavigates around your residence blocking you from exploring the outer sections of the island. To go past this river you require a Vaulting Pole or a Bridge. Both of these tools are unlocked and you have no other option rather than crafting your own Vault Pole to start with before you can think of building a bridge across the river.
Now, where do you start? You have no wood, no cutting equipment and you cannot leave your home area. This guide will walk you through all the steps of how to cross the river in Animal Crossing from crafting your vaulting pole and building bridges to the actual crossing the river. Keep reading to find out.
Craft a vaulting pole to cross a river in Animal Crossing

As above mentioned, the process of crossing the river starts by crafting a vaulting pole. But how do you do it? We will show you how. Follow these steps:
Step 1: Invite Blathers to live on your island. “You are able to do this from the second day. To invite him you have to donate five different fish species or bugs to Tom Nook within resident services”.
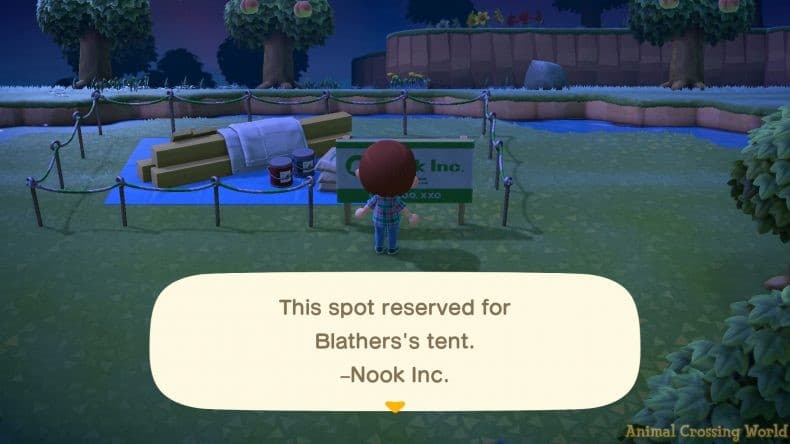
Step 2: Blathers arrives in his makeshift museum. This happens the next day after you have invited him.
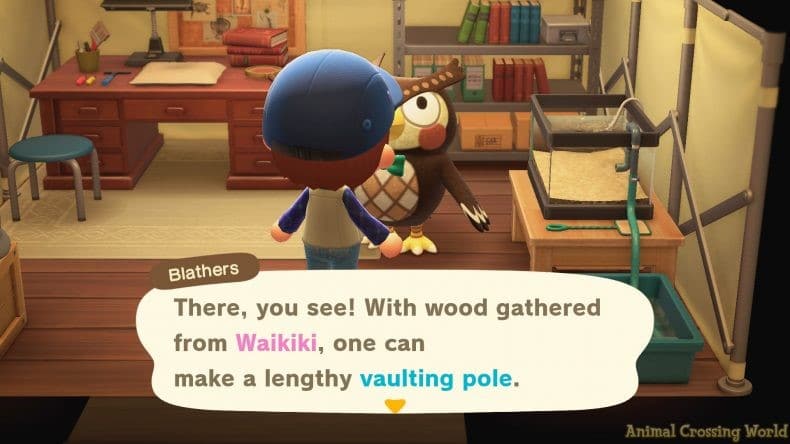
Step 3: Pay Blathers a visit and he will accord you the vaulting pole DIY recipe.
Step 4: Collect five softwood.
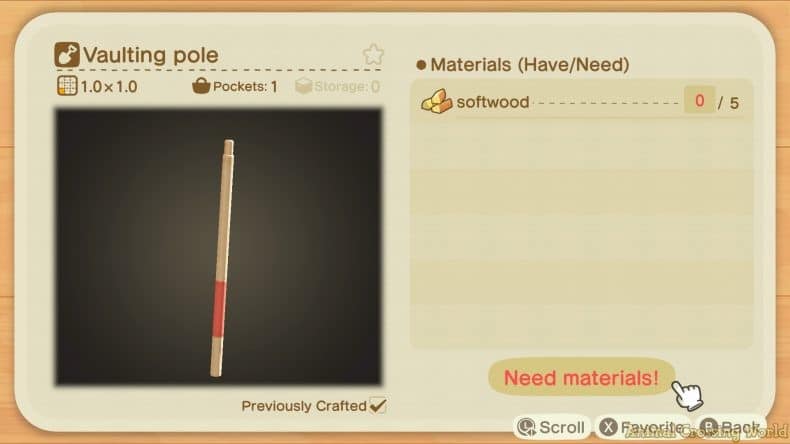
Step 5: Go to a crafting bench and craft the vaulting pole. You can now access any river you come across.
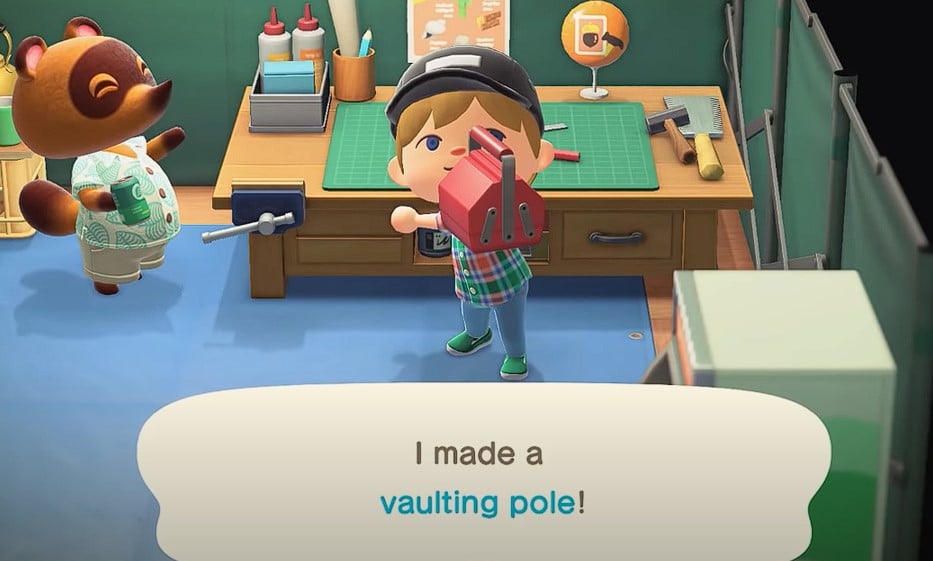
Use the vaulting pole to cross a river in Animal Crossing
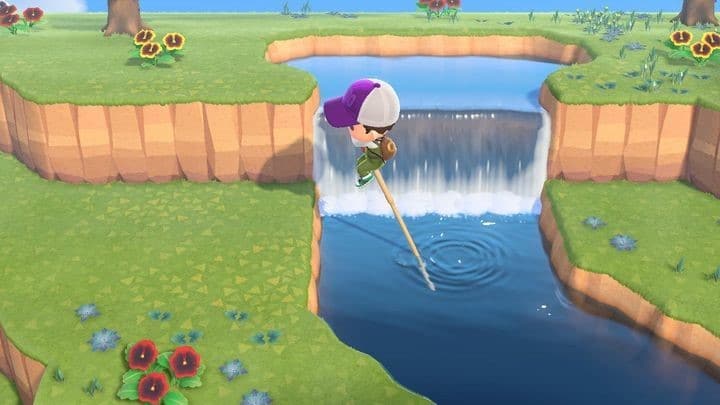
So how do you use a vaulting pole to cross a river in Animal Crossing? The procedure is pretty easy. Here’s how to do it:
Step 1: At the edge of the river, select the vaulting pole on your inventory.
Step 2: Press A to spring you across the river.
Note: The vaulting pole works on a standard width of a river. Therefore, it won’t work on a wider section of a river.
Build a bridge in animal crossing
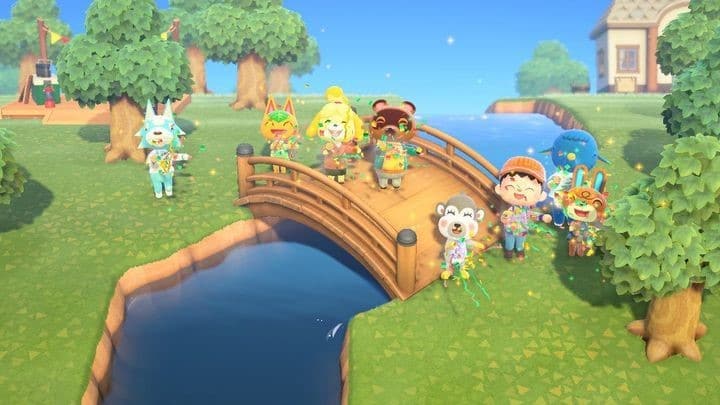
Building bridges on your island will gain you easy access to various points on the island across the river. However, building a bridge in the Animal Crossing New Horizon game is difficult, time-consuming, and expensive. Follow this procedure to get it done:
Step 1: Communicate with Tom Nook at the resident services.” take a sit in front of him and select “let’s Talk Infrastructure”.
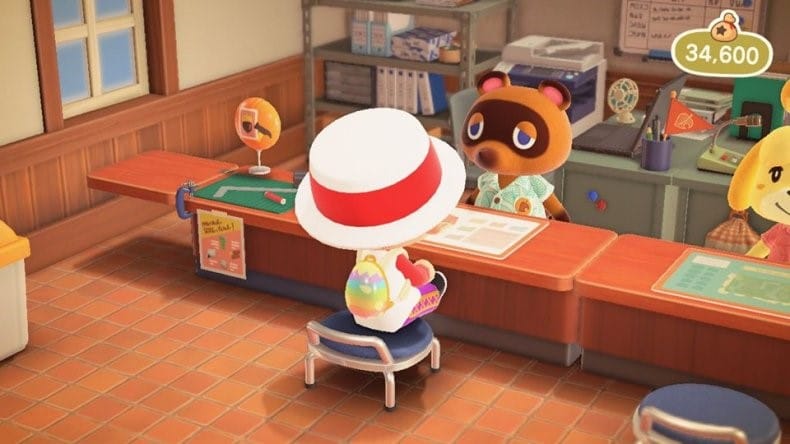
Step 2: Choose to build a bridge.
Step 3: Choose the bridge you can afford. (The bridge list includes: Log Bridge -98,000, Suspension Bridge- 129,800, Stone Bridge- 168,000, Brick Bridge – 198,000, Red Zen Bridge- 2228,00, Zen Bridge -228,000).
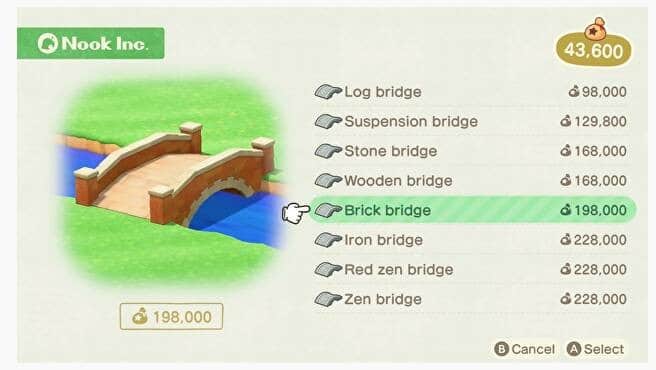
Step 4: Go and place it where you want it to be constructed.
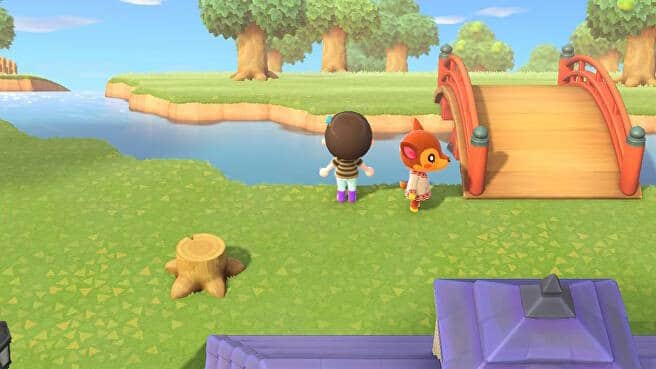
Step 5: Collect bells to pay for the bridge. After selecting the bridge you want and the section it should be built, now it is time to pay for its construction by donating bells.
Step 6: Speak to the character beside the new bridge. After they ask for money, donate the full amount to finish its construction by the next day.
Build your first bridge in Animal Crossing

How do you build a bridge in Animal crossing? It is easier than you can imagine. Follow these steps to build your first bridge in animal crossing:
Step 1: Invite three new residents to come to your island.
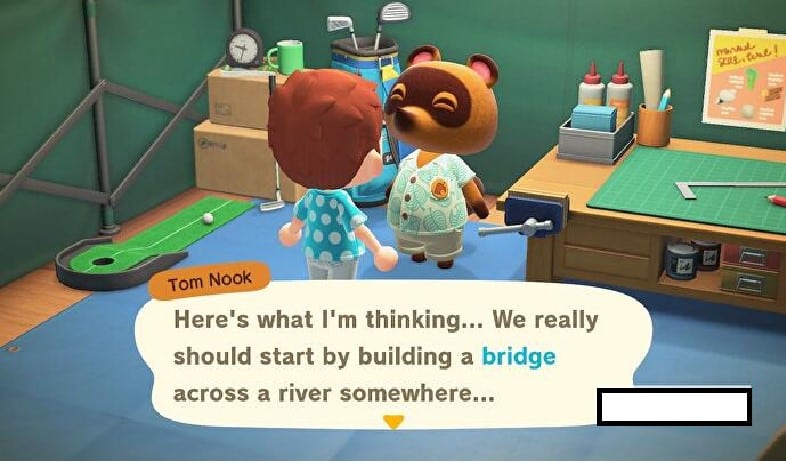
Step 2: Tom Nook will contact you indicating the need to build a bridge.
Step 3: Tom Nook will give you a DIY bridge recipe.
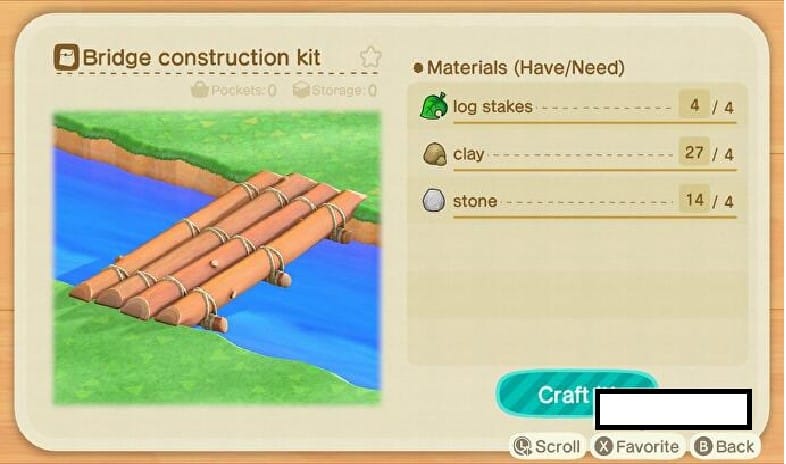
Step 4: Collect Log Stakes (4), clay (4), and stone (4) to build the bridge.
Pro Tip! In Animal Crossing, bridges are considered community projects. As such, they may take very long to complete unless you donate bells to hasten the building process.
Delete a bridge in Animal Crossing.
In the Animal Crossing game, when you no longer need a bridge, you can delete it. Here is how to do it:
Step 1: Visit Tom Nook.
Step 2: Select the island infrastructure
Step 3: Choose to talk about bridges.
Step 4: Choose to demolish the bridge.
Conclusion
Crossing a river in Animal Crossing New Horizons game is very easy. In this post, we have shown you all the steps and equipment you need to get the job done easily. With that said, we come to the end of this post. Hope you found it very useful.
